Table of Contents
Cloud POS: Manage Inventory
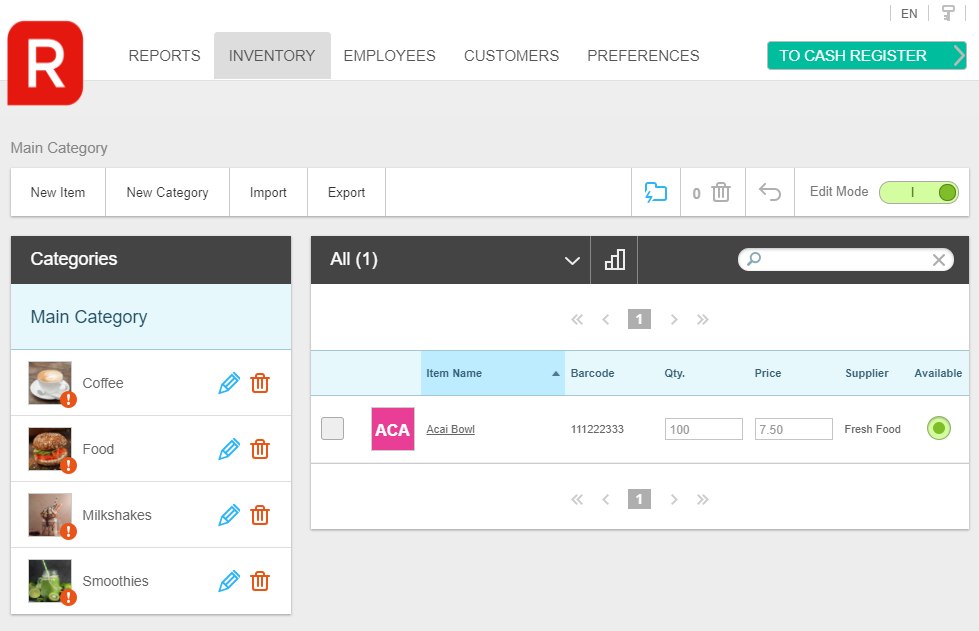
How to Organise and Manage Store Inventory
To manage your store's inventory we need to first log in to our Management System - this can be accessed via the Reckon Portal
Once your Management System is open you can navigate to the "Inventory Tab". Here you will be able to create new items, categories, bulk import items and bulk export items.
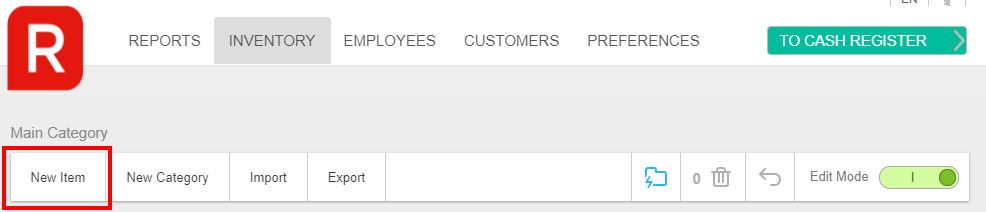
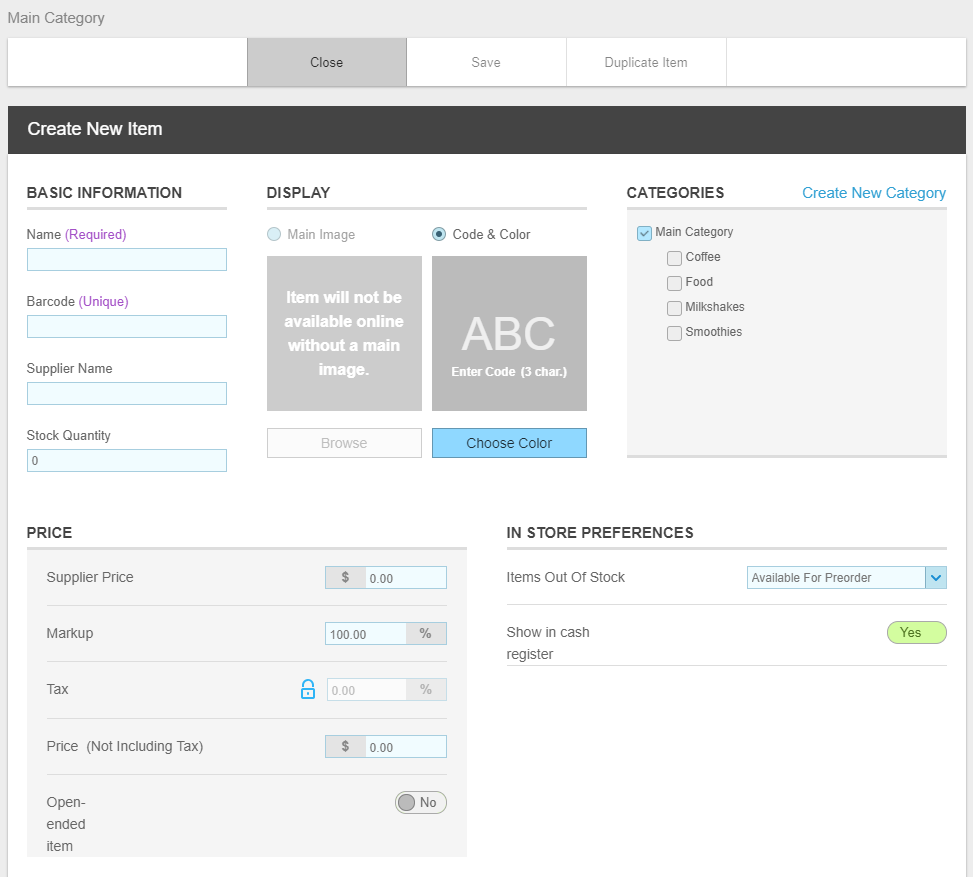
To create a new item select "New Item".
This option is not available if you are integrating Cloud POS with Reckon Accounts Hosted. You will need to create new items from within the Reckon Accounts Hosted and Sync it with POS
Fill out the form as required. Please note you can select an image or a code & colour for each item to make them easier to find.
You can also apply a category to any item you create. Under price, you can either select a "Markup" percentage or a dollar price (which will automatically calculate the markup).
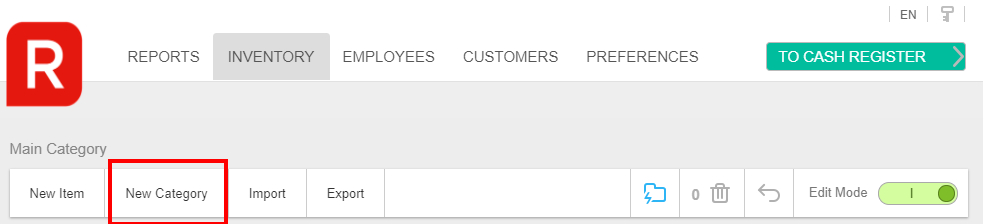
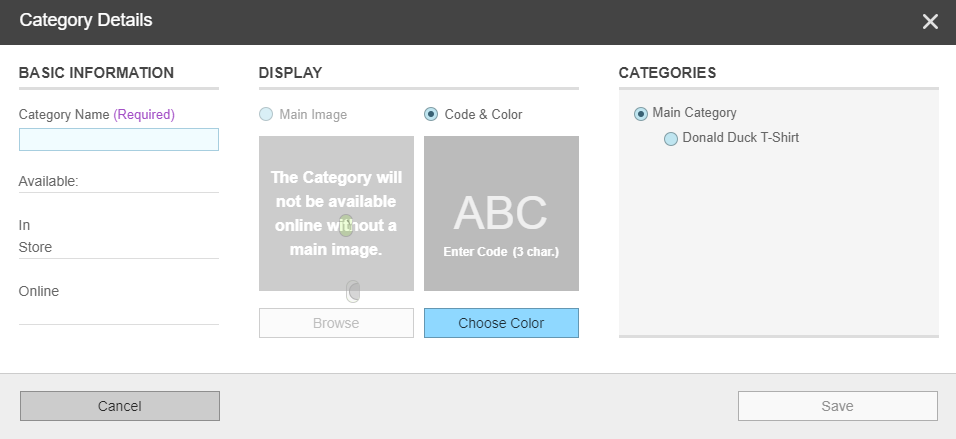
To create a new category select "New Category"
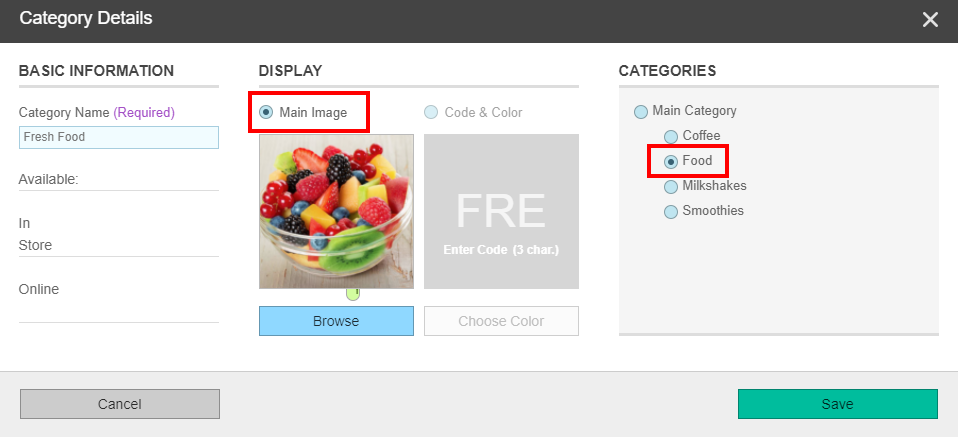
To create a new category, you can choose a name for your category, an image, as well as making it a subcategory by selecting another category as seen in the screenshot below.
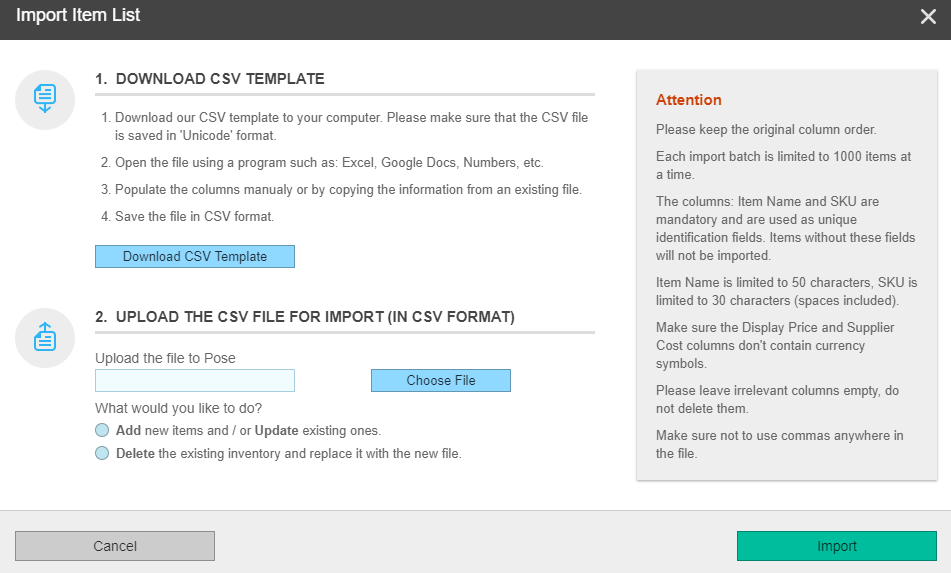
To bulk import/export your items you can select "Import" or "Export"
This Import option is not available if you are integrating Cloud POS with Reckon Accounts Hosted. You will need to create new items from within the Reckon Accounts Hosted and Sync it with POS.
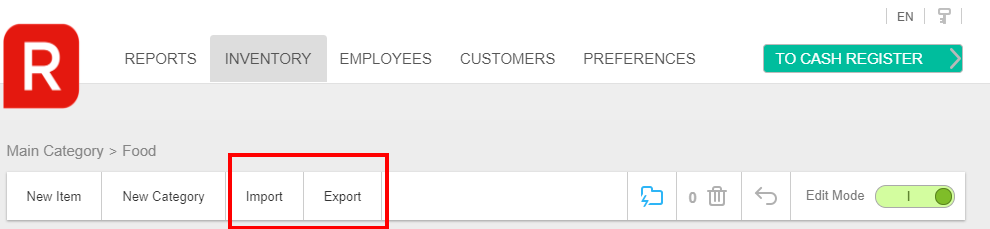
Download the provided template and enter your item information according to the header fields. You can then upload the CSV document to Reckon Cloud POS to bulk import your items. Similarly, you can bulk export your item list by selecting "Export".
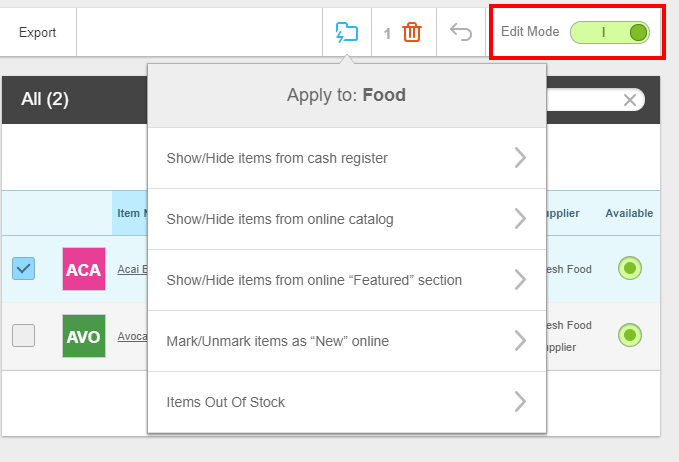
"Edit Mode" allows you to bulk edit your items. Having "Edit Mode" switched on will allow you to delete, show/hide or mark items as "Out of Stock". You can also quickly make them available or unavailable or change quantity and price.
Managing Variations of the same items in Reckon Cloud POS
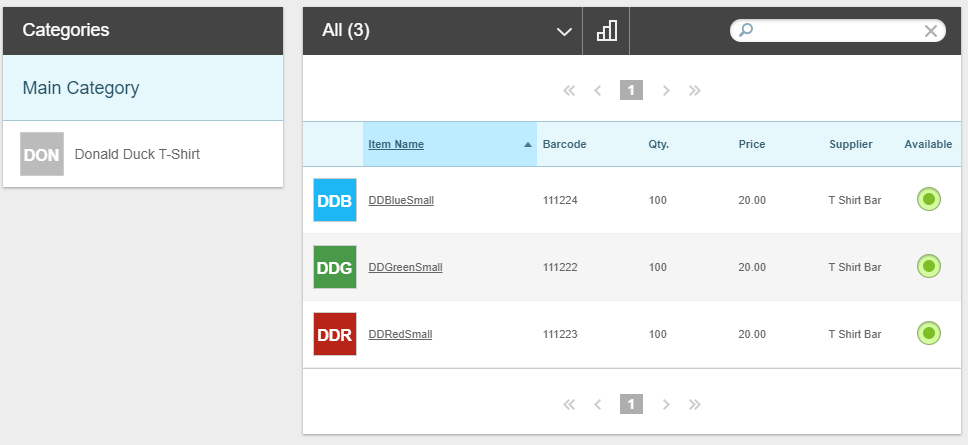
Managing variations of the same items, for example, colours and sizes of a certain printed T shirt is achieved through our SKU system.
Let's assume we have a Donald Duck T-Shirt that comes in multiple colours and sizes. The first thing to do is create a new category called "Donald Duck T-Shirt".
Once the Category is created we can create each unique variation
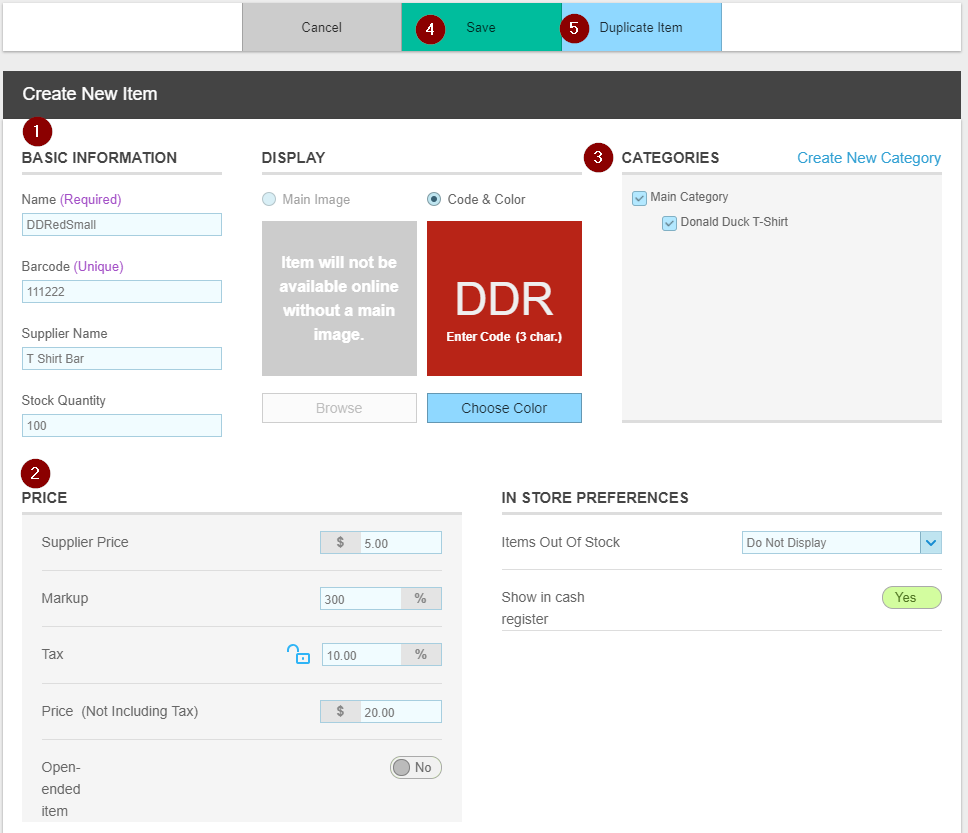
Step 1: Input your basic information. Create your first variation of the T Shirt "DDRedSmall" for Donald Duck T-Shirt, Red colour and Small size.
Step 2: Input your price details
Step 3: Pick the correct category, in this case all T-Shirt variations will fall under "Donal Duck "T-Shirt"
Step 4: Save the item
Step 5: Duplicate the item (you don't need to select save if you want to duplicate straight away it will automatically save the original) and change the Name & Barcode (and any other relevant details) for each variation
You can now easily create your variations of a particular item and list them under a relevant category to make them easy to find in the Cash Register