Upgrading to Reckon Accounts Hosted 2023 (R1)
The intention of this document is to guide you through upgrading your Reckon Accounts company file to 2023 on your Hosted account.
Before beginning this upgrade process, we strongly suggest that you read and familiarize yourself with the content below and the Accounts business range Installation and Upgrade Guide by clicking here.
STEPS TO UPGRADE
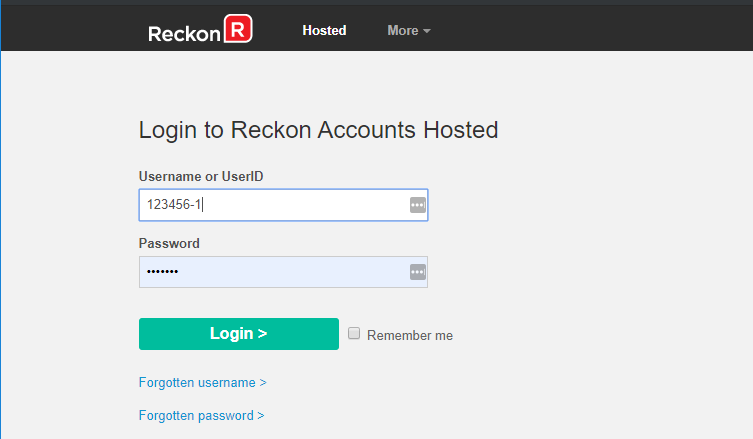
- Go to Reckon Accounts Hosted login page. Enter your Username and Password then click on the Login button.
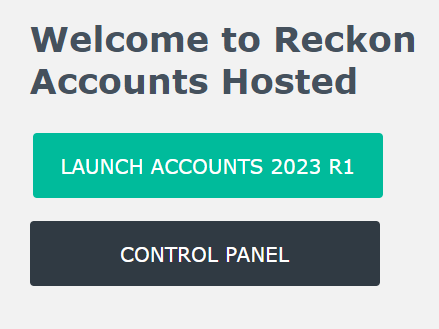
- Click on the Launch Accounts 2023 R1 button when you login and open your company file;
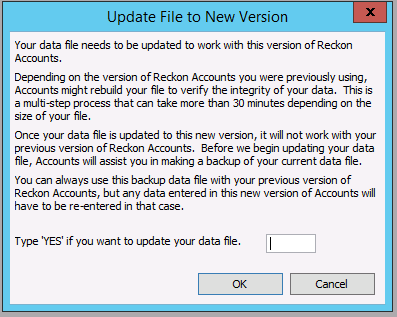
- Reckon Accounts will ask you whether you would like to update your file to the new version. Type ‘YES’ and click OK.
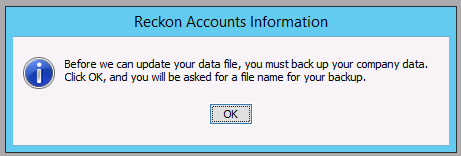
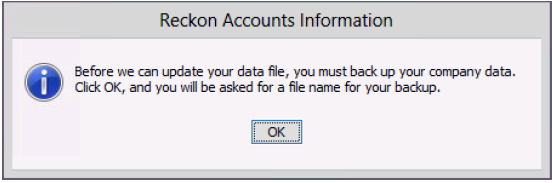
- Reckon Accounts will prompt you to create a Backup before the upgrade progress. Click OK to create the back up.
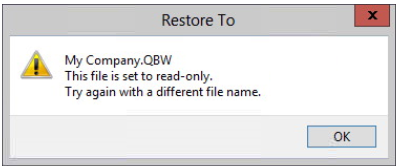
If you choose to restore the backup you created in the previous release, please ensure that you entered the exact file name in the File name field on the Restore To window. A message will appear asking if you wish to replace the company file. Click Yes to continue to upgrade process.
If the message below is shown, change the name of the company file then click Save
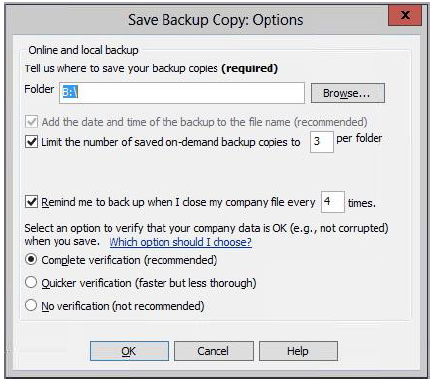
- Reckon Accounts will then prompt you to take a backup of your company file. Click Finish and Reckon Accounts will automatically backup your file to Reckon Accounts Hosted Backup drive - My Backup (B:) drive.
Click OK to save the backup onto the B drive.
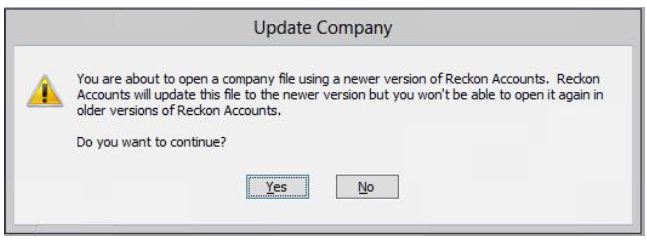
- Reckon Accounts will now prompt you to Update Company. Click Yes
- Check financial reports such as your Trial Balance, Profit & Loss and Balance Sheet reports against the reports generated in Accounts 2022 R2.
- Congratulations! Your Reckon Accounts file has been successfully updated.
- If you have multiple Company Files, repeat this process with each of them.
Need more help -