Table of Contents
Assign classifications to transactions and line items in Reckon One
Learn how to assign classifications to transactions and line items within transactions in Reckon One, so you can view and filter reporting data by classification.
You must enable classifications first.
How it works
For each of these transaction types, you can classify the whole transaction, the line items, or both:
- invoices
- estimates
- customer adjustment notes (credits)
- receipts
- bills
- supplier adjustment notes (credits)
- payments
- expense claims
- recurring transactions (invoice, receipt, payments).
Assigning a classification to a whole transaction allows you to show and filter by this classification in transaction reports, while assigning a classification to a line item allows you to show and filter by this classification in financial reports. Learn more about where and how classifications can be used in reports.
Assign classifications to whole transactions
The steps for assigning a classification are the same across transaction types. Here, we'll step through an example of how to assign a classification to an invoice:
- In the Day to day menu (Money In section), select Invoices, or select Invoice from the Quick Add menu.
- Click on Add to create a new invoice or click on the invoice you wish to add the classification to.
- You can change or select a classification from the Classification drop down menu, or select Add classification to add a new one. (If you have set a default classification, it will appear in the Classification dropdown menu and can be changed).
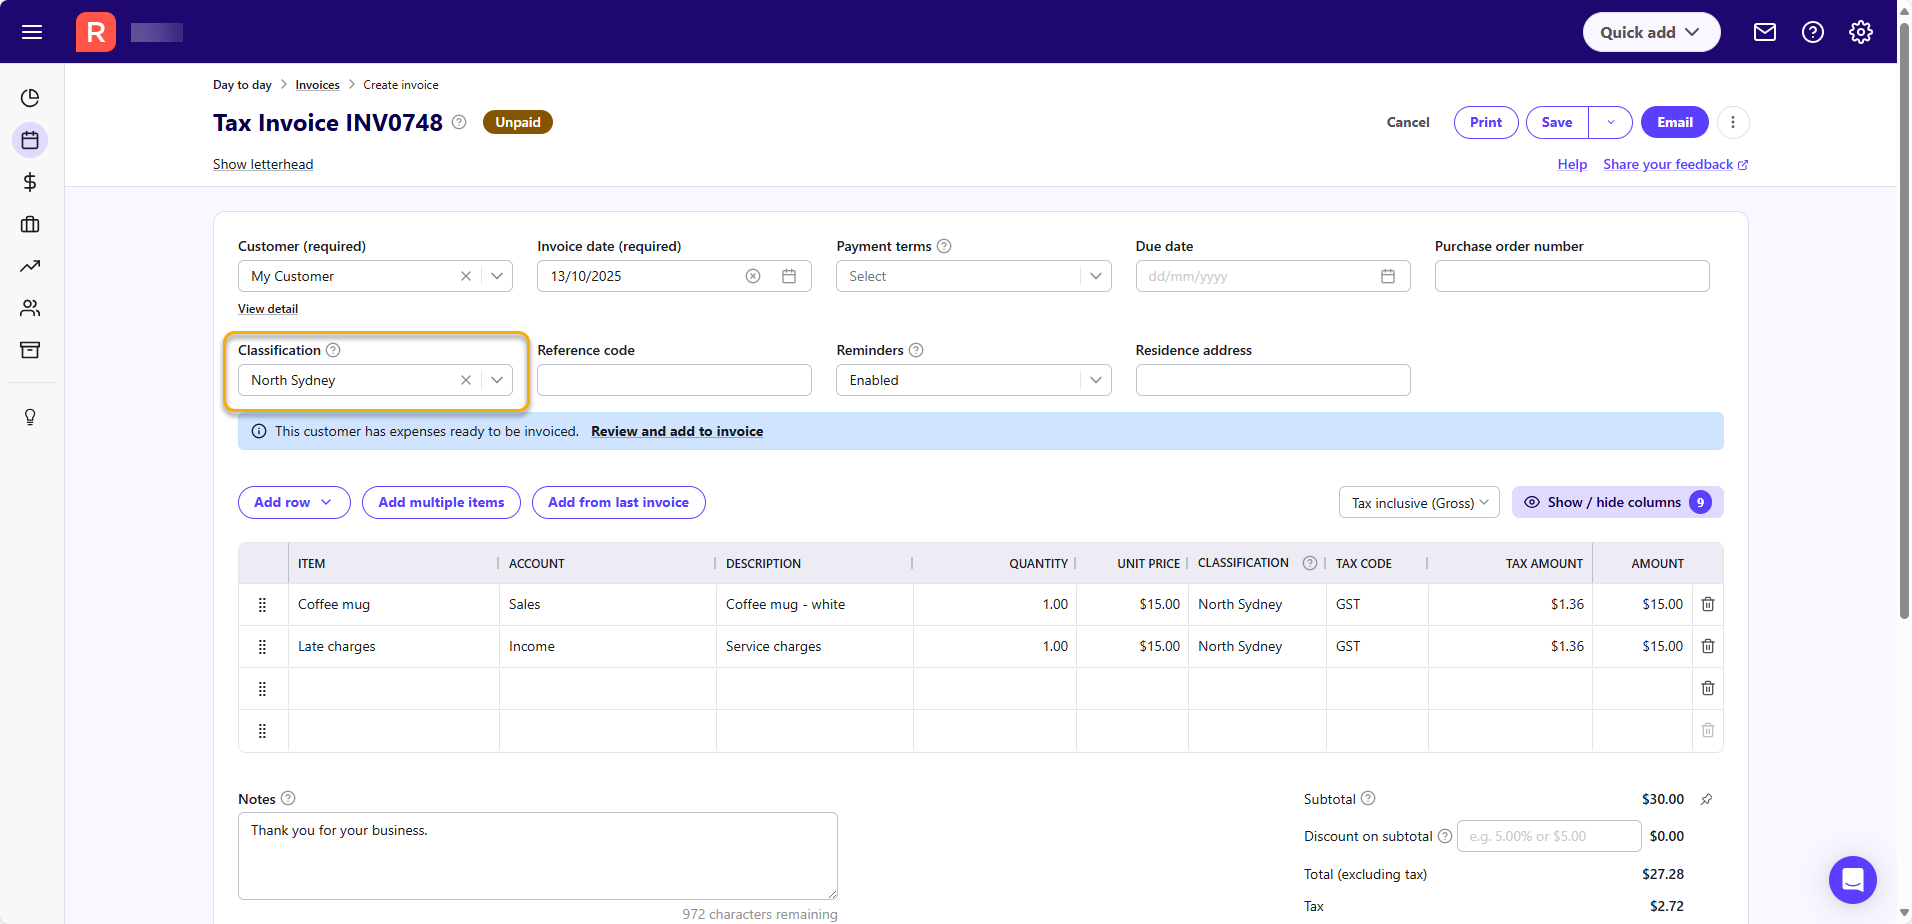
- If there are line items already in the invoice, you'll see an option to apply this classification to all line items. If you wish to apply it to all line items, select Apply to all line items.
Transactions created in the Receive money or Make payment screen
If you're creating a transaction within the Receive money or Make payment screens, assigning a classification works in a similar way. Here's an example of assigning a classification to a new transaction you're creating in the Receive money screen:
- In the Day to day menu (Money In section), select Receive money, or select Receive money from the Quick Add menu.
- Click Add to create a new receipt, or click on a receipt to edit it.
- At the bottom of the screen, click on the New tab.
- Select a classification from the Classification drop down menu, or select Add classification to add a new one..
- Save the receipt.
Assign classifications to line items within transactions
Here, we'll step through an example of how to assign a classification to a line item within an invoice:
- In the Day to day menu (Money In section), select Invoices, or select Invoice from the Quick Add menu.
- Click on Add to create a new invoice or click on the invoice you wish to add the classification to.
- In the Classification column of the relevant line item, select a classification or select Add classification to add a new one. (If you have selected a classification for the whole transaction, it will appear in the Classification column and can be changed).

Line items in transactions created in the Receive money or Make payment screen
If you're creating a transaction within the Receive money or Make payment screens, assigning a classification works in a similar way. Here's an example of assigning a classification to a line item in a new transaction you're creating in the Receive money screen:
- In the Day to day menu (Money In section), select Receive money, or select Receive money from the Quick Add menu.
- Click Add to create a new receipt, or click on a receipt to edit it.
- At the bottom of the screen, click on the New tab.
- In the Classification column of the relevant line item, select a classification or select Add classification to add a new one. (If you have selected a classification for the whole transaction, it will appear in the Classification column and can be changed).
- Save the receipt.