How to rename a data file on the Reckon Accounts Hosted platform
There may come a time when you want to or need to change the name of your company data file.
To do this, follow the steps below.
Step 1: Login to the Hosted platform
Access the Hosted platform login page through the link below.
AU https://hosted.reckon.com/RAHV2/ReckonAccountsLogon.aspx
NZ https://hostednz.reckon.com/RAHV2/ReckonAccountsLogon.aspx
Step 2: Launch the Accounts Hosted application
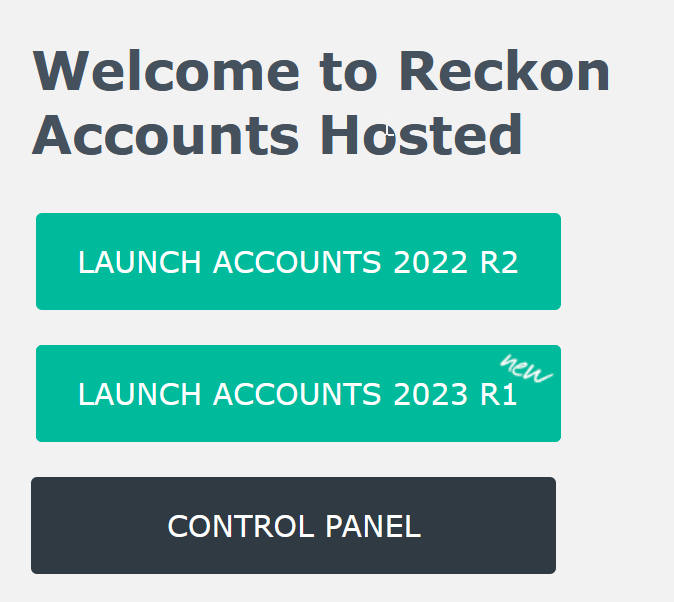
Choose the correct Hosted version and launch it by clicking the button
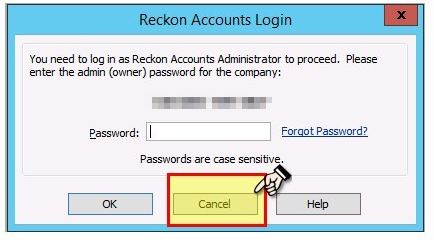
When you see the Reckon Accounts Login screen, press the Cancel button.
Step 3: Locate the existing data file that you need to rename
When the Reckon Accounts Hosted software is displaying the “No Company Open” screen:
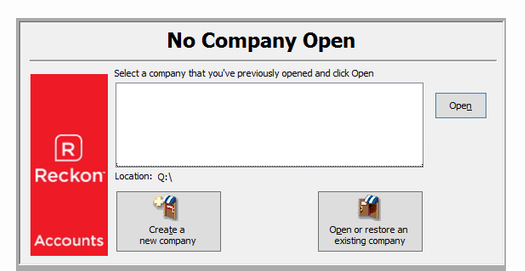
Click on “Open or restore an existing company file” button
Select the “Open a company file (.QBW)” option then click the Next button
When prompted with the Open a Company dialog window, you will need locate the data file which may be located in the root of the Q: drive or within a shared folder
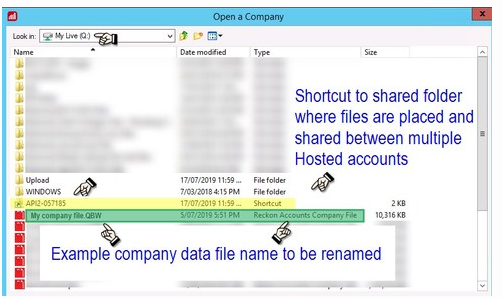
The company data file will typically have a red icon alongside the file name.
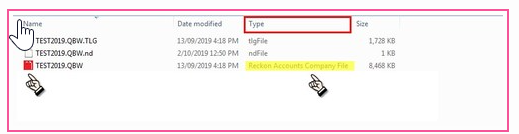
Do not mouse-click onto the file name as this would initiate the opening of that file
- Click on any ‘white blank space’ area to target the active window
- Now use the arrow keys on the keyboard to move up/down until the name of data file that needs to be renamed is selected and highlighted
- Press the F2 key on the keyboard to allow the name to be changed
- Add the prefix “Do not use – “ to the file name or change it as required then press the Enter key to save that change
- Then press the Cancel button to return to the main screen