Table of Contents
Installing and Configuring Reckon Web Connector for API Products
Installing Reckon Web Connector
The Reckon SDK requires the integrated application to run under a logged-in user account to connect and exchange data with Reckon Accounts. The Web Connector application must be installed on the same machine as Reckon Accounts using the same user account for both.
You will need to install Reckon Accounts Desktop first before you can use Reckon Web Connector.
Steps:
- Download Reckon Web Connector (version 1.0.2.0, released on 26 Nov 2020) by clicking here.
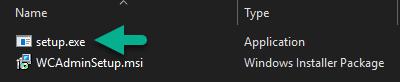
- Install Reckon WebConnector by running setup.exe
- You will need .Net Framework 4.7.2 installed. The Reckon Web Connector installer will detect and attempt to install .NET if required.
Configuring Reckon Web Connector
Before you can connect your 3rd party app with Reckon Accounts, you will need to configure Reckon Web Connect first.
Steps:
- Open Reckon Web Connector
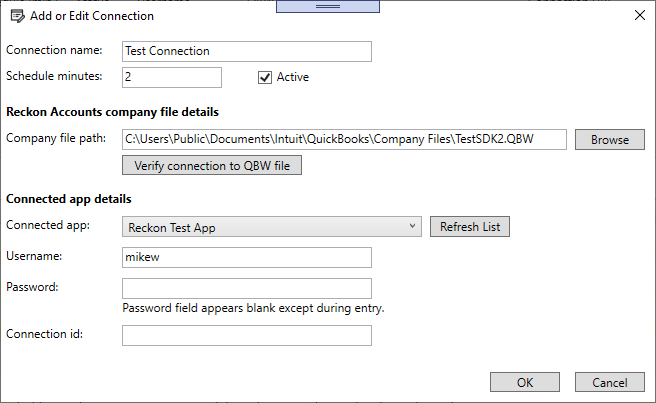
- Click on the ‘Add new’ button
- Connection name: Give it a friendly name to identify (for example, Shopify link)
- Schedule Minutes: The interim period when the recurring schedule will run
- Reckon Accounts Company file details
- Company file location
- Click on Browse and select your company file
- Click on the ‘Verify connection to QBW file’ button and ensure that Reckon Accounts is running, and the selected company file is open
- Reckon Accounts will show a Security screen to allow access to the company file. Select the ‘Allow even when Reckon Accounts is not running’ option.
- Company file location
- Connected app: Search for the 3rd party Application name by typing their name.
- Connected app details:
- Username (optional): Username of the 3rd party app (Basic Auth)
- Password (optional): Password of the 3rd party app (Basic Auth)
- Connection Id (optional): You will find this Id from the 3rd party application. It should be available under the Settings section of the app. Please contact the provider to find out if it is required and if so, how to obtain this information.
- Click OK to save the connection
You will now see the Connection showing up in the Connection List. It includes: Connection name; Schedule (min.), Status, Username, Company file location, Connection URL
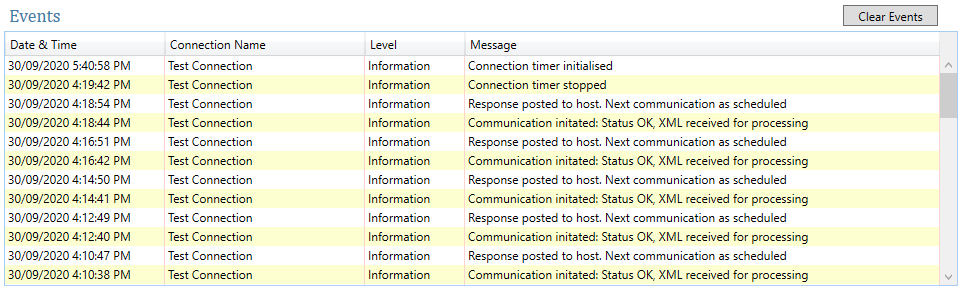
You will also see the Events section showing the relevant information relating to the integration communication: