Use classifications to track data across categories in Reckon One
Learn about classifications in Reckon One and how to set them up and use them for more meaningful reporting.
About classifications
Classifications are a way to categorise transactions in Reckon One, allowing you to group and filter data for more detailed and insightful reporting. They're especially helpful when you want to view your business performance from different perspectives (for example, tracking performance by division, sales team or location). Some common use cases include classifying transactions by region, sales representative, business division, or project or department.
Once classifications are enabled, you can assign classifications to transactions and line items within transactions, so you can then use classifications in your reports.
Enable or disable classifications in Reckon One
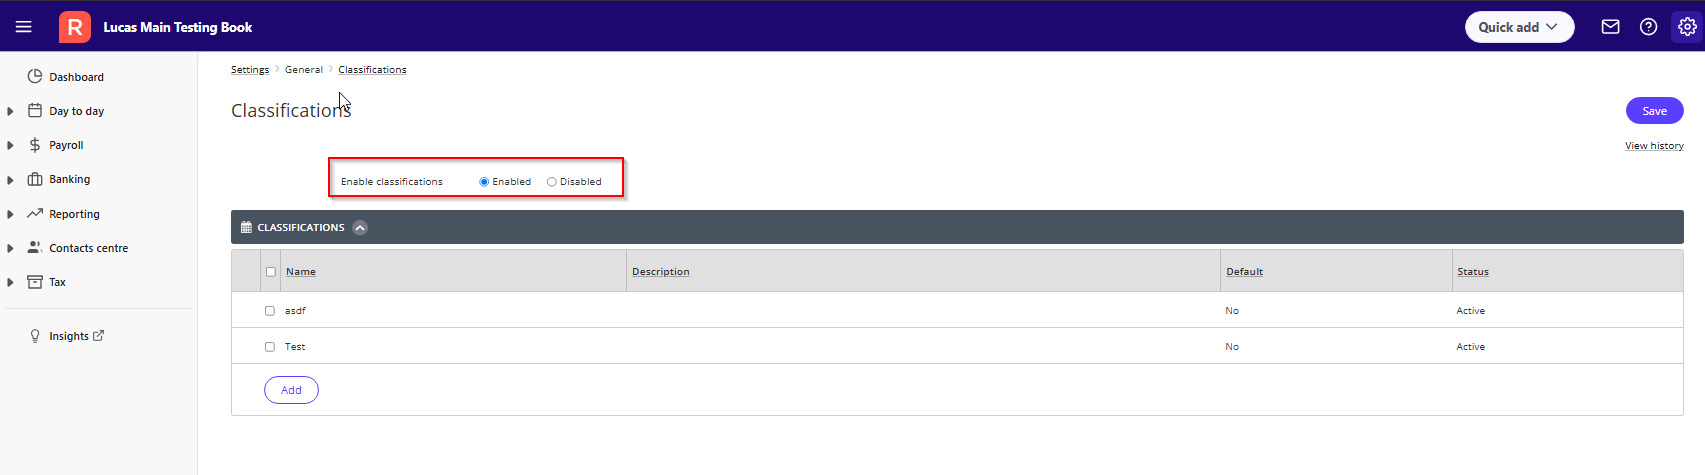
Classifications is disabled by default. To use classifications, you need to enable the feature first:
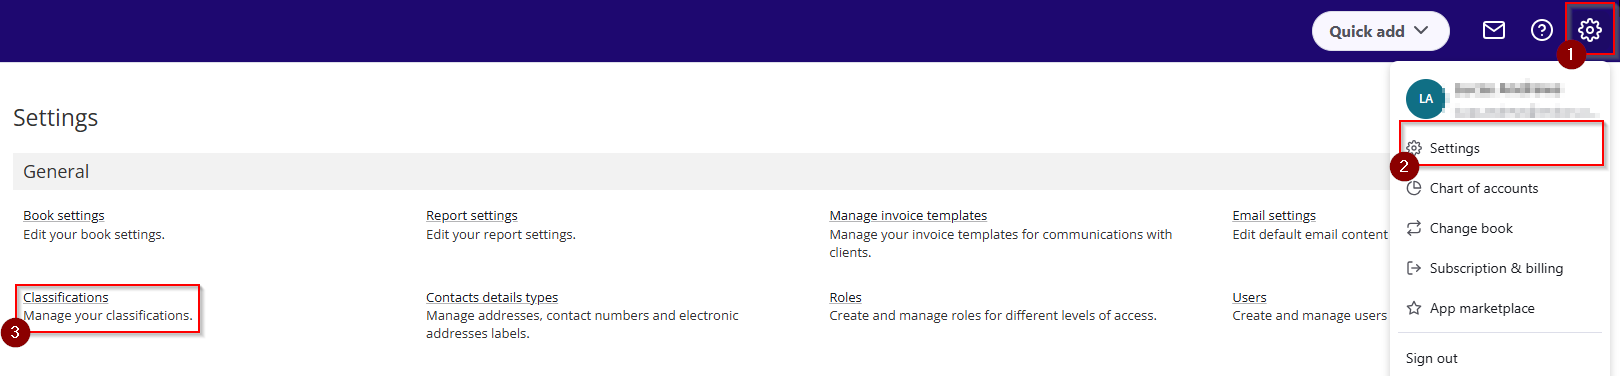
- Go to Settings > General > Classifications
- Next to Enable classifications, click Enabled.
- To disable classifications, next to Enable classifications, click Disabled.
Create a classification
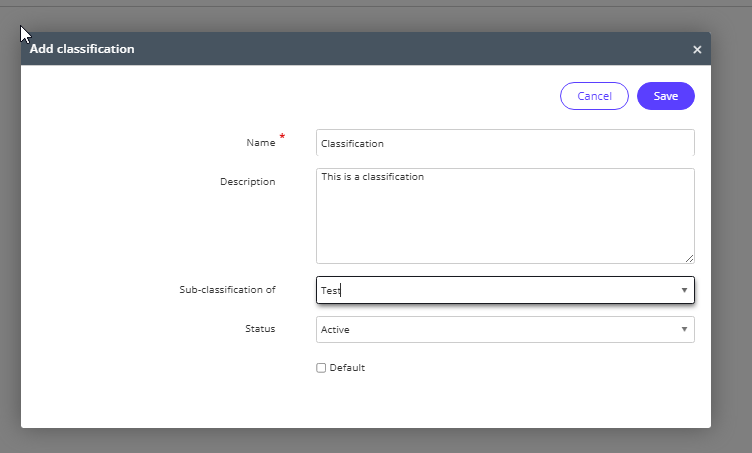
- Go to Settings > General > Classifications > Add.
- Enter in the Name.
- (Optional) Enter the Description.
- (Optional) In the Sub-classification of dropdown, choose another classification to group this one under.
- (Optional) Change the Status. Inactive classifications won't be available for selection in transactions.
- Select the Default checkbox if you wish to have this classification auto-fill in transactions.
Read more
- Learn how to assign classifications to transactions and line items for more detailed reporting
Need more help?
Ask the Reckon Community at: https://community.reckon.com/categories/reckonone
Or Log a Support Ticket: https://www.reckon.com/au/support/