Table of Contents
Make Payments
Overview
A supplier is anyone you pay for goods and services except for employees. Some examples of suppliers are electricity companies, the land lord, telephone company, tax agencies and other businesses that you purchase from.
Payments permission
The set of payments permission govern what actions a user can perform on the book.
View : Allows user to view the payment list and payments. User cannot modify or create new payment.
Create and edit : Allows user to view, create and edit but not delete a payment.
Delete : Allows users to view, create, edit and delete a payment.
Print and email : Allow users to view, print and email a payment (remittance advice).
All : Allows users to perform all of the above.

Make payment access
From the vertical navigation menu, expand Day to Day menu and in the Money Out section select Make payment. Or from the Quick Add drop down menu, select Make payment.
Make payment list
The Make payment list can be filtered for All payments, Not reconciled or Reconciled tab shows the reconciliation status of the payment to be displayed by clicking on the relevant tab. The Make payment overview can be customised using the Show/hide columns filter to select what columns to be displayed (or not) on the screen.
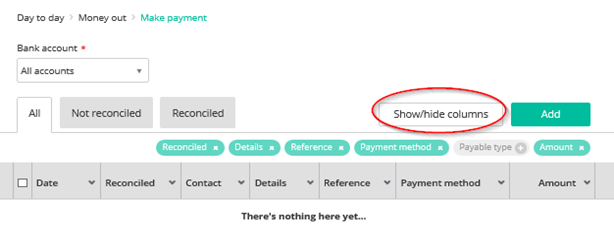
Not reconciled and Reconciled tabs show the reconciliation status of the payments. When a payment is reconciled, it will be shown in the Reconciled tab. When the payment hasn't been reconciled yet, it will appear on the Not reconciled tab.
Create new payment
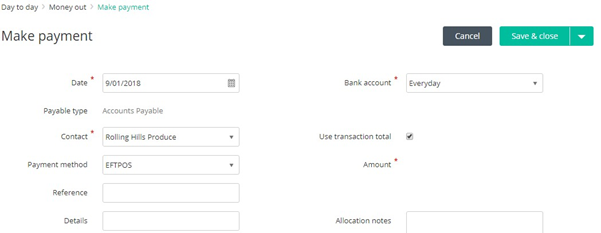
To create a new payment click on Add. Complete the mandatory (those with a red asterisk) and required fields. To enter an Amount deselect Use transaction total.
In the Allocate tab at the bottom of the Make payment screen, you will see (if they exist) a list of existing Reckon One transactions (e.g. bills) for the supplier that you can allocate the payment to. Alternatively, you can create a new transaction to allocate the payment to.
Allocate the payment to an existing Reckon One transaction
To allocate the payment to an existing Reckon One transaction:
- Click on the transaction in the Allocate tab.
- If you wish, change the dollar amount in the How much to allocate column.
- Save the payment.
Create a new transaction to allocate the payment to
To create a new transaction:
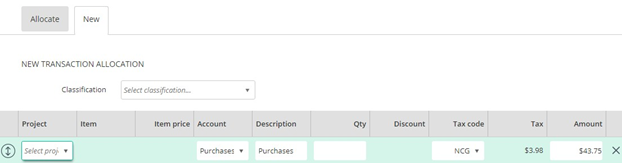
- Select the New tab.
- (Optional, if classifications is enabled) Enter a classification for the transaction. Learn how to assign classifications to transactions and line items.
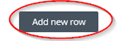
- Click Add row.
- Select either an item or account, and fill in any other details for the line item.
- Save the payment.
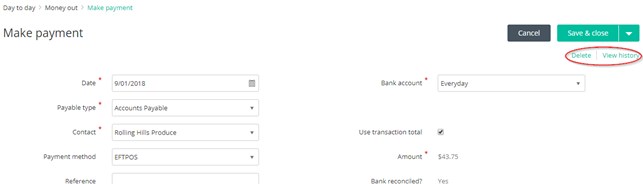
Edit or Delete a Supplier Payment, click on the relevant payment in the Make Payment overview then revise, delete or view the history of the supplier payment as required. Click on Save & close to return to Make Payment overview.
Print and email payment (remittance advice)
You can now print and send the remittance advice to the supplier via email after the payment is saved. Click on the Print link to print the remittance advice as a PDF.
To print or email a remittance advice, open the payment transaction and you will see the Print and Send via email options at the top right section of your window.

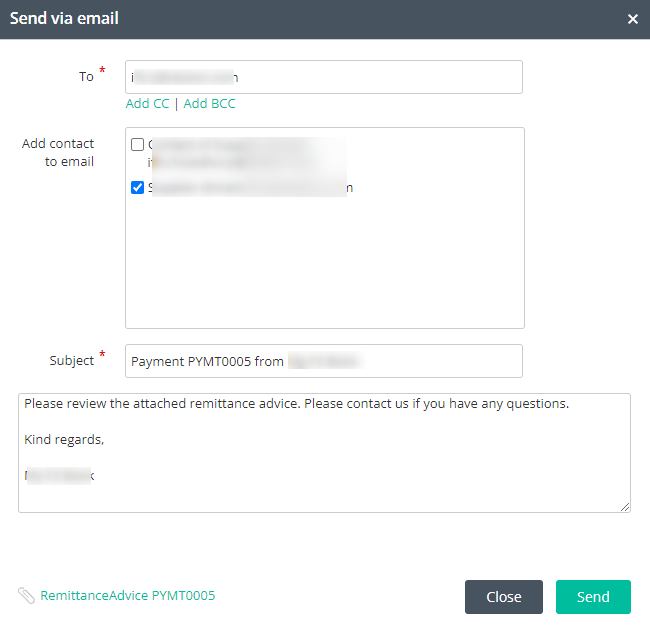
Click Send via email to email the remittance advice. You can add the supplier email and customise the message. To preview the remittance advice, click on the Remittance Advice link in the footer of the message box.
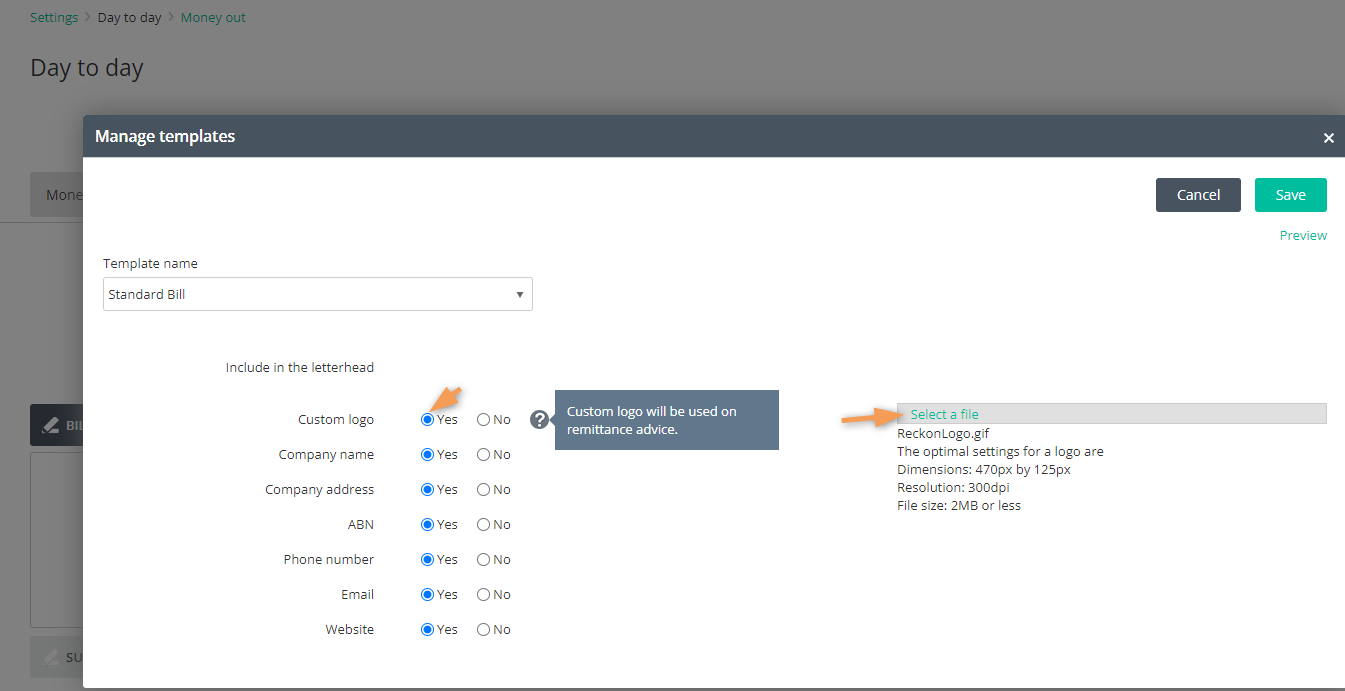
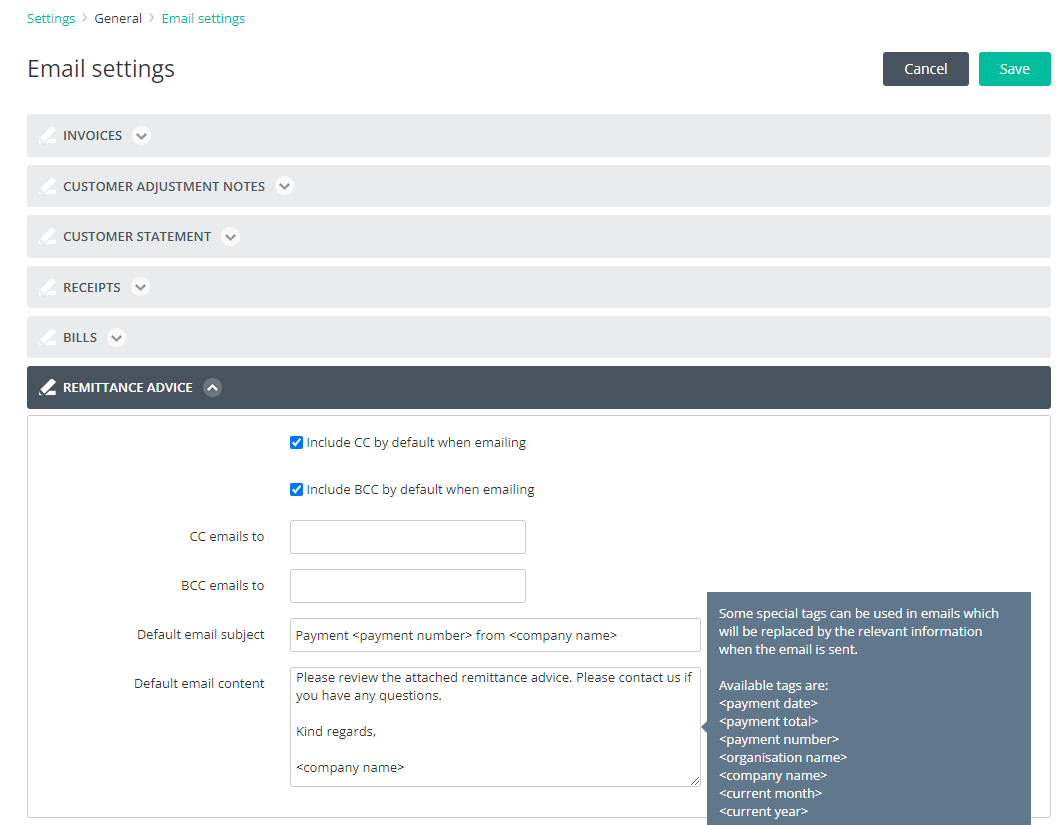
You can customise the remittance advice email from General settings > Email settings > Remittance Advice.
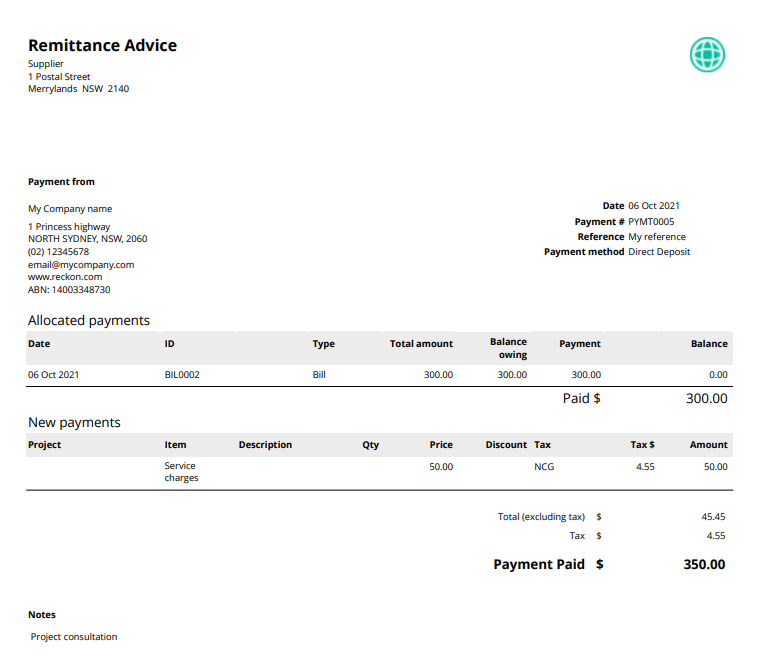
An example of a remittance advice
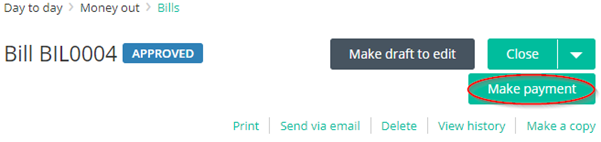
Paying a Bill
To pay a bill, from the Bills overview, click on the relevant bill to open it. Only approved bills can be paid. Click on Make payment.
Complete the details of the supplier payment made, click on View full details to view additional payment entry fields.
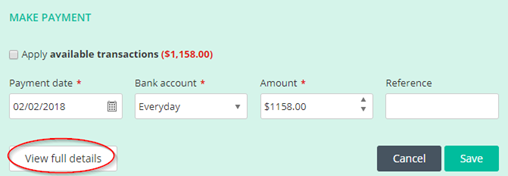
This will give you additional fields which can be completed for the payment.
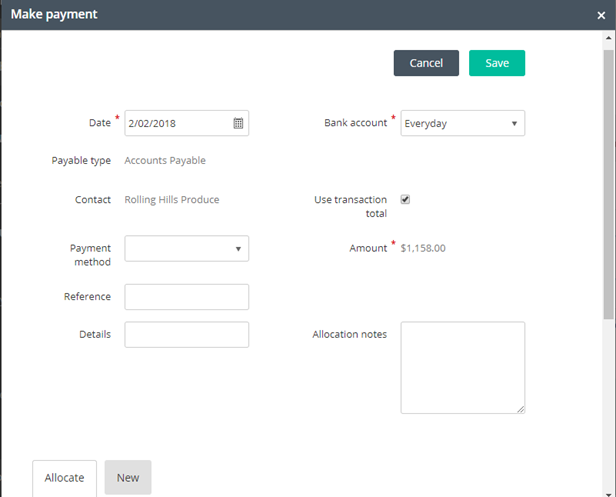
When all details and mandatory fields have been completed click on Save. The bill’s status will now show as Paid.
To view an audit trail / history for each bill, click on View history.
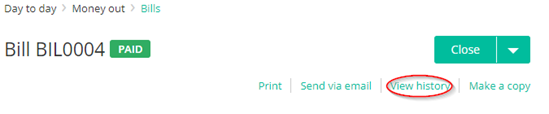
To add additional notes to the entries click on Add note. Once finished viewing click on Close.
The Bills overview will show the updated status.
Deleting a Bill Payment
Deleting a bill payment requires two steps, unlinking the payment, and then deleting it.
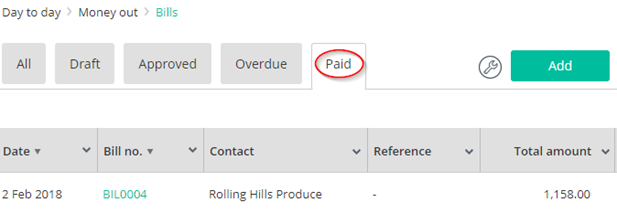
Click on the Paid tab in the Bills overview and click on the bill to open it.
Scroll down the bill until you can see and click on the already paid amount.
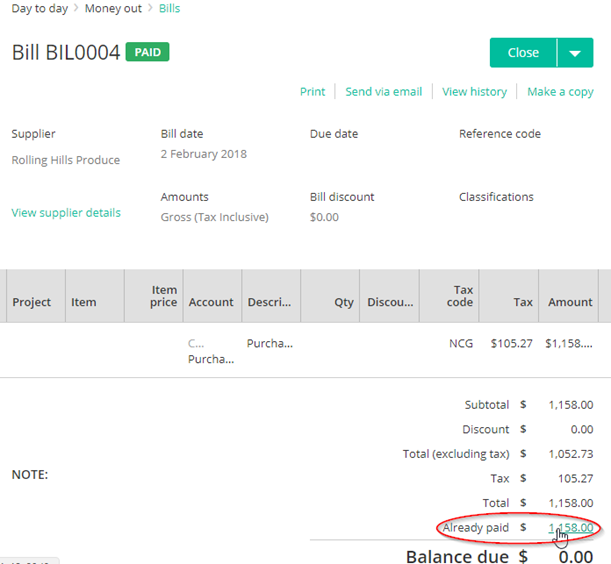
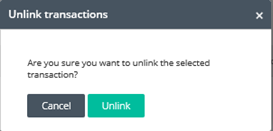
Click on the amount and then click on Unlink. Confirm by clicking on Unlink.

You will see the bill’s status has changed back to Approved or Overdue.

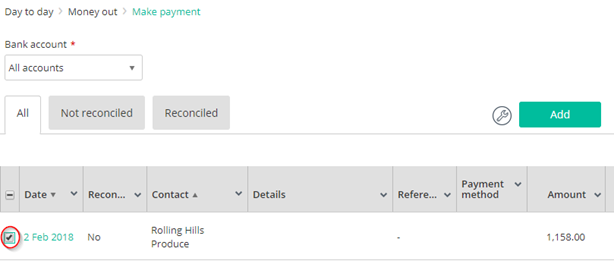
Now the payment has been unlinked it can be deleted. In the Money out section, select Make Payment. Locate the payment in the list and tick the box beside it. Click on Delete.

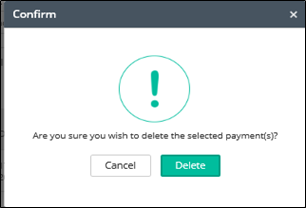
Confirm deletion of the payment by clicking on Delete.
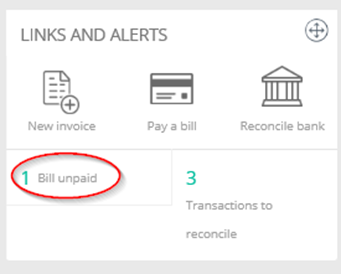
The Links and Alerts widget on the Dashboard reminds that there are Bills unpaid. You can access the transactions by clicking on the link.
How to video
Need more help?
Ask the Reckon Community at: https://community.reckon.com/categories/reckonone
Or Log a Support Ticket: https://www.reckon.com/au/support/