Setting up your Account
Setting up your Account so you can use Reckon Cloud POS. Please read the tutorial below, or if you prefer watch our "How To" video.
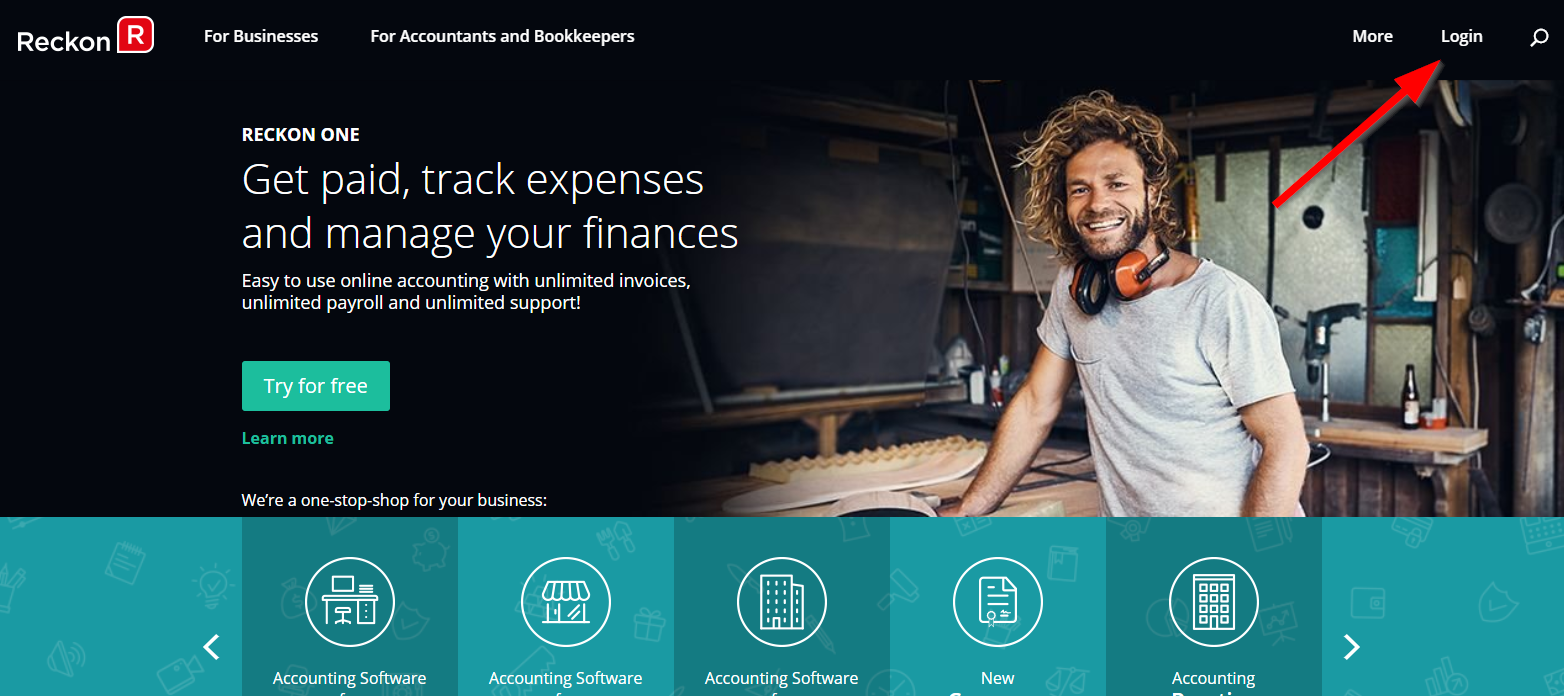
Reckon Cloud POS is accessible via Reckon's Portal. This mean the first thing we need to do is create a free portal account. To do this, navigate to www.reckon.com and mouse over "Login" at the top right hand corner.
From there you can select Reckon Cloud POS and you will be redirected automatically to the "portal" login area.
Select "Register for free"
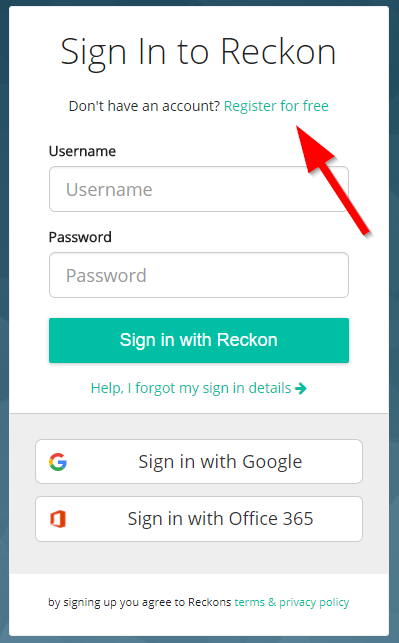
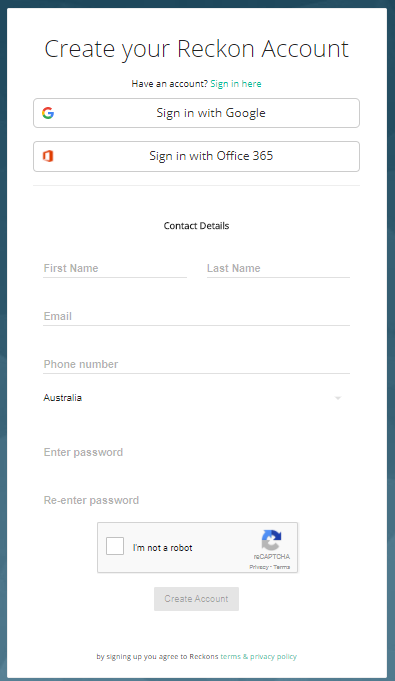
You will then have 3 different options to register. You can "Sign in with Google" which uses an existing Google to allow you to quickly sign in. You can also select "Sign in with Office 365", this will use your Office account to sign in. Alternatively, you can sign up by entering your details into the fields provided.
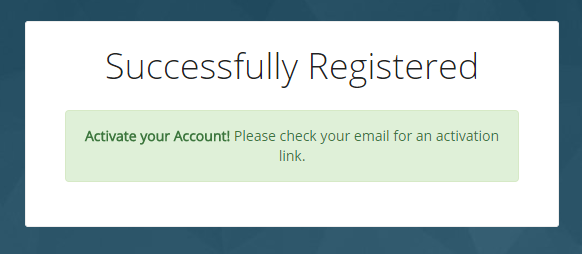
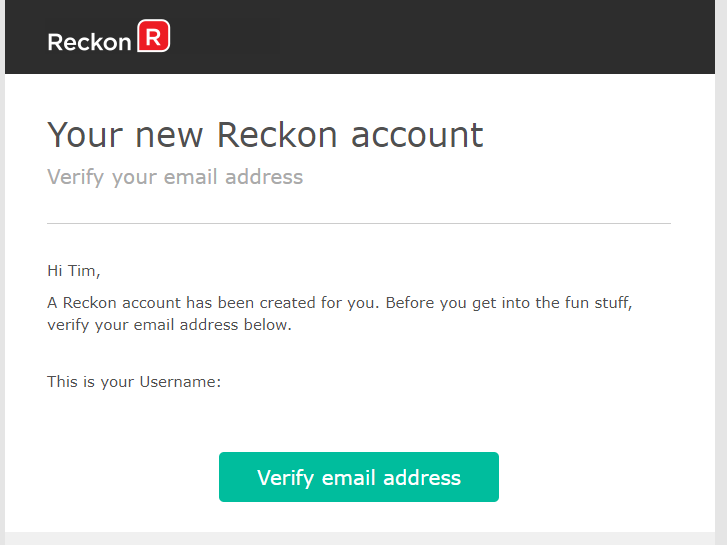
Once you have created your account you will receive a message letting you know you have successfully registered. You will also receive an email to the address you signed up with.
Open the email and press the "Verify email address" button.
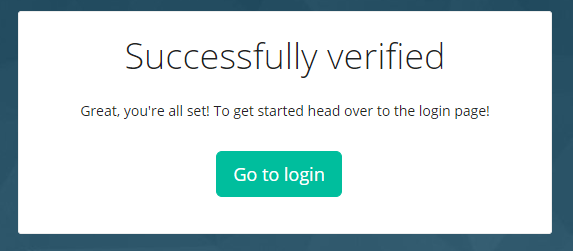
Once you have verified your email address you will be able to "Go to login" and use your new account to login.
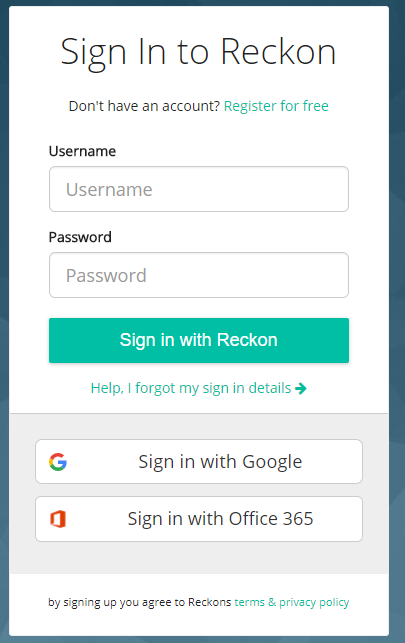
Put your details in and press "Sign in with Reckon"
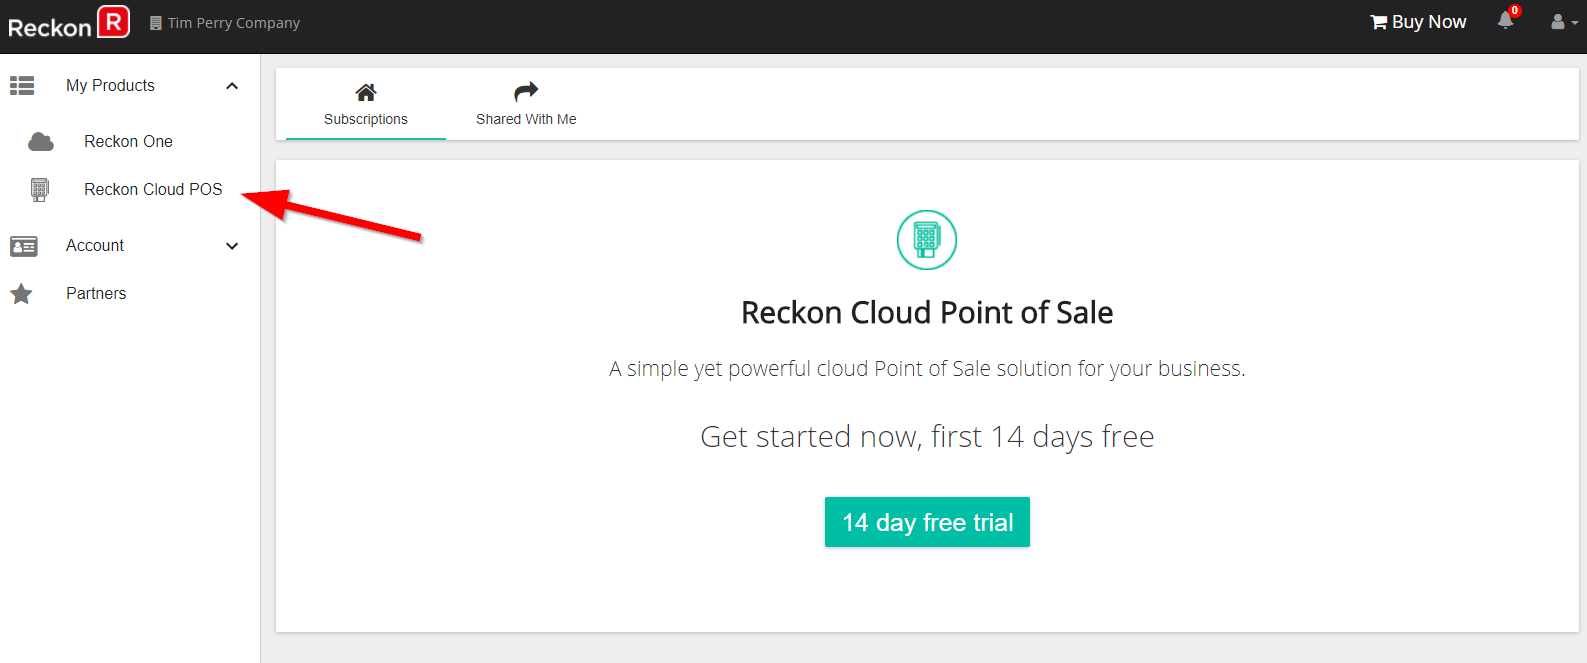
Once you are logged into the Reckon Portal you will see your list of products on the left hand side under "My Products". Select Reckon Cloud POS and you will be brought to a screen that gives you access to the software. From here you can purchase the software or try it for free for 14 days.
Need more help?
Ask the Reckon Community at: https://community.reckon.com/
Or
Log a Support Ticket: https://www.reckon.com/au/support/