Table of Contents
What's New - Platform upgrade for Reckon Accounts Hosted 2024 R1 and above
About
Reckon Accounts Hosted utilizes a platform to deliver Windows desktop sessions accessible through your web browser. The new platform offers enhancements designed to boost performance, streamline workflows, and deliver an exceptional user experience.
This new infrastructure will be progressively rolled out to customers beginning on Q1 2025 for both Australia and New Zealand Edition.
No data upgrades are needed.
- Use
Command keys for actions within macOS.- Use
Control keys for actions within Reckon Accounts Hosted.Key changes/improvements
- Enhanced file upload options, including drag-and-drop and uploading multiple files at once.
- Greater flexibility in selecting upload destinations.
- Download and delete multiple files simultaneously.
- Automatic use of system regional settings for date and time formats in reports and transactions.
- Dual monitor support for managing external windows with resizing, full-screen, and toolbar options.
New Features
New Experience Toolbar
As a start, you will notice a difference in user interface after you click on Launch Accounts 2024.
You will be presented with a new session connection screen.
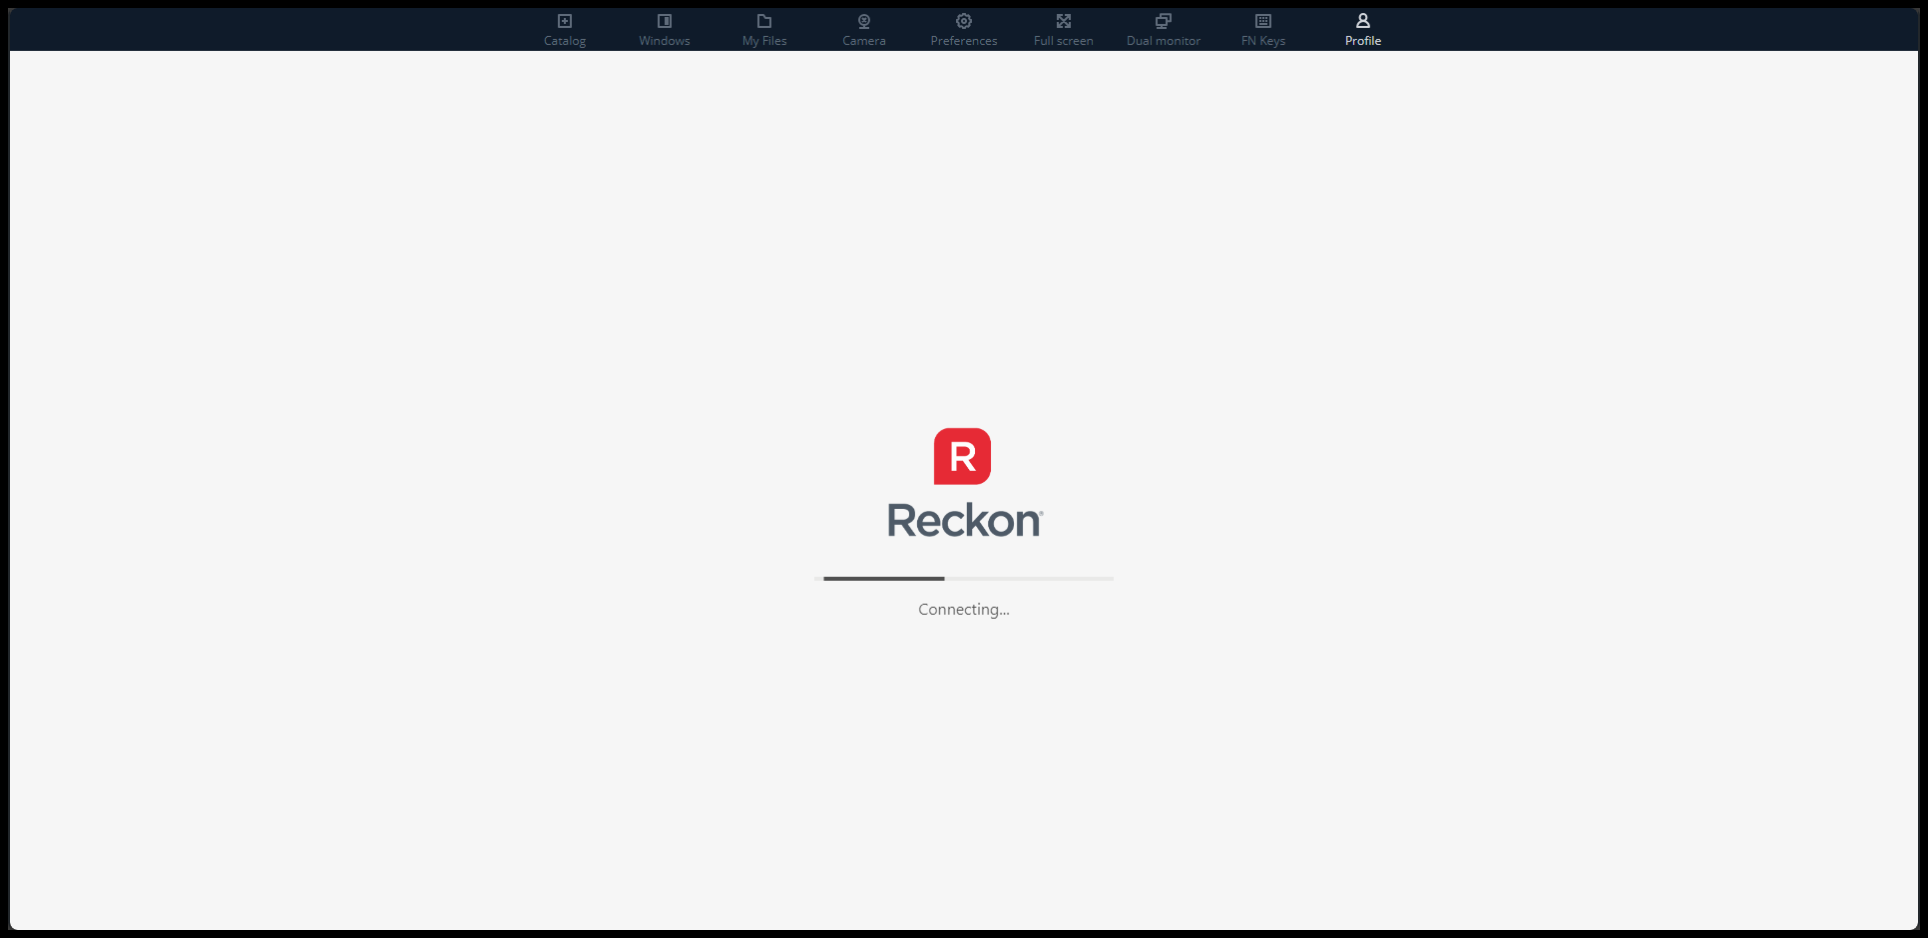
Once connected, a new New Experience toolbar will be available above the Reckon Accounts Hosted application workbench. The icon labels would disappear depending on the size of the screen.

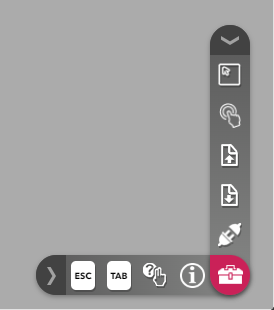
This replaces the previous Floating toolbar.
There are a total of 10 new toolbars available:
NEW PLATFORM | FLOATING TOOLBAR | DESCRIPTION |
 | - | CATALOG: Click to switch application. Not applicable for Hosted. |
 | - | WINDOWS: The workbench shows all open windows for easy switching. |
 |  | MY FILES: Open the dialogue in the root folder for File Management. |
 | - | CLIPBOARD: Opens the Clipboard dialogue. This tool is not required for Hosted. You can copy and paste directly from your computer to Hosted. |
 | - | MICROPHONE: Click to enable microphone use. Not applicable for Hosted. |
 | - | PREFERENCES: Click to open Preferences. |
 | - | FULL SCREEN: Click to enter full screen, hiding headers, toolbars, and some labels. |
 | - | DUAL MONITOR: Opens a new browser window to display and manage other windows view. |
 |  | FN KEYS: Click to display 29 virtual keys and functions. Function Key (FN Keys) ListThis is not a necessary toolbar option for PC users but it may be helpful for devices such as Tablets. Ctrl: Control Alt: Alternate Shift Del: Delete Esc: Escape Tab Select all Copy Paste Cut Home: returning the text cursor to the beginning of the current active line. End: moves the cursor to the end of the line, document, page, cell, or screen. Left arrow: moves the cursor to the left Right arrow: moves the cursor to the right Up arrow: moves the cursor up Down arrow: moves the cursor down F1: displays Reckon Accounts In-Product Help F2: displays Reckon Accounts Product Information/Rename F3 F4: nothing on its own but combined with Alt + F4 closes the application. F5 F6 F7 F8 F9 F10: nothing on its own but combined with Shift+ F10 displays the context menu. F11 F12: calls the Activation Wizard but not applicable for Hosted. Enter: carriage return |
 |   | PROFILE: Click to view AppStream info and end the session. |
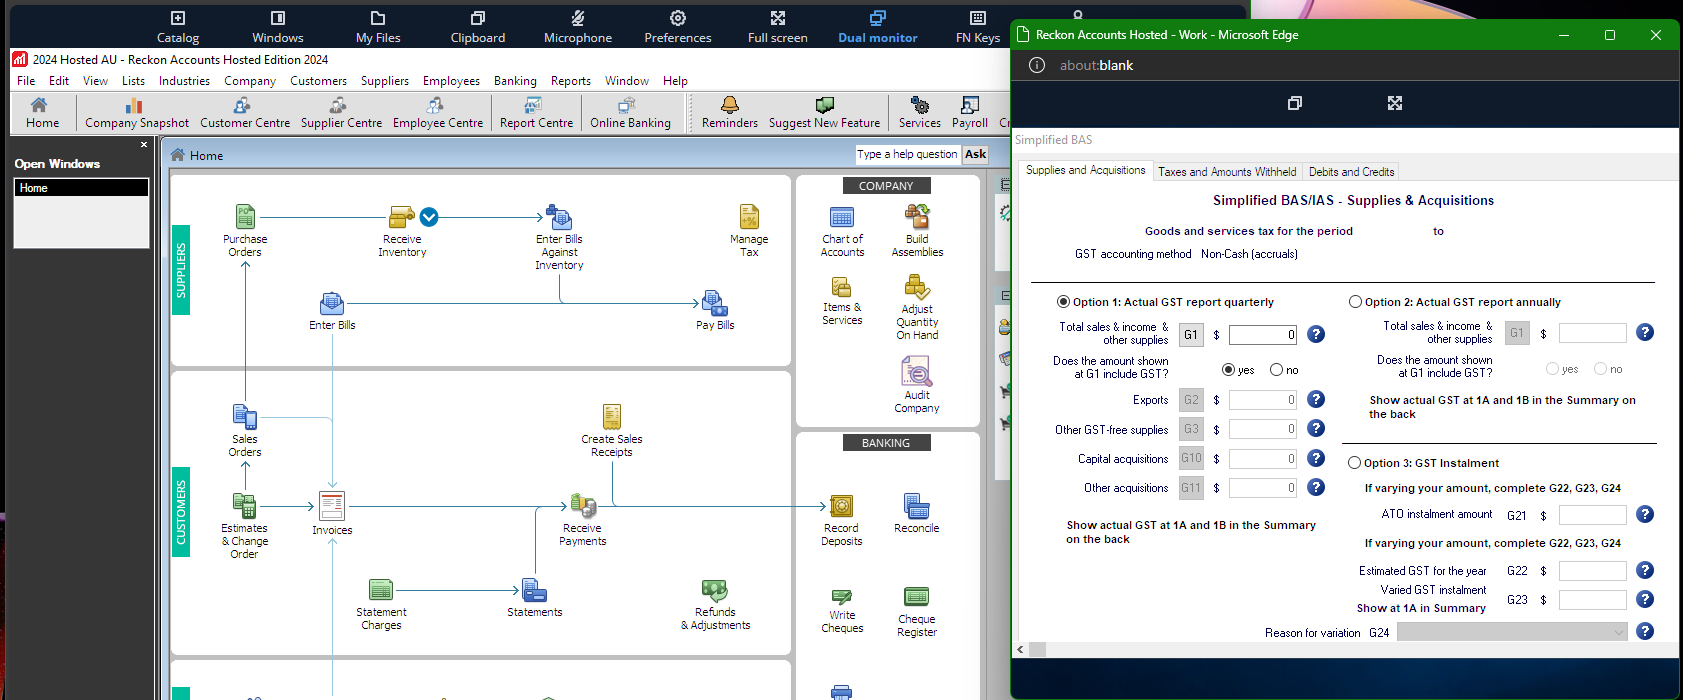
Windows and Dual Monitor tools
The Windows tool displays all open windows for easy switching between multiple windows outside Reckon Accounts Hosted, such as BAS/IAS or External links.
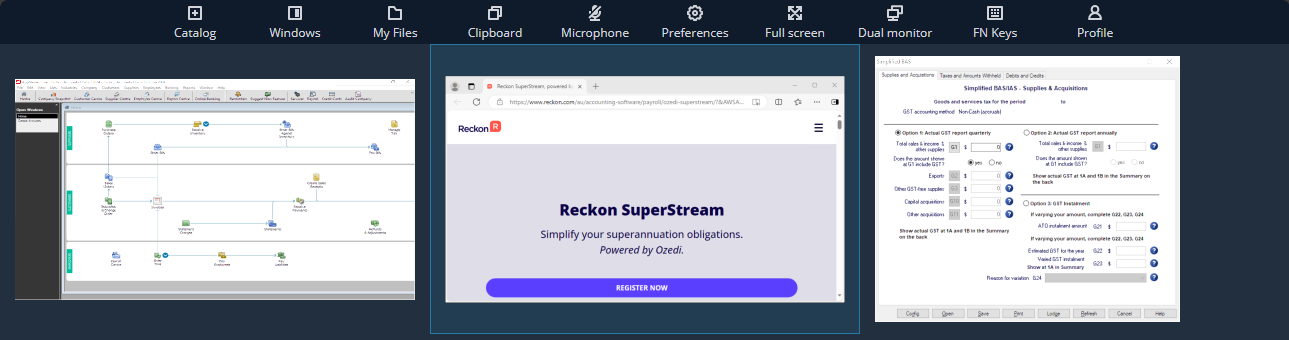
The Dual Monitor tool opens one new browser window, allowing external windows to be dragged and viewed side-by-side with your Company File. Disabling the tool will bring the screen back to the main window. This does not apply to windows within Reckon Accounts Hosted, like the Chart Of Accounts List.
Both tools can be used in tandem.
For example:
- Open the Simplified BAS/IAS from Help menu > Tax, then minimise it.
- Click on Windows tool, and you will see two active screens available. Select the Simplified BAS to make it an active window.
- Click on Dual Monitor tool, and it will open a new browser window. Resize to display your Company file window side- by-side.
- Drag the Simplified BAS to the new browser window. The direction depends on the window's position—drag right if it's on your right.
My Files tool
The My Files tool is a file management dialogue that lets you add, view, delete, and upload/download one or multiple files at once. It opens in the root directory, displaying the folders for Q Drive (Personal drive) and B Drive (Backup drive) as well as a Temporary Files folder. Click on your Q folder to start managing your files and folders.
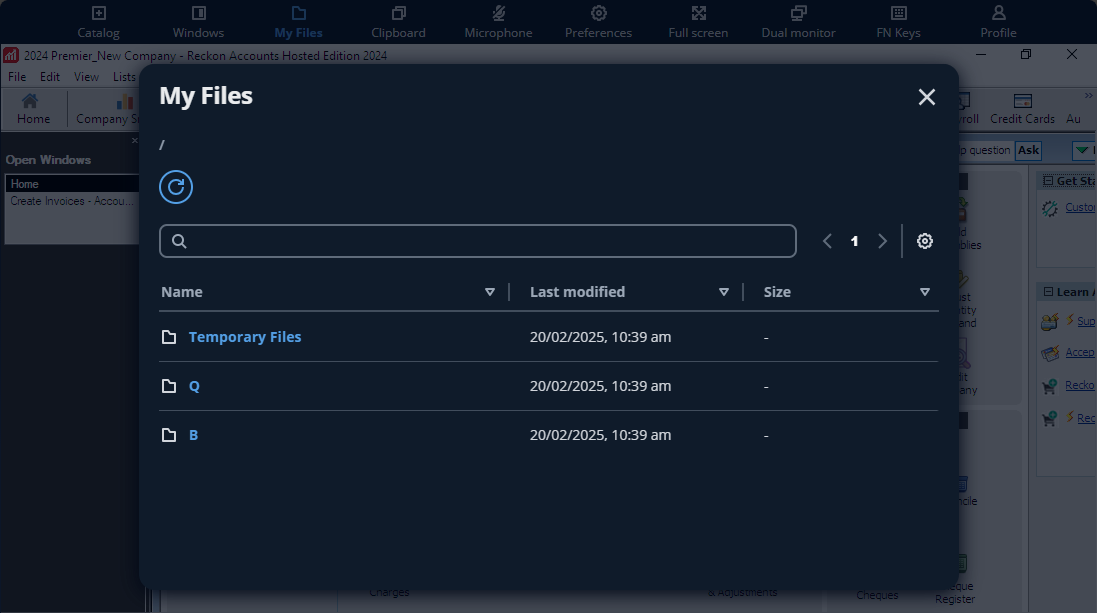
User Interface
The My Files interface provides several features to manage your files:
- The
/symbol represents the root folder, and clicking it returns you there. When going to folders, it will display the breadcrumb path and allows navigation when selected. - A search field is available, but it only searches within the current folder, not system-wide.
- Pagination replaces scrolling.
- Column headers can be sorted, with the default sorting by Last Modified in ascending order.
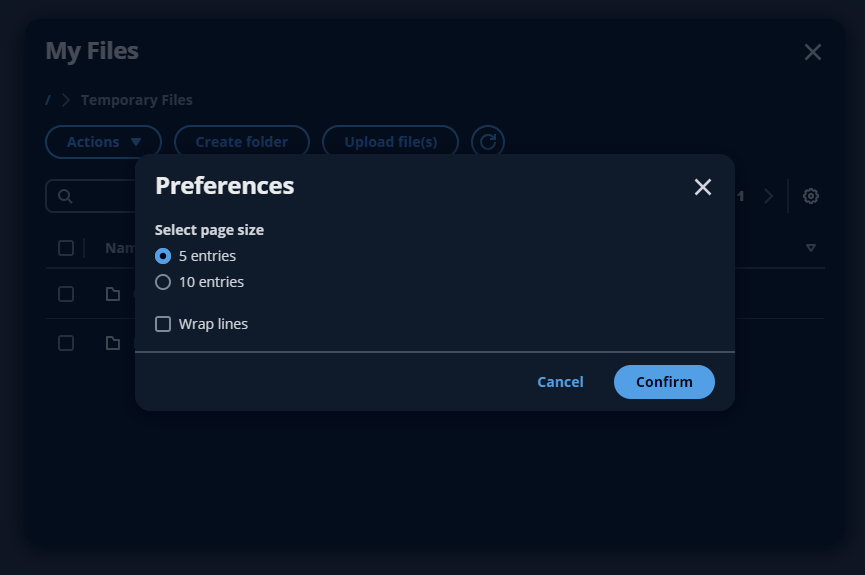
- Preferences allow you to choose how many entries per page and whether to wrap lines.
- Default display is 5 entries
- Wrap lines is cleared
Files and Folder Icons
DESCRIPTION | NEW PLATFORM | PREVIOUS PLATFORM |
Files icon | 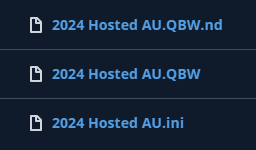 | 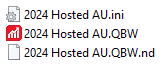 |
Folder icon |  |  |
Shared folder icon |  |  |
Files and Folder Actions
To perform actions on files or folders, first select an item by clicking its checkbox. Available actions include:
- Rename
- Delete
- Download
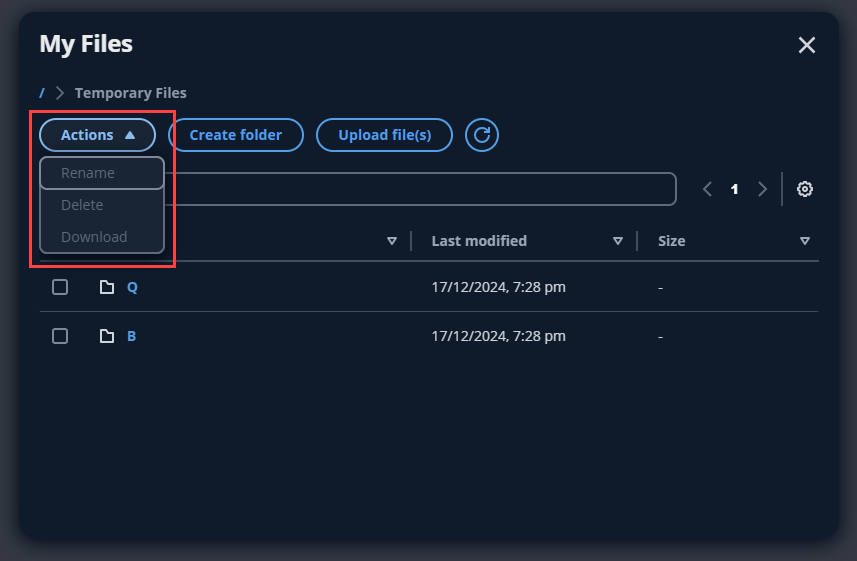
One or more files and folders can be selected. However, take note of the available actions below based on the conditions.
Rename | Delete | Download | |
One file | ✓ | ✓ | ✓ |
Two or more files | ✘ | ✓ | ✓ |
One folder | ✓ | ✘ | ✘ |
Two or more folders | ✘ | ✘ | ✘ |
Folder and file together | ✘ | ✘ | ✘ |
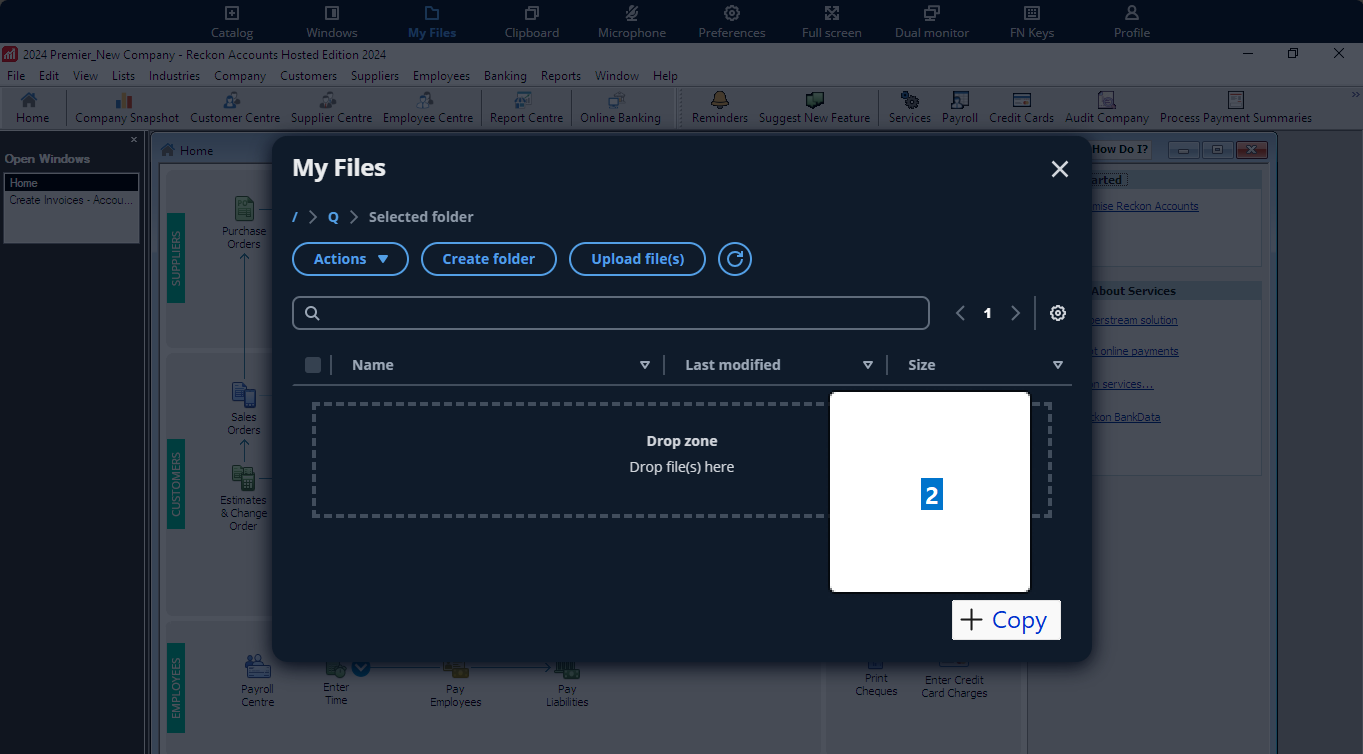
Upload file(s)
The new platform allows multiple file upload through File Explorer selection or drag-and-drop method.
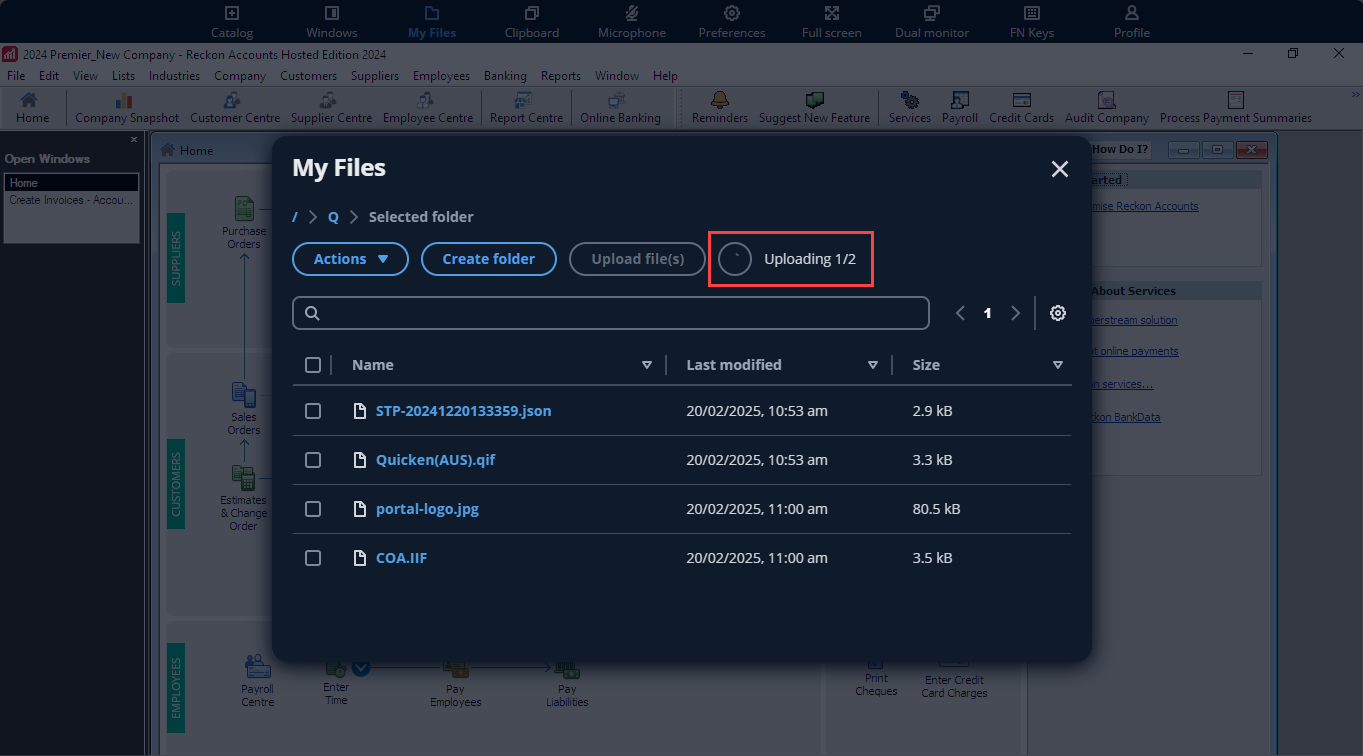
The progress is no longer shown as a bar, but as a count of upload status. This is displayed next to the Refresh icon (e.g., 1 of 6 files). Once completed, the file will appear in the My Files dialogue, otherwise, click the Refresh icon to update the contents displayed.
During the upload process, you can close the My Files tool to continue working.
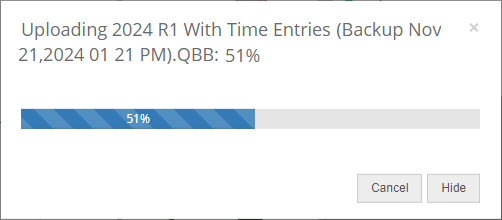
Previously, uploading a file showed a progress bar that could be cancelled or hidden.
Supported File Types
Reckon Accounts Files
LNK: Shortcut File
LOG: Log File
ND: Network Data File
QBA: Accountant’s Copy File
QBB: QuickBooks Backup File
QBM: QuickBooks Portable File
QBW: QuickBooks Working File
QBX: Accountant's Transfer File
QBY: Accountant’s Changes File
SYS: System File
TLG: Transaction Log File
TLX: Custom Dictionary File
Reckon Accounts Import/Export Files
BMP: Bitmap Image File
DES: Design Template File
IIF: Intuit Interchange Format File
JPG: Joint Photographic Experts Group
JSON: JavaScript Object Notation
QBO: QuickBooks Online Bank Statement File
PNG: Portable Network Graphics
XML: Extensible Markup Language
Documents and Spreadsheets
DOC: Microsoft Word 97 – 2007 Document
DOT: Microsoft Word 97 – 2007 Template
DOCX: Document Open XML
ODF: ODF Text Document
PDF: Portable Document format
RTF: Rich Text Format
TXT: Text File
XLS: Microsoft Excel 97 – 2007 Spreadsheet
XLSX: Excel Spreadsheet Open XML
Preferences tool
Preferences allow you to view/customize display, regional, and performance settings:
- General (default tab): Configure theme (set to System Default) and streaming mode (default: Best Responsiveness).
- Display: Adjust resolution settings (default: Match Local Display).
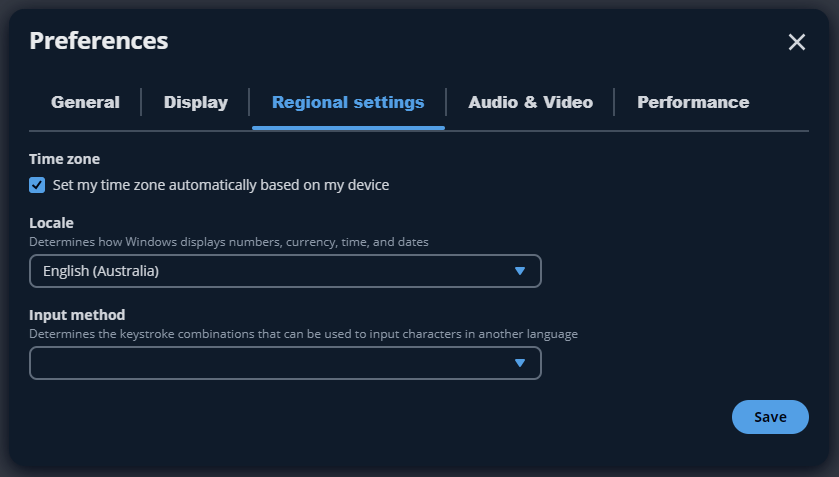
- Regional Settings: Update time zone, currency, date, time, and input method.
- Audio & Video: Manage microphone and webcam settings (not supported for Reckon Accounts Hosted) and choose whether to remember device settings for future sessions.
- Performance: Monitor frame rate, bandwidth usage, and network latency.
Regional Settings
Reckon Accounts Hosted uses system settings for number, date/time, and currency formats. The new Regional Settings feature allows Reckon Accounts Hosted to capture activities within the Company file based on the actual local date/time, which depends on your system's date/time settings.

The default settings are:
- Time zone: "Set my time zone automatically based on my device."
- Locale: English (Australia) — this affects date, time, and currency formats.
- Input method: None
Example of a Time Zone change:
BASELINE | SYDNEY | PACIFIC TIME | |
Time zone | (UTC + 10:00) Canberra, Melbourne, Sydney | (UTC + 10:00) Canberra, Melbourne, Sydney | (UTC - 8:00) Pacific Time (US & Canada) |
Invoice created | 14/11/2024 at 5:50 PM | 14/11/24 17:50:03 | 13/11/2024 22:50:03 |
Audit Trail report ran | 14/11/2024 at 5:52 PM | 14/11/24, 5:52 PM | 13/11/2024, 11:33 PM |
Reckon Accounts Backup Copy (.QBB) created | 14/11/2024 at 6:16 PM | 14/11/2024, 6:16 PM | 13/11/2024 11:16 PM |
Example of a Locale change:
BASELINE | AUSTRALIA | UNITED KINGDOM | |
Locale | English (Australia) | English (Australia) | English (United Kingdom) |
Currency symbol | $ | $ | £ |
The same applies to Reckon Accounts Desktop.
Permissions
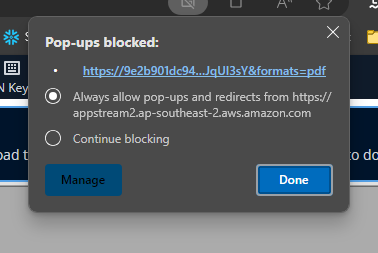
When accessing Reckon Accounts Hosted in the new platform for the first time, your browser may show a pop-up to allow actions from appstream2.ap-southeast-2.aws.amazon.com. If no pop-up appears, you may need to manually adjust these settings in your browser.
User may need to allow for the first time:
- Clipboard (Copy/Paste)
- File Upload/Download
These settings can be changed anytime in your browser preferences.
As an example, to allow Pop-ups and redirects for printing, users may need to do the following:
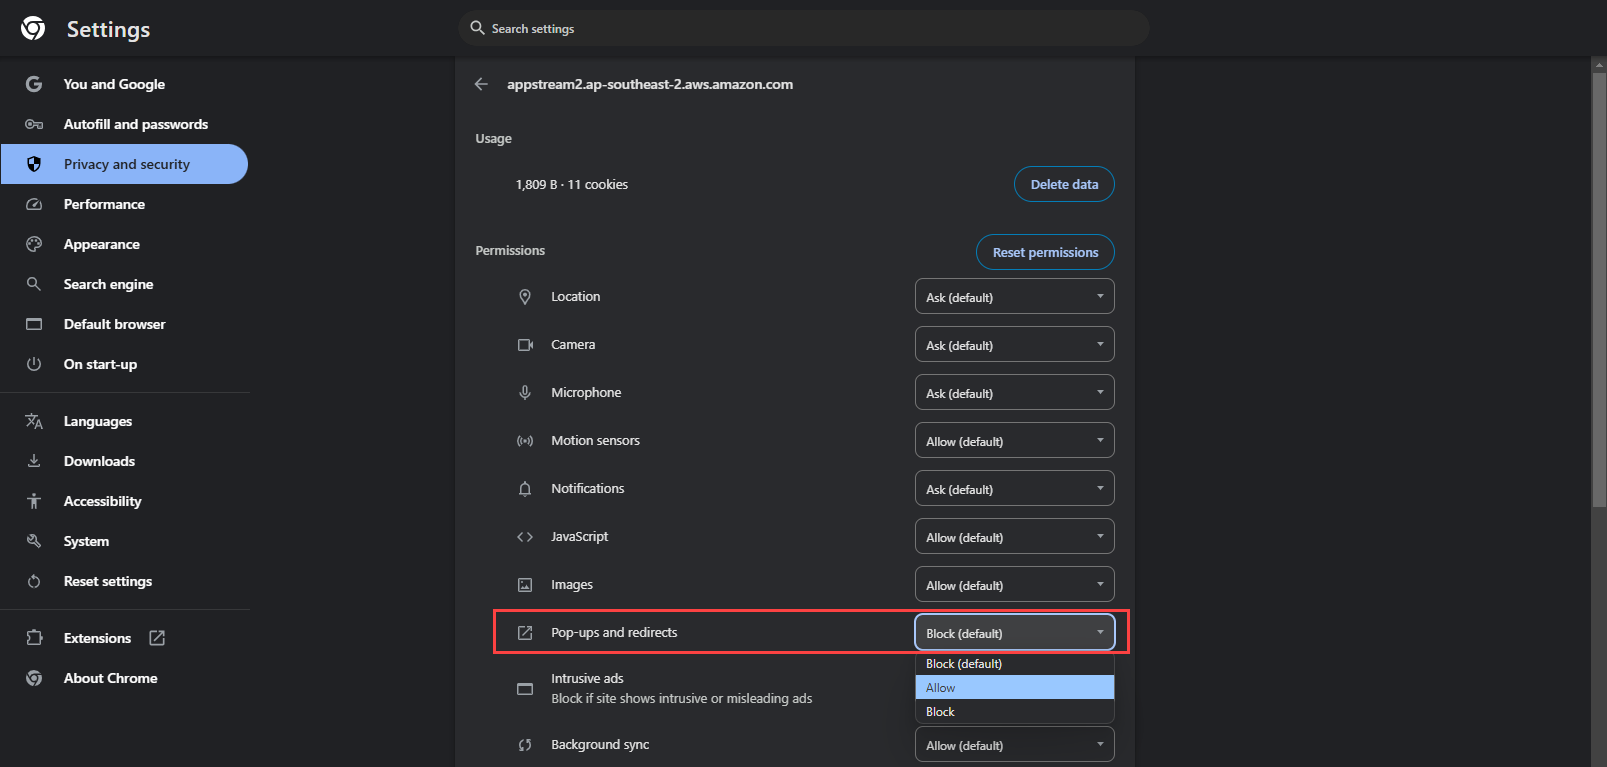
- Using Google Chrome, go to Settings > Privacy and security
- Select the Site permission for appstream2.ap-southeast-2.aws.amazon.com
- Find Pop-ups and redirects and set to "Allow"
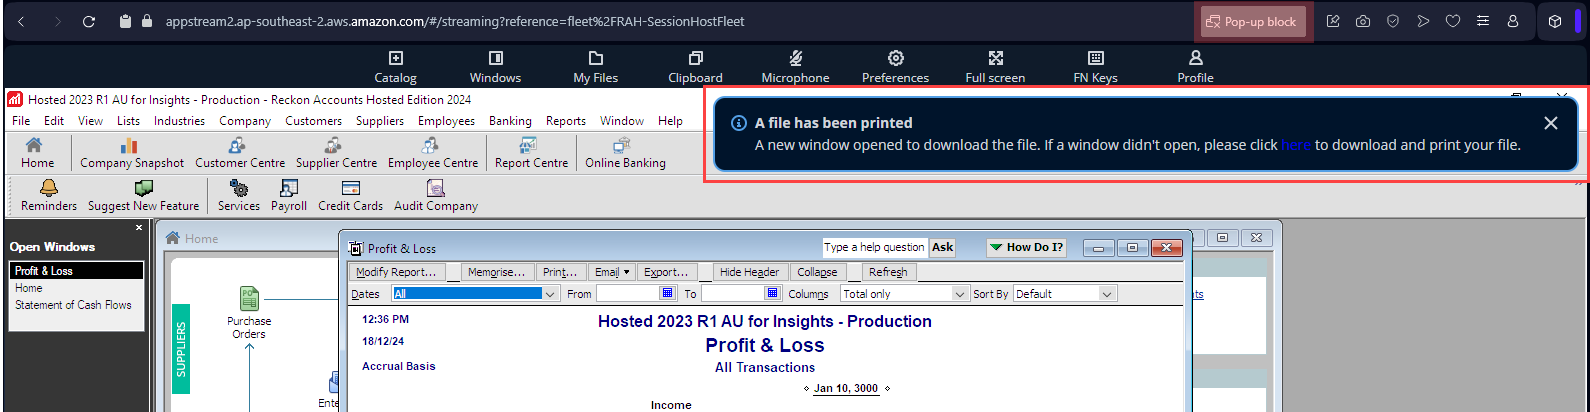
Printing
In Reckon Accounts Hosted, "printing" refers to generating a PDF copy of the transaction or report, which opens in a Preview within a separate browser tab. From there, users can review the document, make any necessary adjustments, and choose the next action, such as saving or printing a physical copy.
The main difference is it now uses a DCV Printer.
The same settings are retained but most will not be available in the new environment from within Reckon Accounts Hosted such as:
- Resizing and scaling options
- Some Paper size and type selection
- Page alignment for punching
- Document finishing options (e.g., booklet binding, pages per sheet)
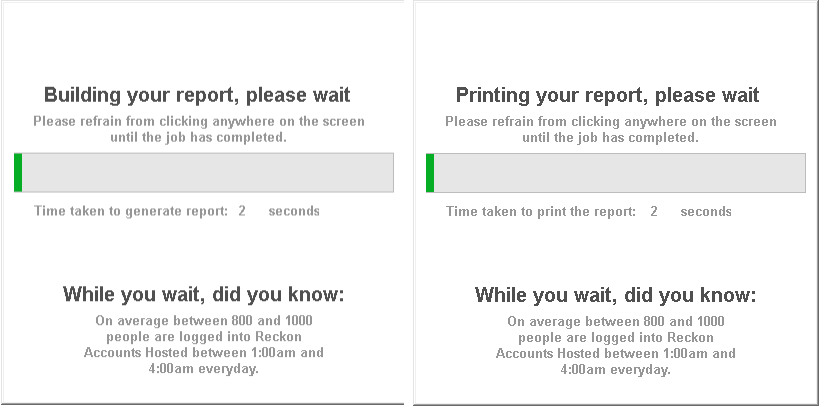
We have also removed the progress bar when building and printing your report.
Similar options and selections available:
NEW PLATFORM | PREVIOUS PLATFORM | |
Printer name | DCV Printer | Reckon Printer |
Options | Paper/Quality tab | Printing shortcuts tab |
Color | Color (default) | - |
Orientation | Portrait | Portrait |
Print on Both Sides | None | No |
Paper Size | A4 (210 x 297 mm) | A4 (210 x 297 mm) |
Count Copy | 1 Copy | 1 Copy |
Print Quality | 600 x 600 dpi | 600 dpi |
Color Printing Mode | True Color (24bpp) | - |
Sessions and Timeouts
Ending Your Session
There are several ways to end your Reckon Accounts Hosted session. On the previous platform, the recommended process:
- Go to File menu > Exit to close your Company file. This will prompt users to confirm and save any open transactions.
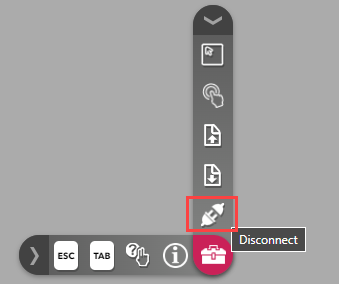
- Then, click on the Disconnect option from the floating toolbar.
On the new platform, the same best practices apply, but you now have two options:
File and Exit
- Go to File menu > Exit to close your Company file and Reckon Accounts Hosted.
- You will be prompted to confirm and save any open transactions or memorise reports.
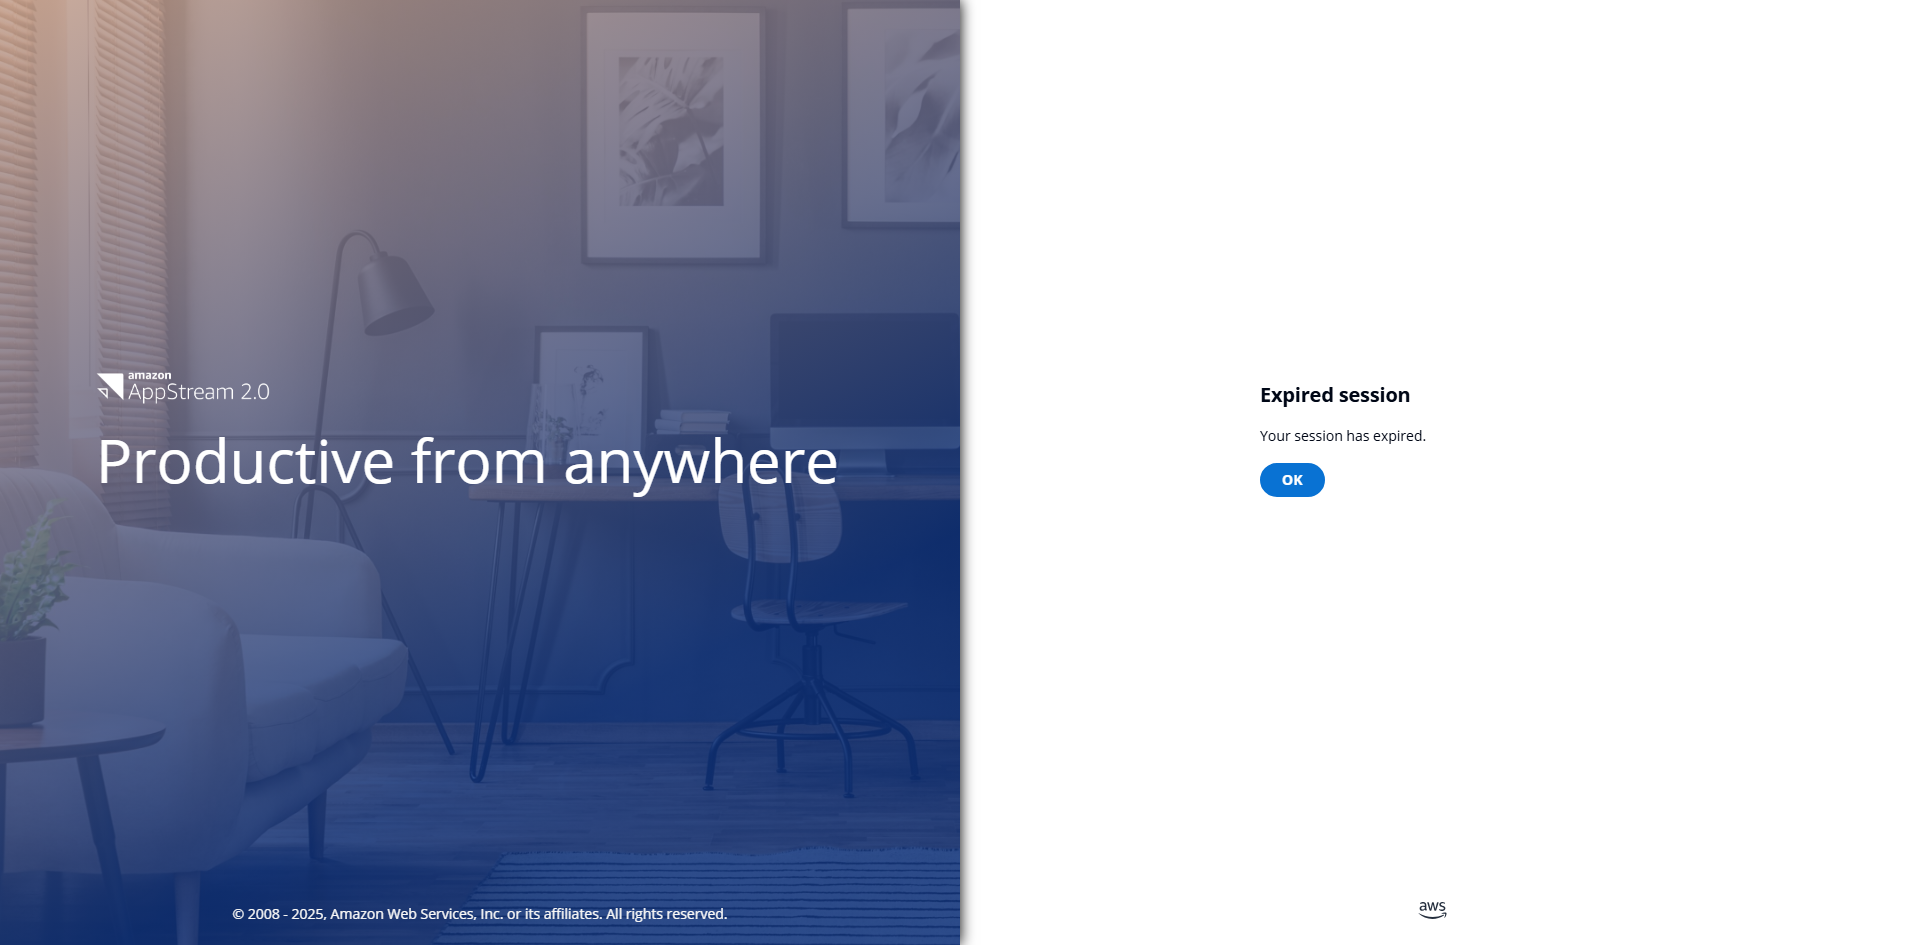
- After that, the "Your session has expired" page will appear on-screen.
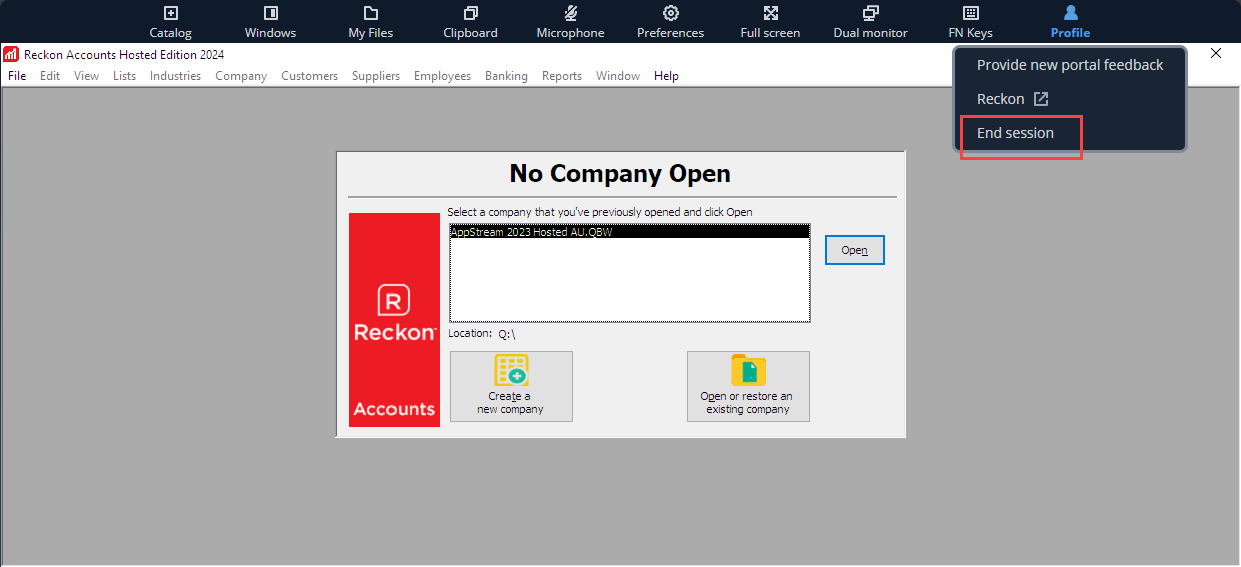
Profile end session
- Save your work, then go to the File menu and select Close Company.
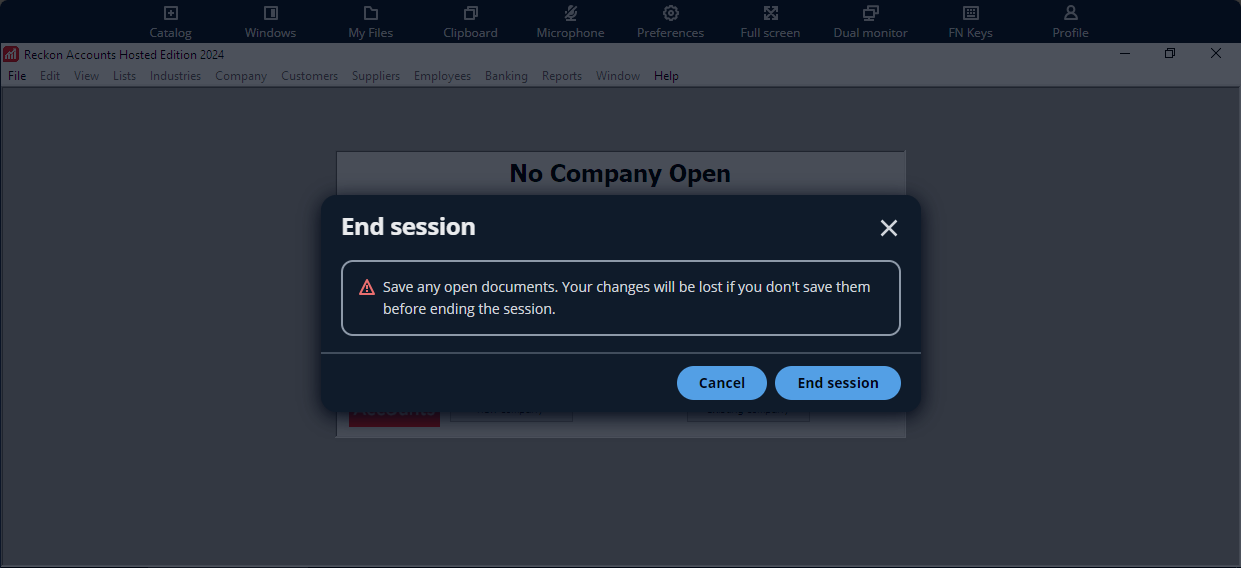
- Click on the End Session from the Profile toolbar.
- When ending the session using the Toolbar, a secondary dialogue will appear with two options:
- Cancel — returns to Reckon Accounts.
- End session — terminates the session.
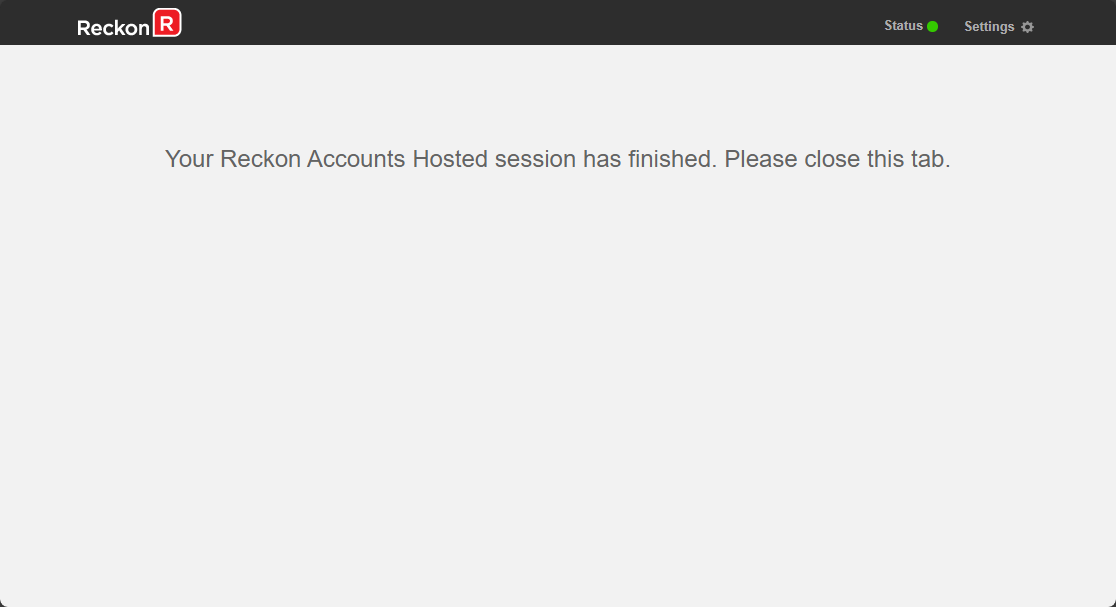
- It will display the 'Session finished' page when you successfully logged out of your Reckon Accounts Hosted session.
Timeout
The session will be retained for a set duration, after which connectivity will be terminated.
SCENARIO | DURATION |
Idle timeout within Accounts Hosted | 2 hours |
Hosted Dashboard session expiration | 1 hour |
Web browser closure or issues | 5 minutes |
Share your feedback!
We'd love to hear about your experience and how we can improve 🚀.
Go to Profile > Send Feedback.
