Creating a customer & contact - Reckon Invoices App
Creating a customer & contact - Reckon Invoices App
You can create and manage your customers and contacts from the Reckon Invoices app, saving you time from signing into Reckon One from your computer to create customer so it can be used on the invoices app.
Creating a customer
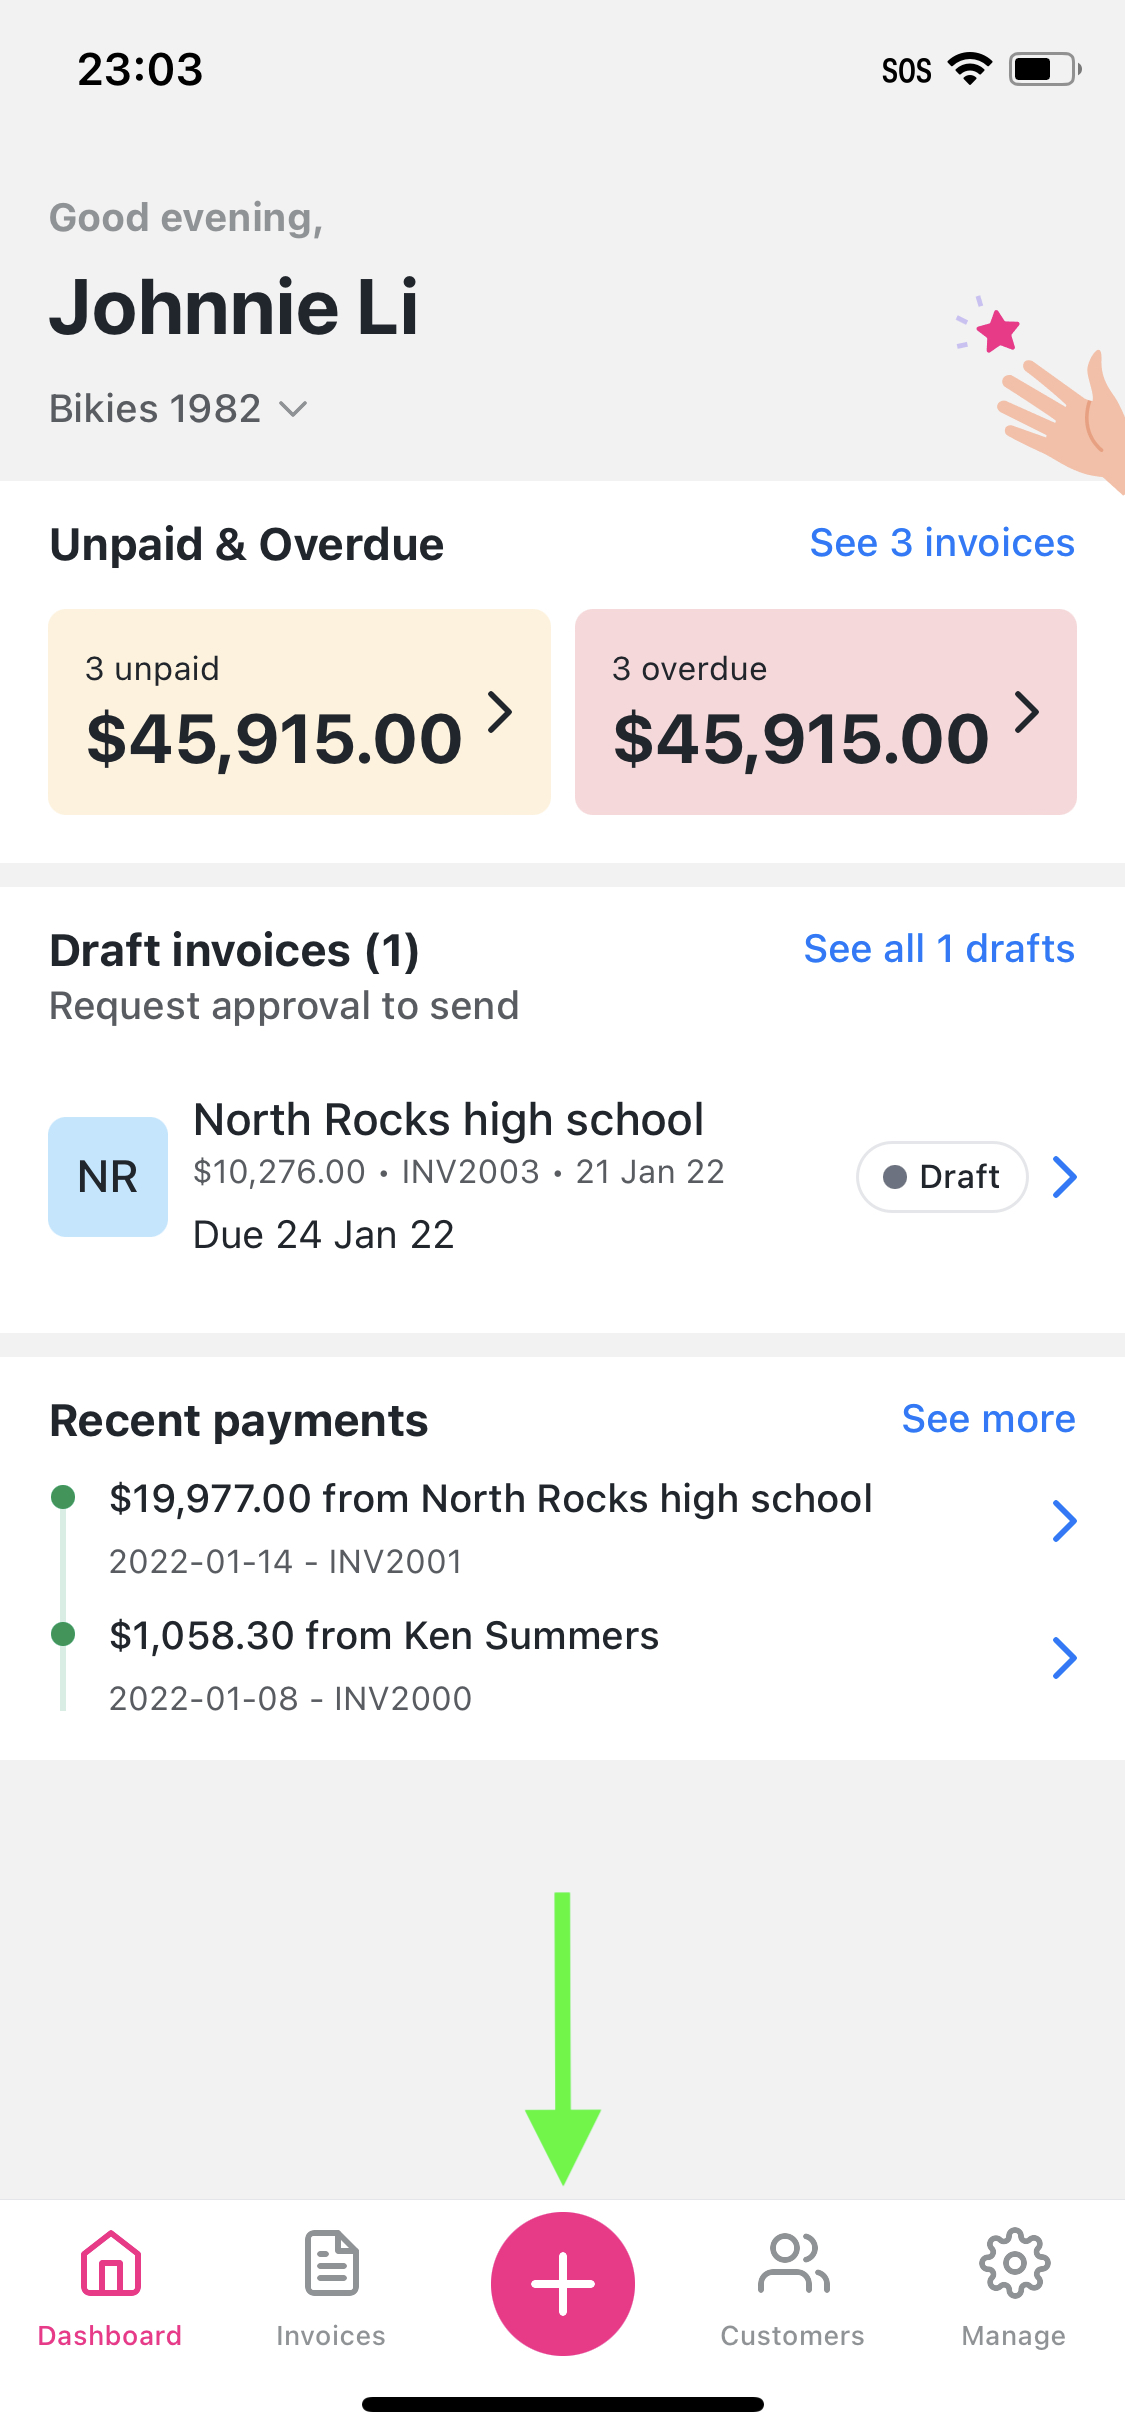
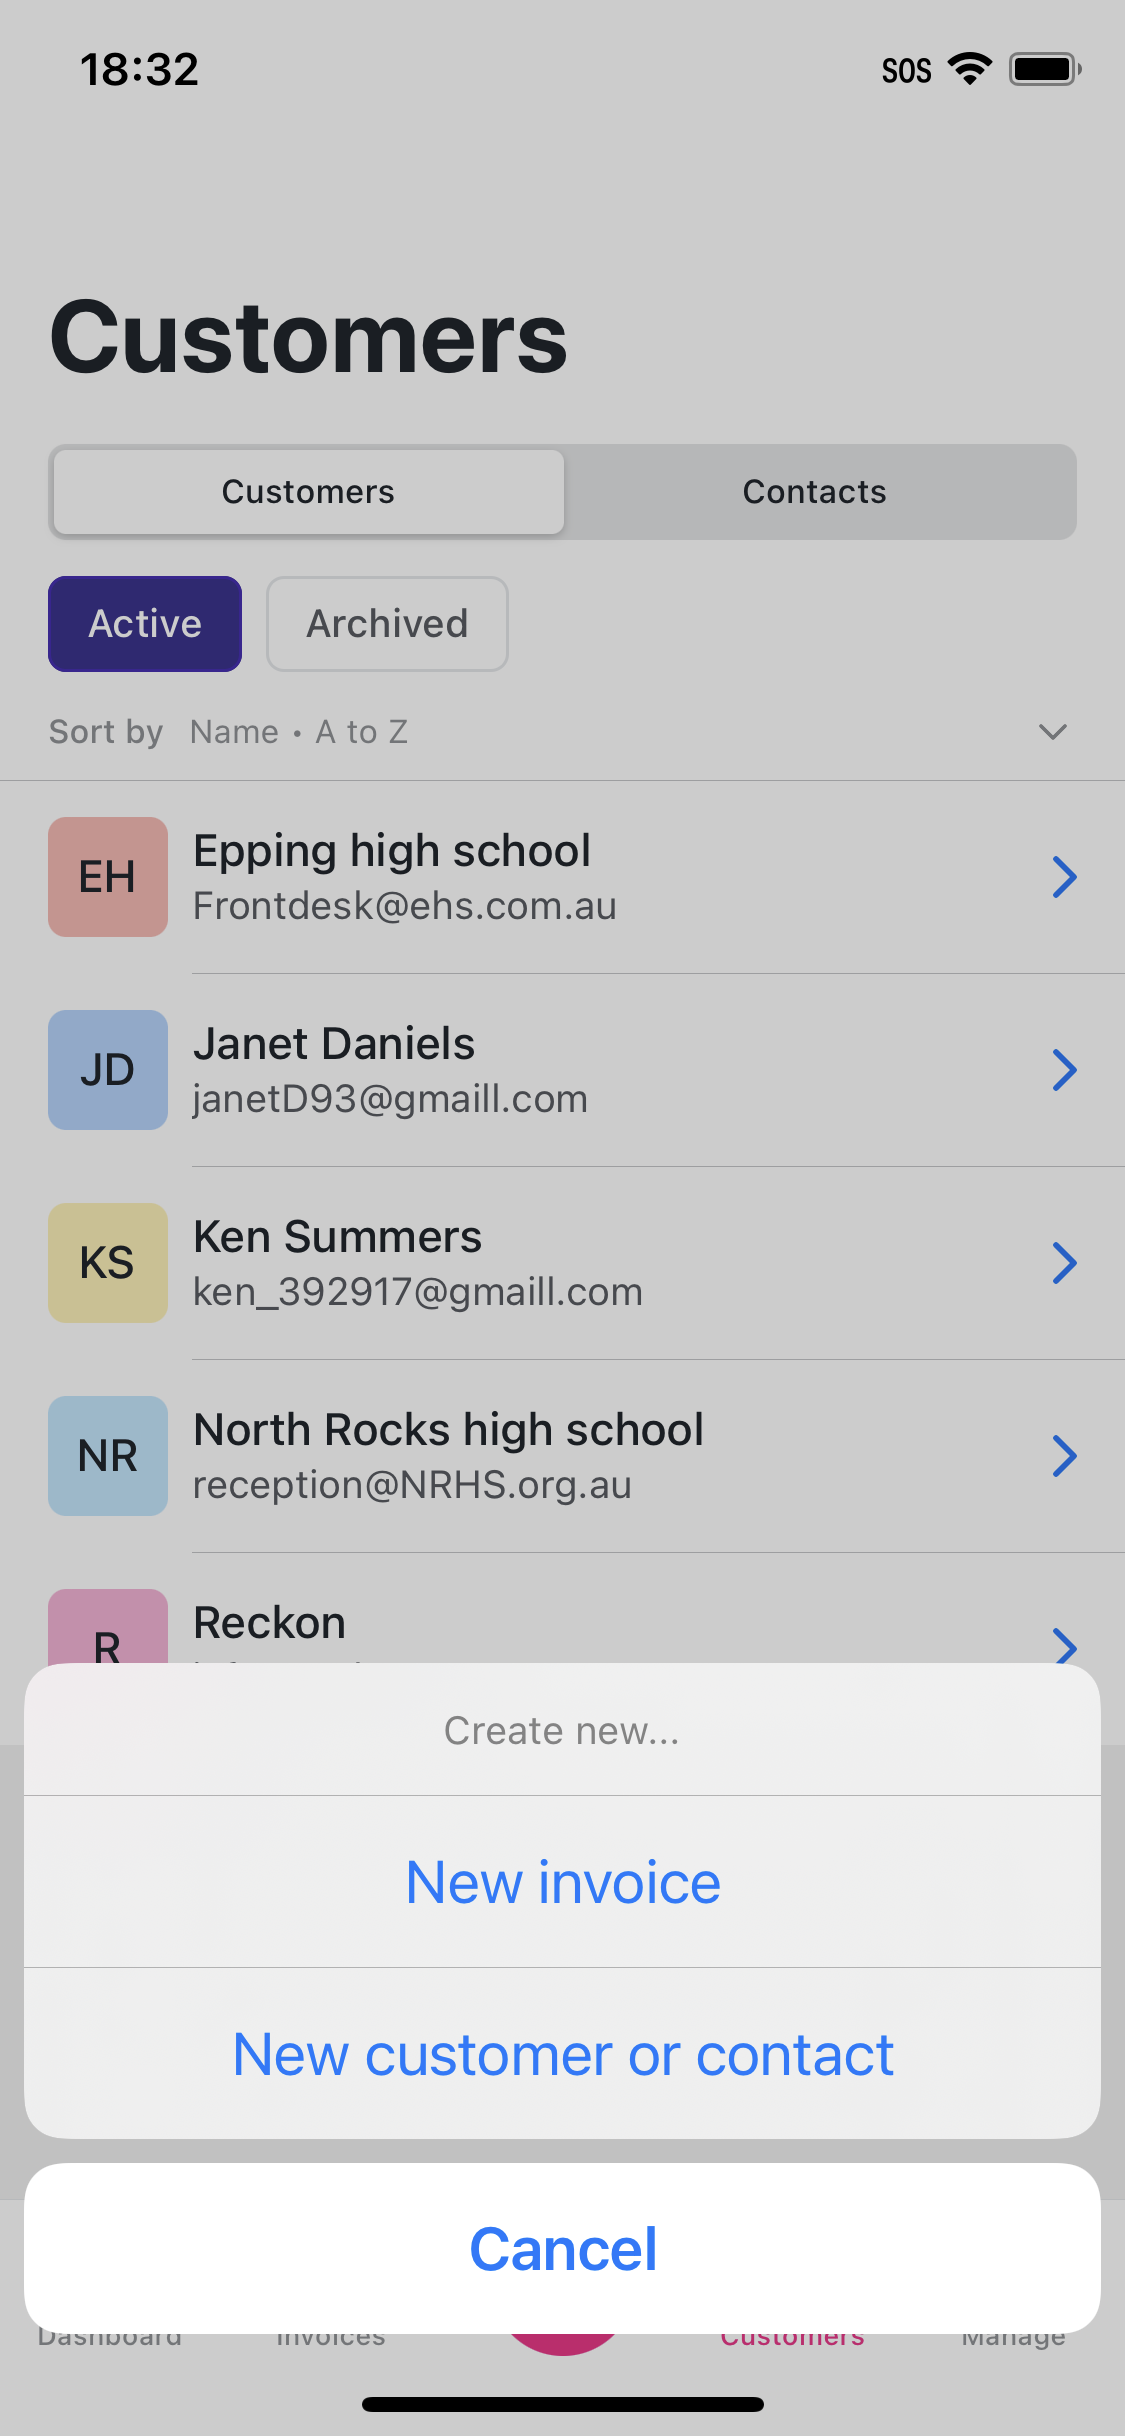
Tap on + icon on the footer navigator bar.
Select New customer or contact option from the menu.
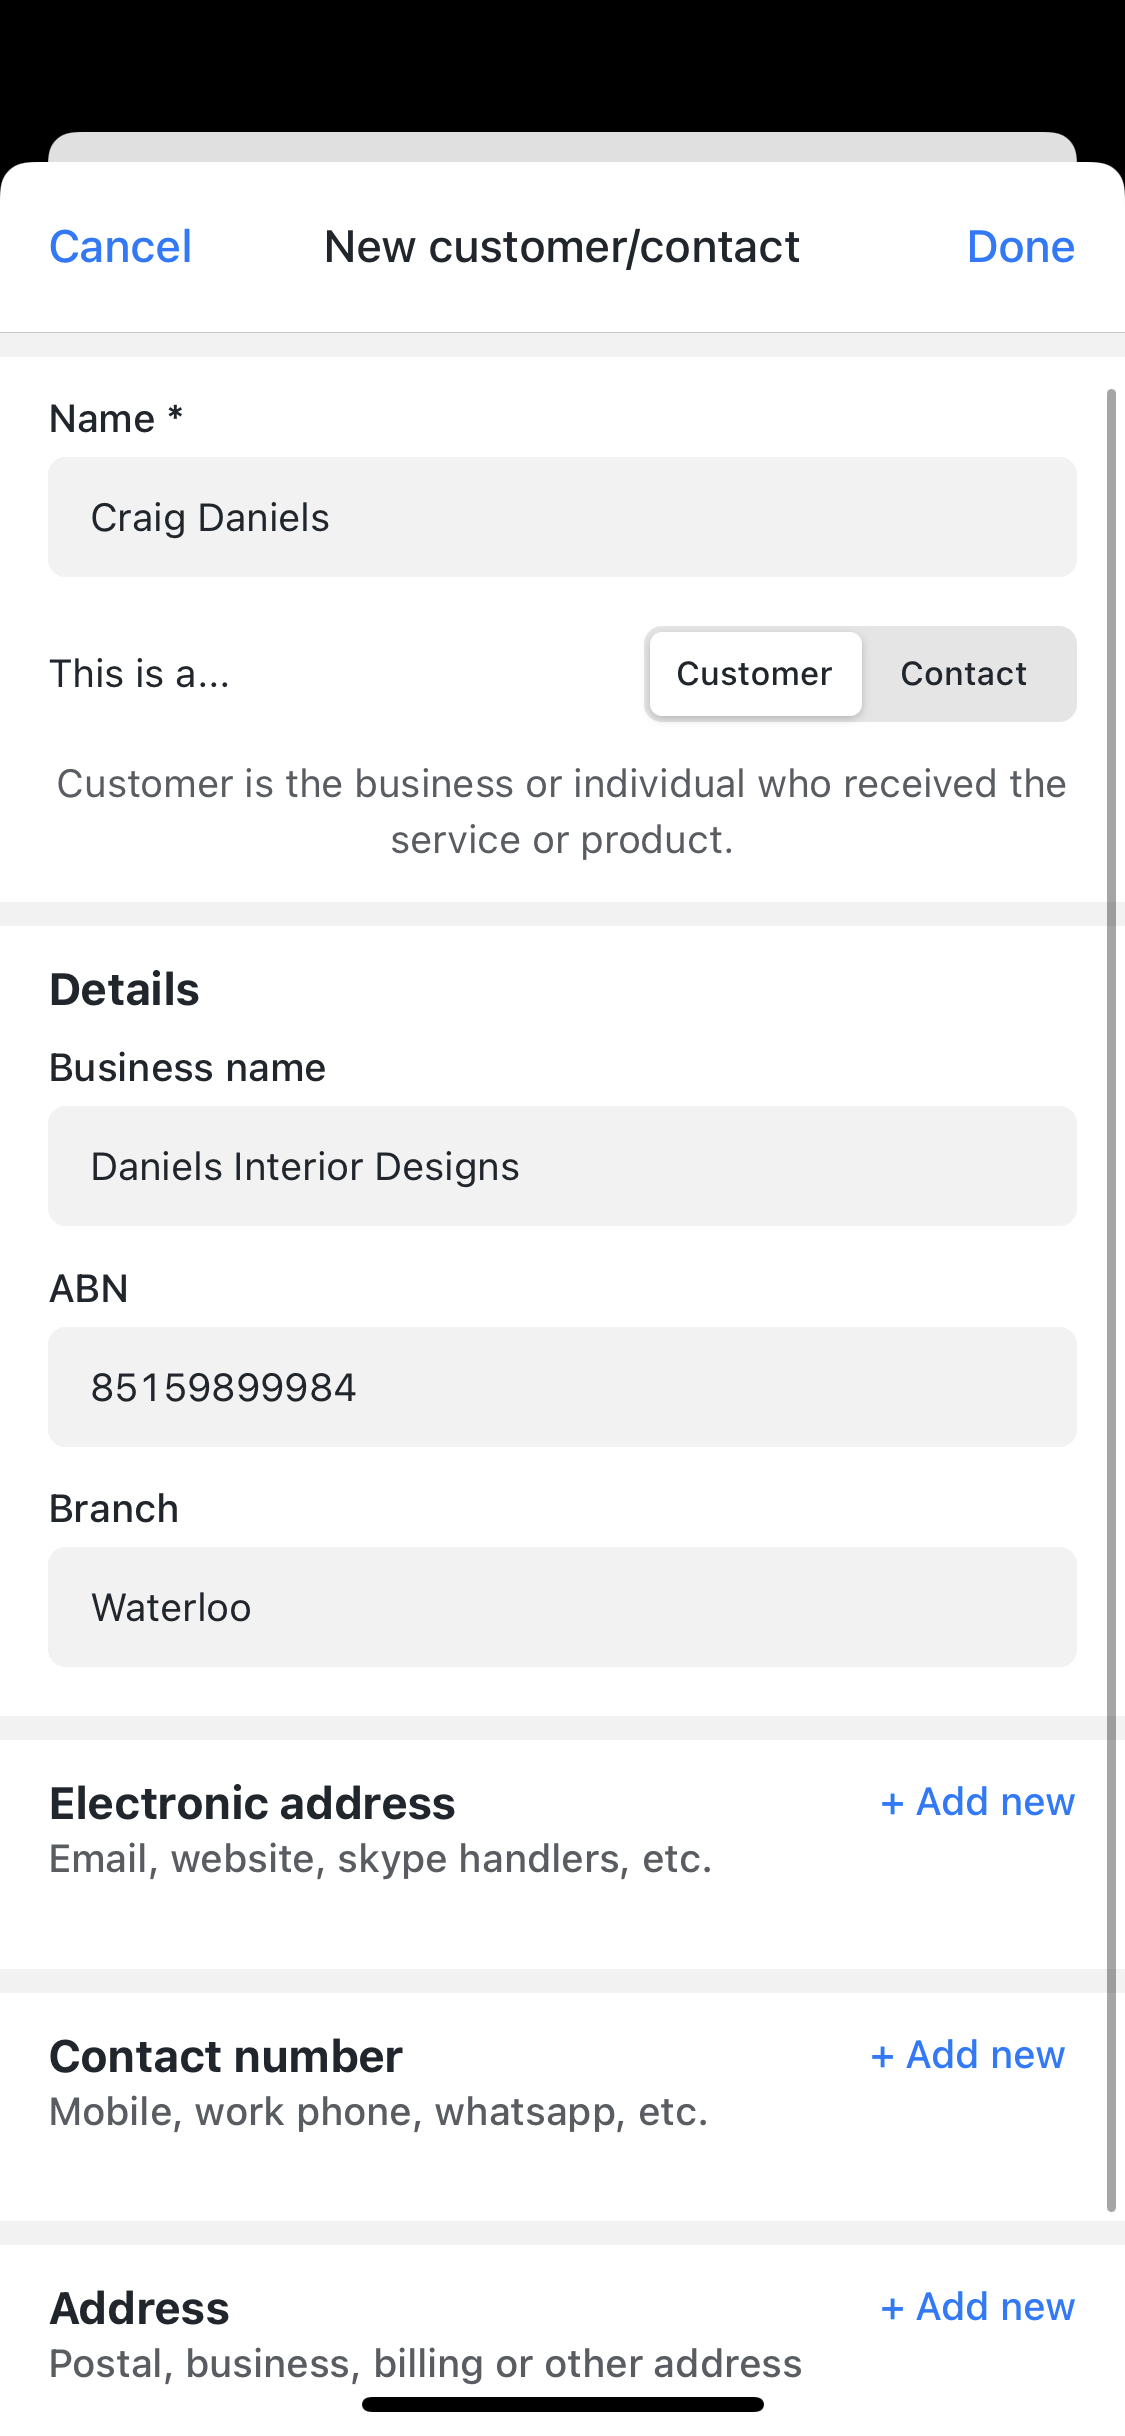
Enter a Name for the customer. Then enter the Business name, ABN and Branch if applicable.
You can save the record once a name for the customer is entered. You can return to edit the other customer details later on.
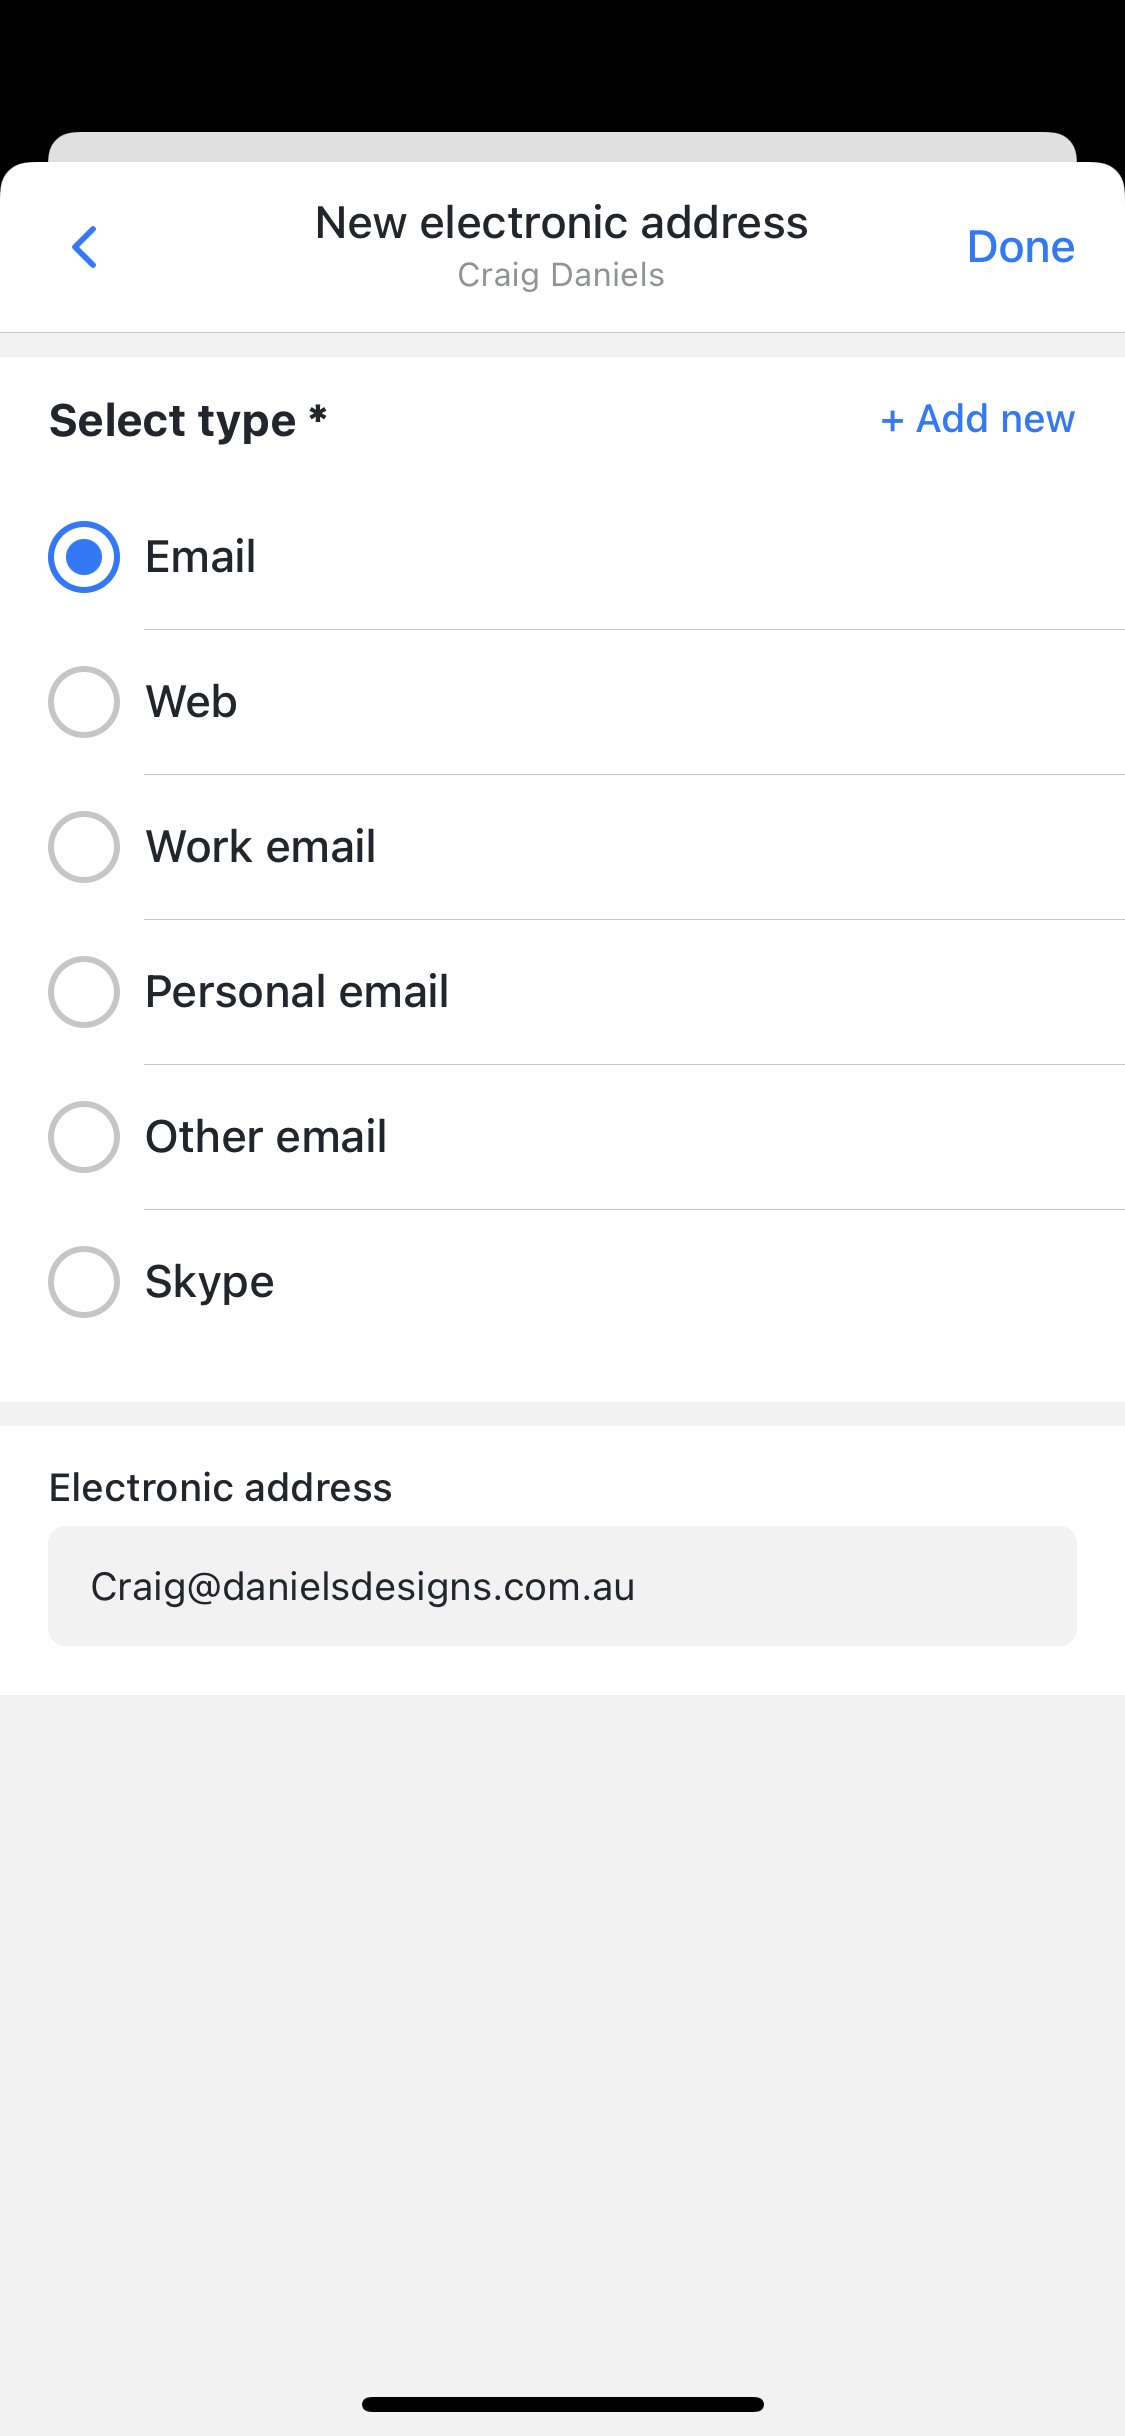
Tap + Add new on Electronic address to add an email address for the customer. Select Email radio option then enter an email address in the text field. Tap Done to save the email.
Tap + Add new on Electronic address if you like to add other electronic addresses such as web to the customer.
You can add new electronic address type to suit your needs. Tap + Add new to create new type (eg. LinkedIn profile URL) while on New electronic address screen. Go to the help article to learn more about contact details types and how to set up in your Reckon One book.
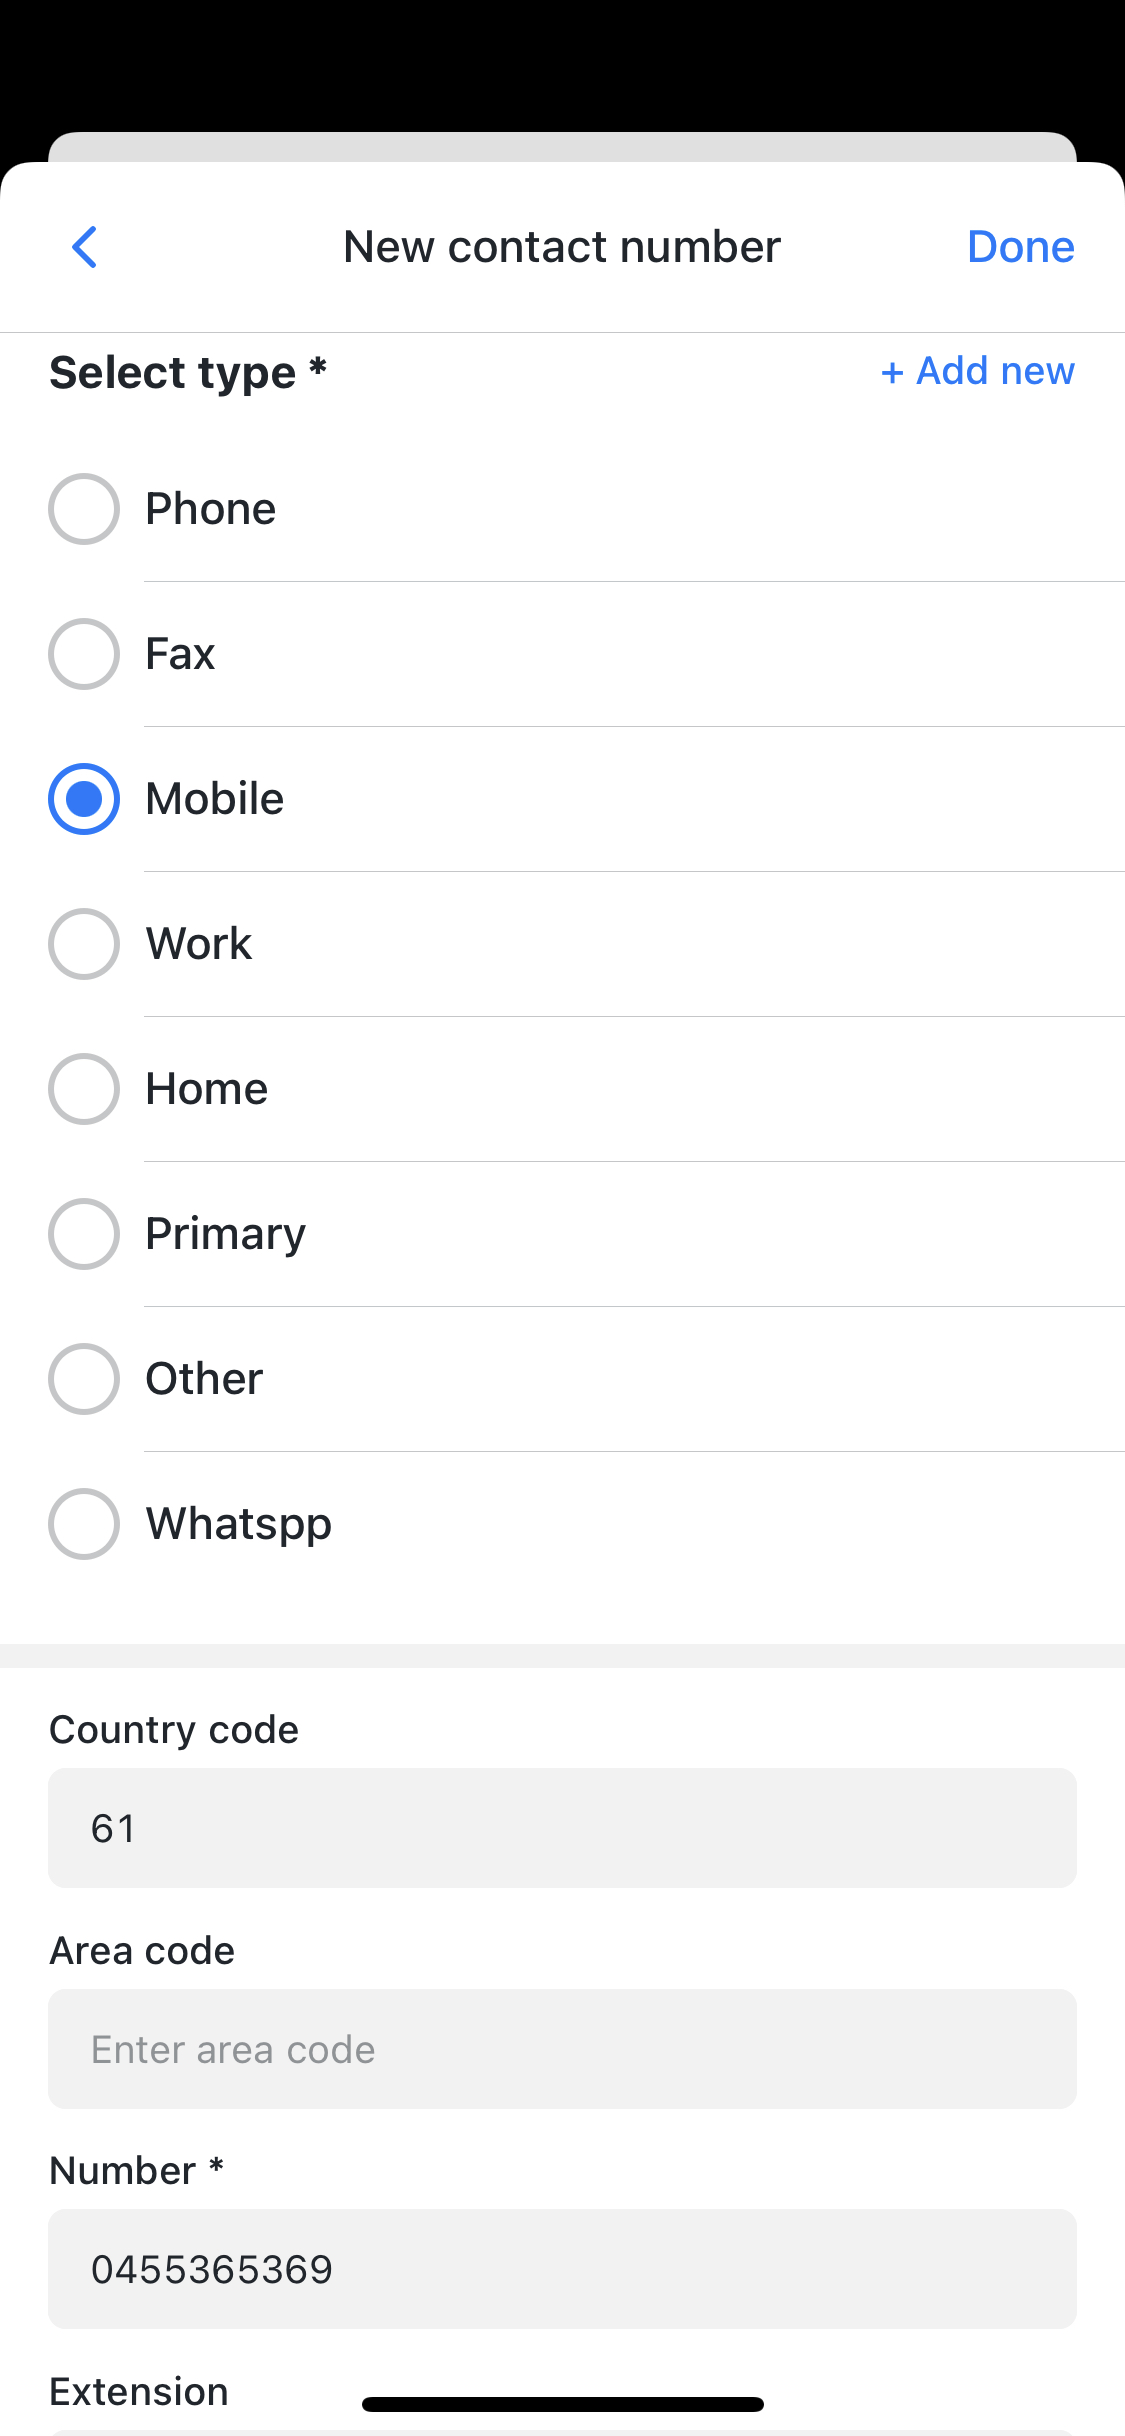
To add a contact number, tap +Add new in the Contact number section. Select a contact number type radio option then add the numbers in the below respective fields. Tap Done to save the contact number.
Similar to electronic address, you can add more new contact number types to suit your business. Tap +Add new to create a new contact number type.
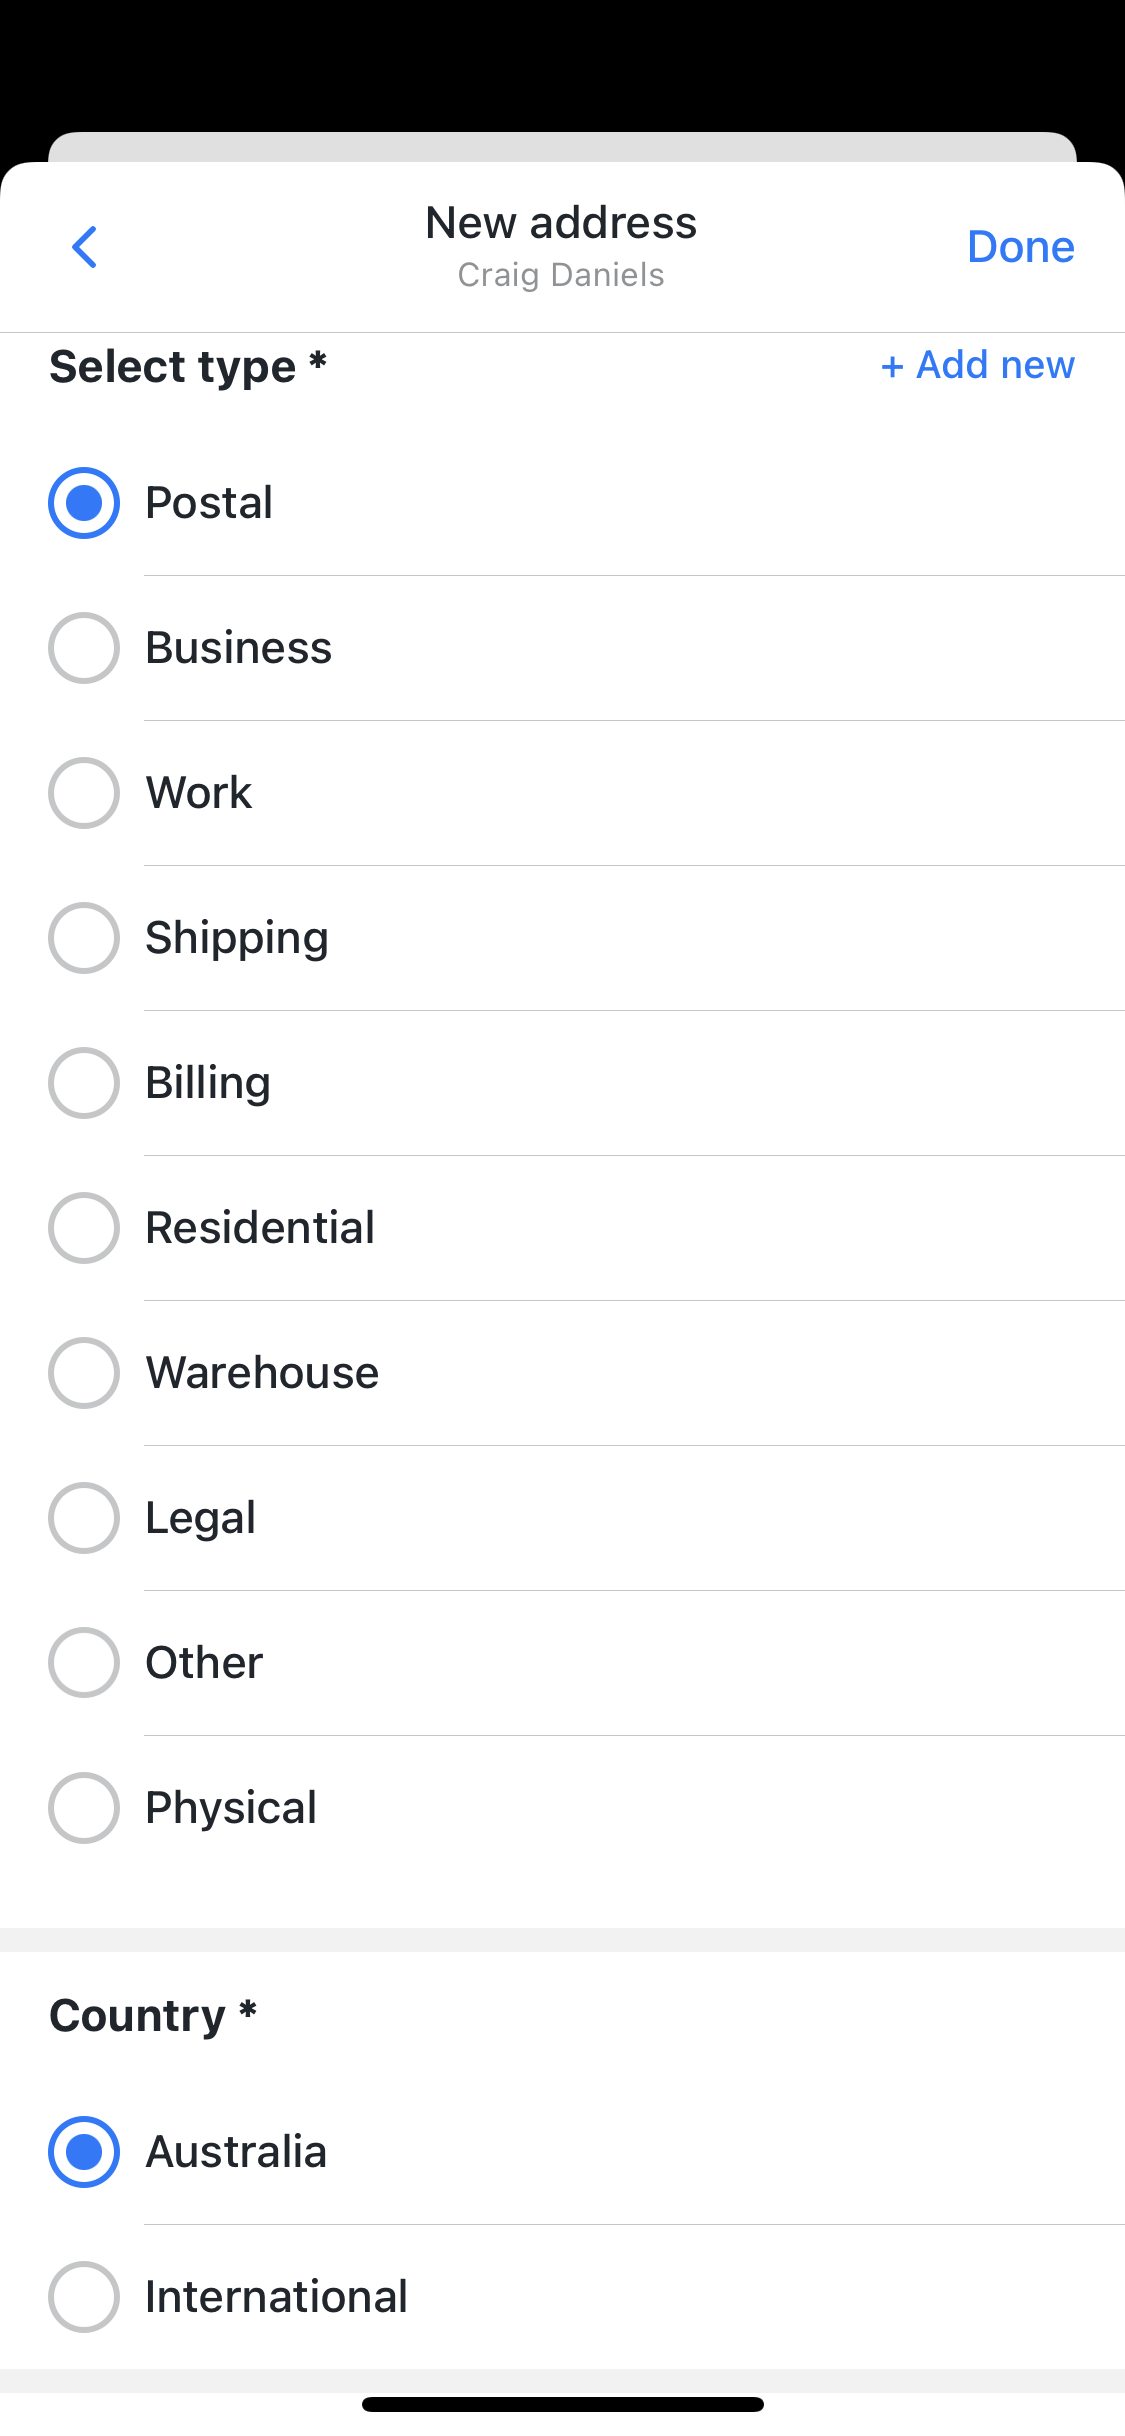
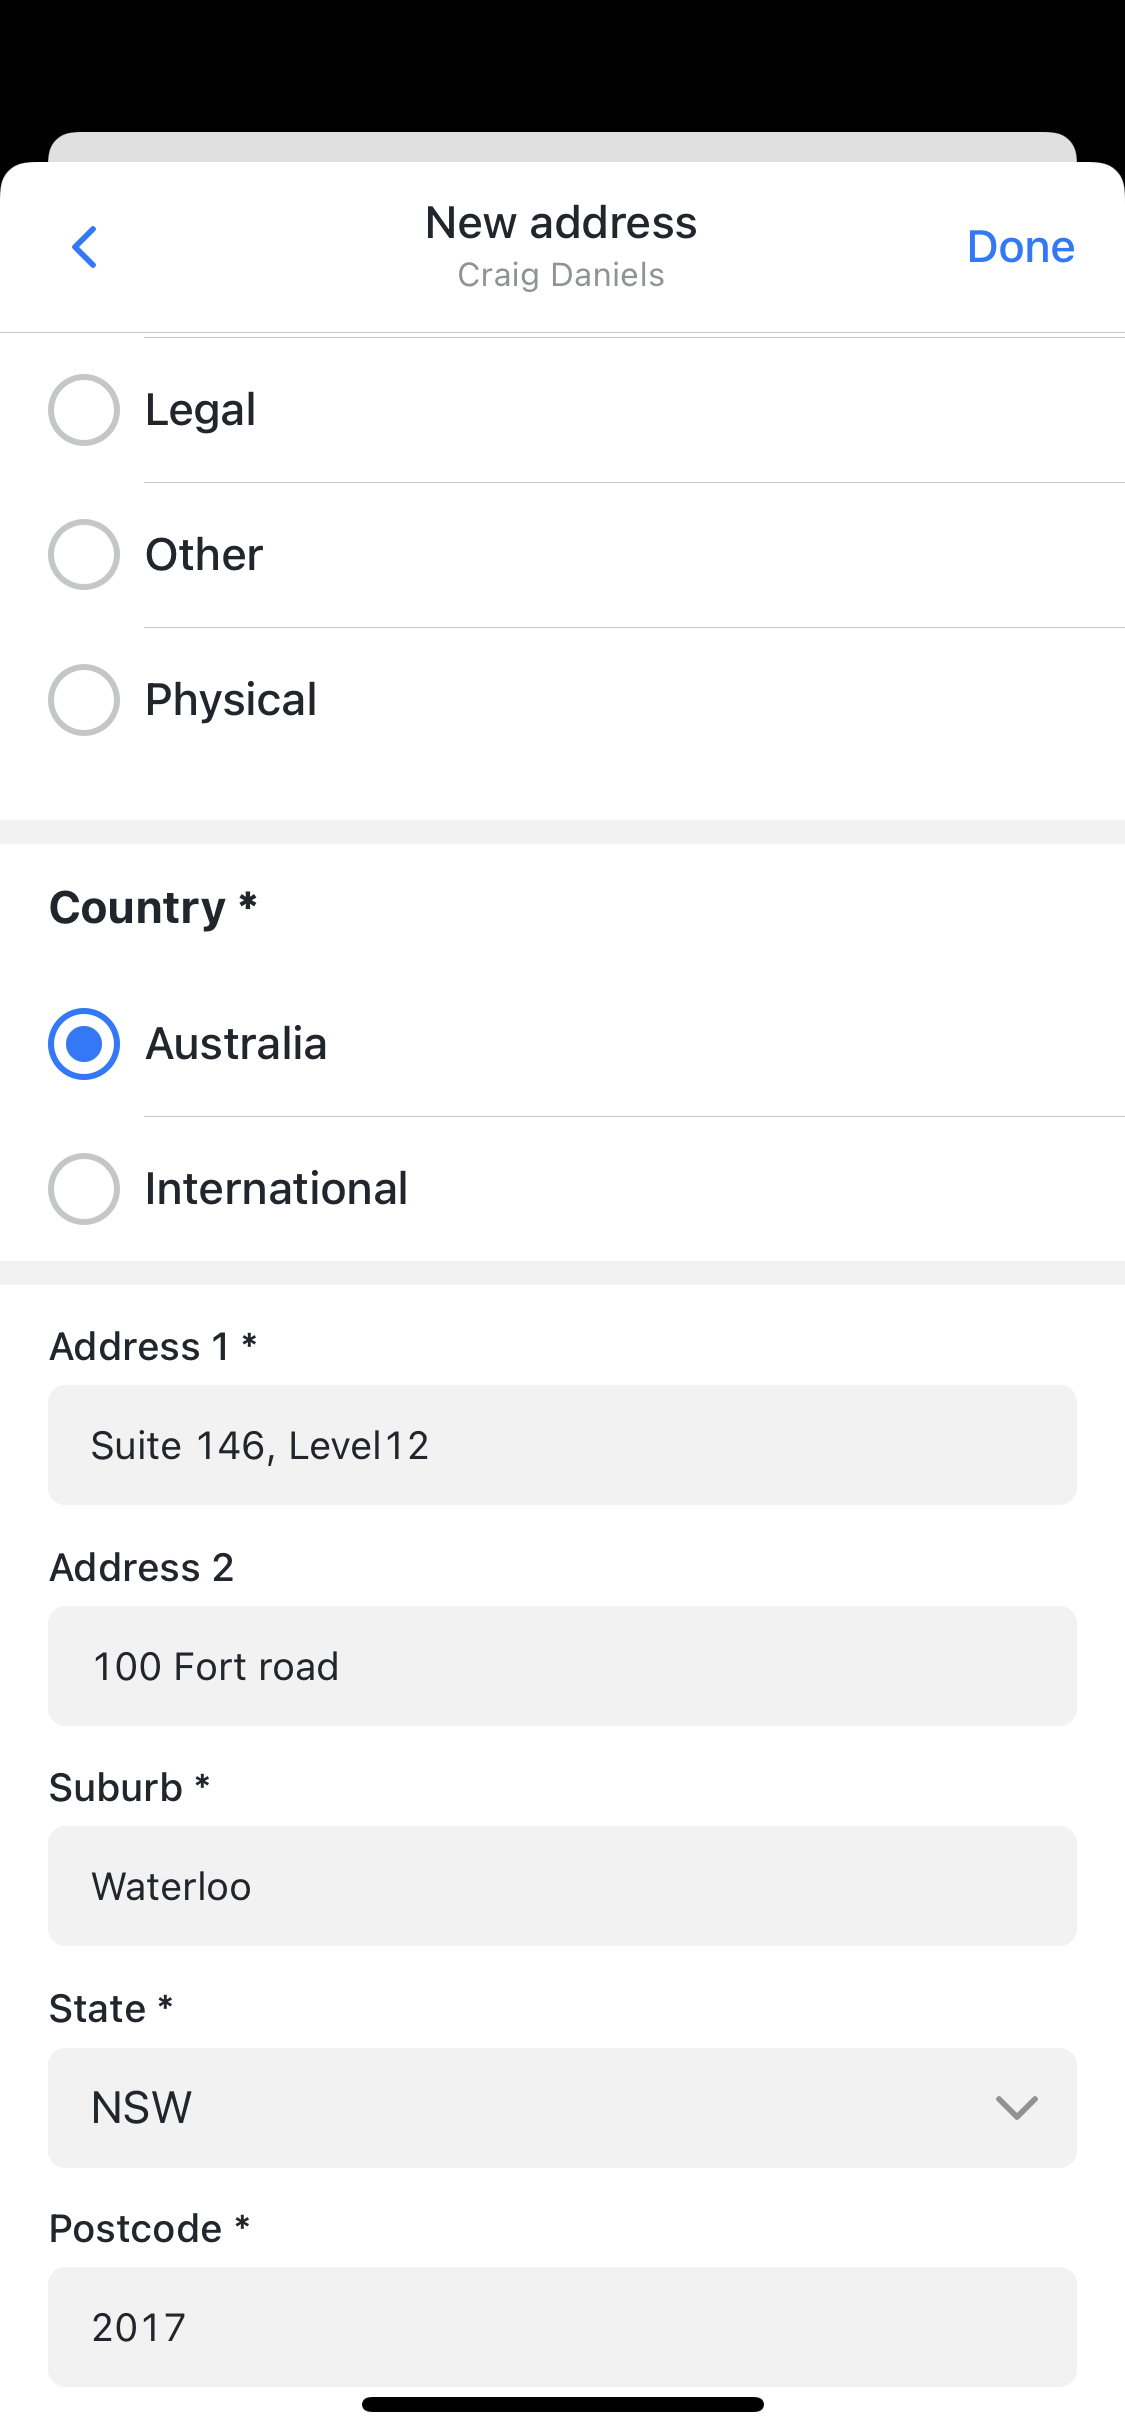
To add an address, tap +Add new in the Address section. Select an address type radio option then select country.Enter the address details in the below respective fields. Tap Done to save the address.
Similar to electronic address & contact number, you can add more new address types to suit your business. Tap +Add new to create a new address type.
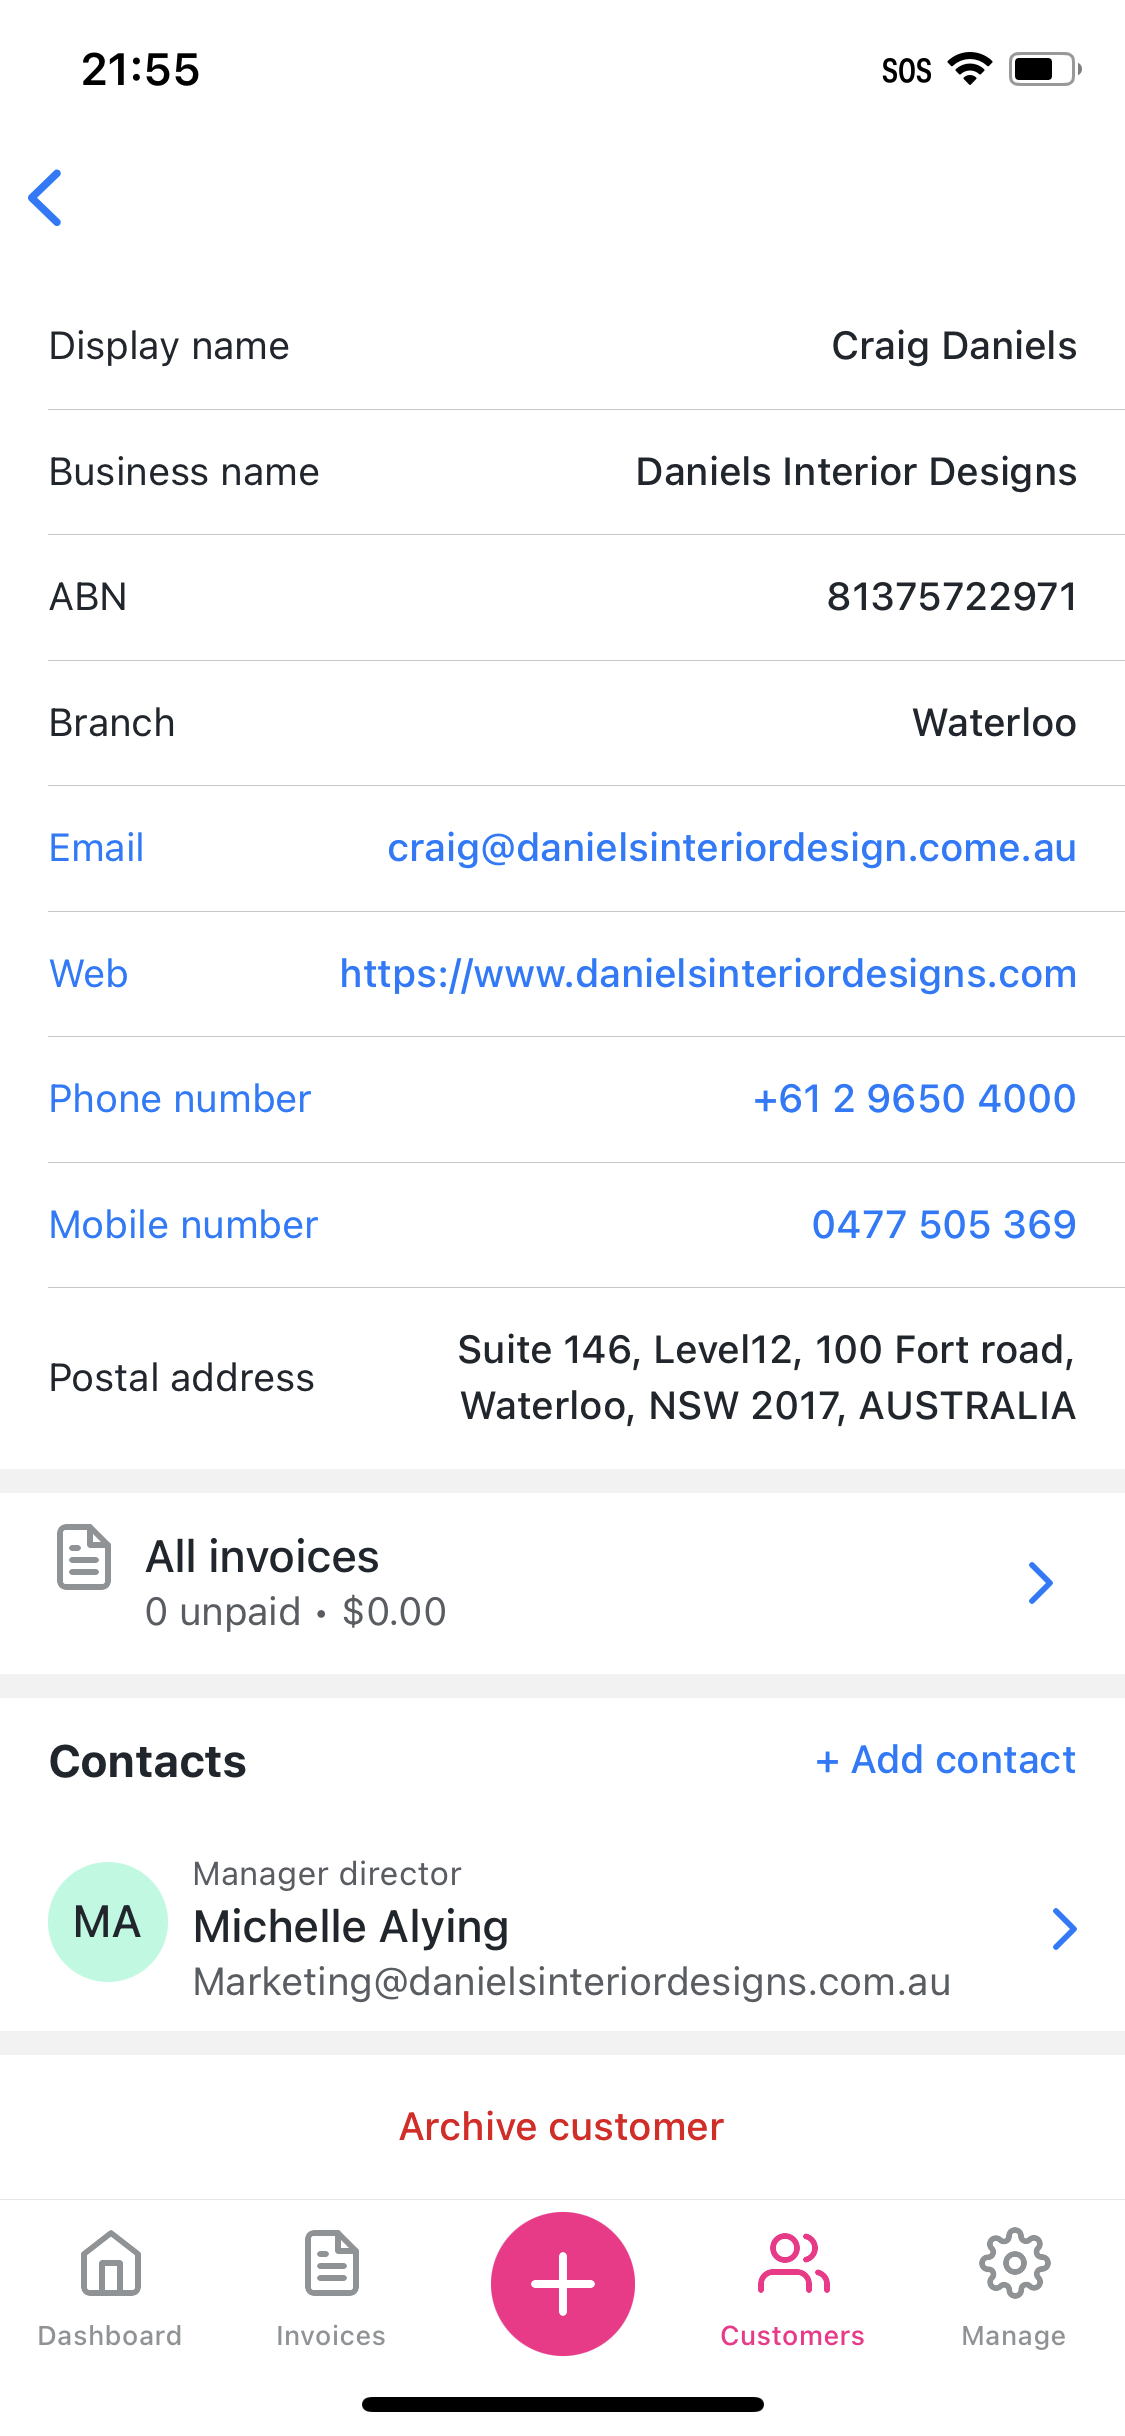
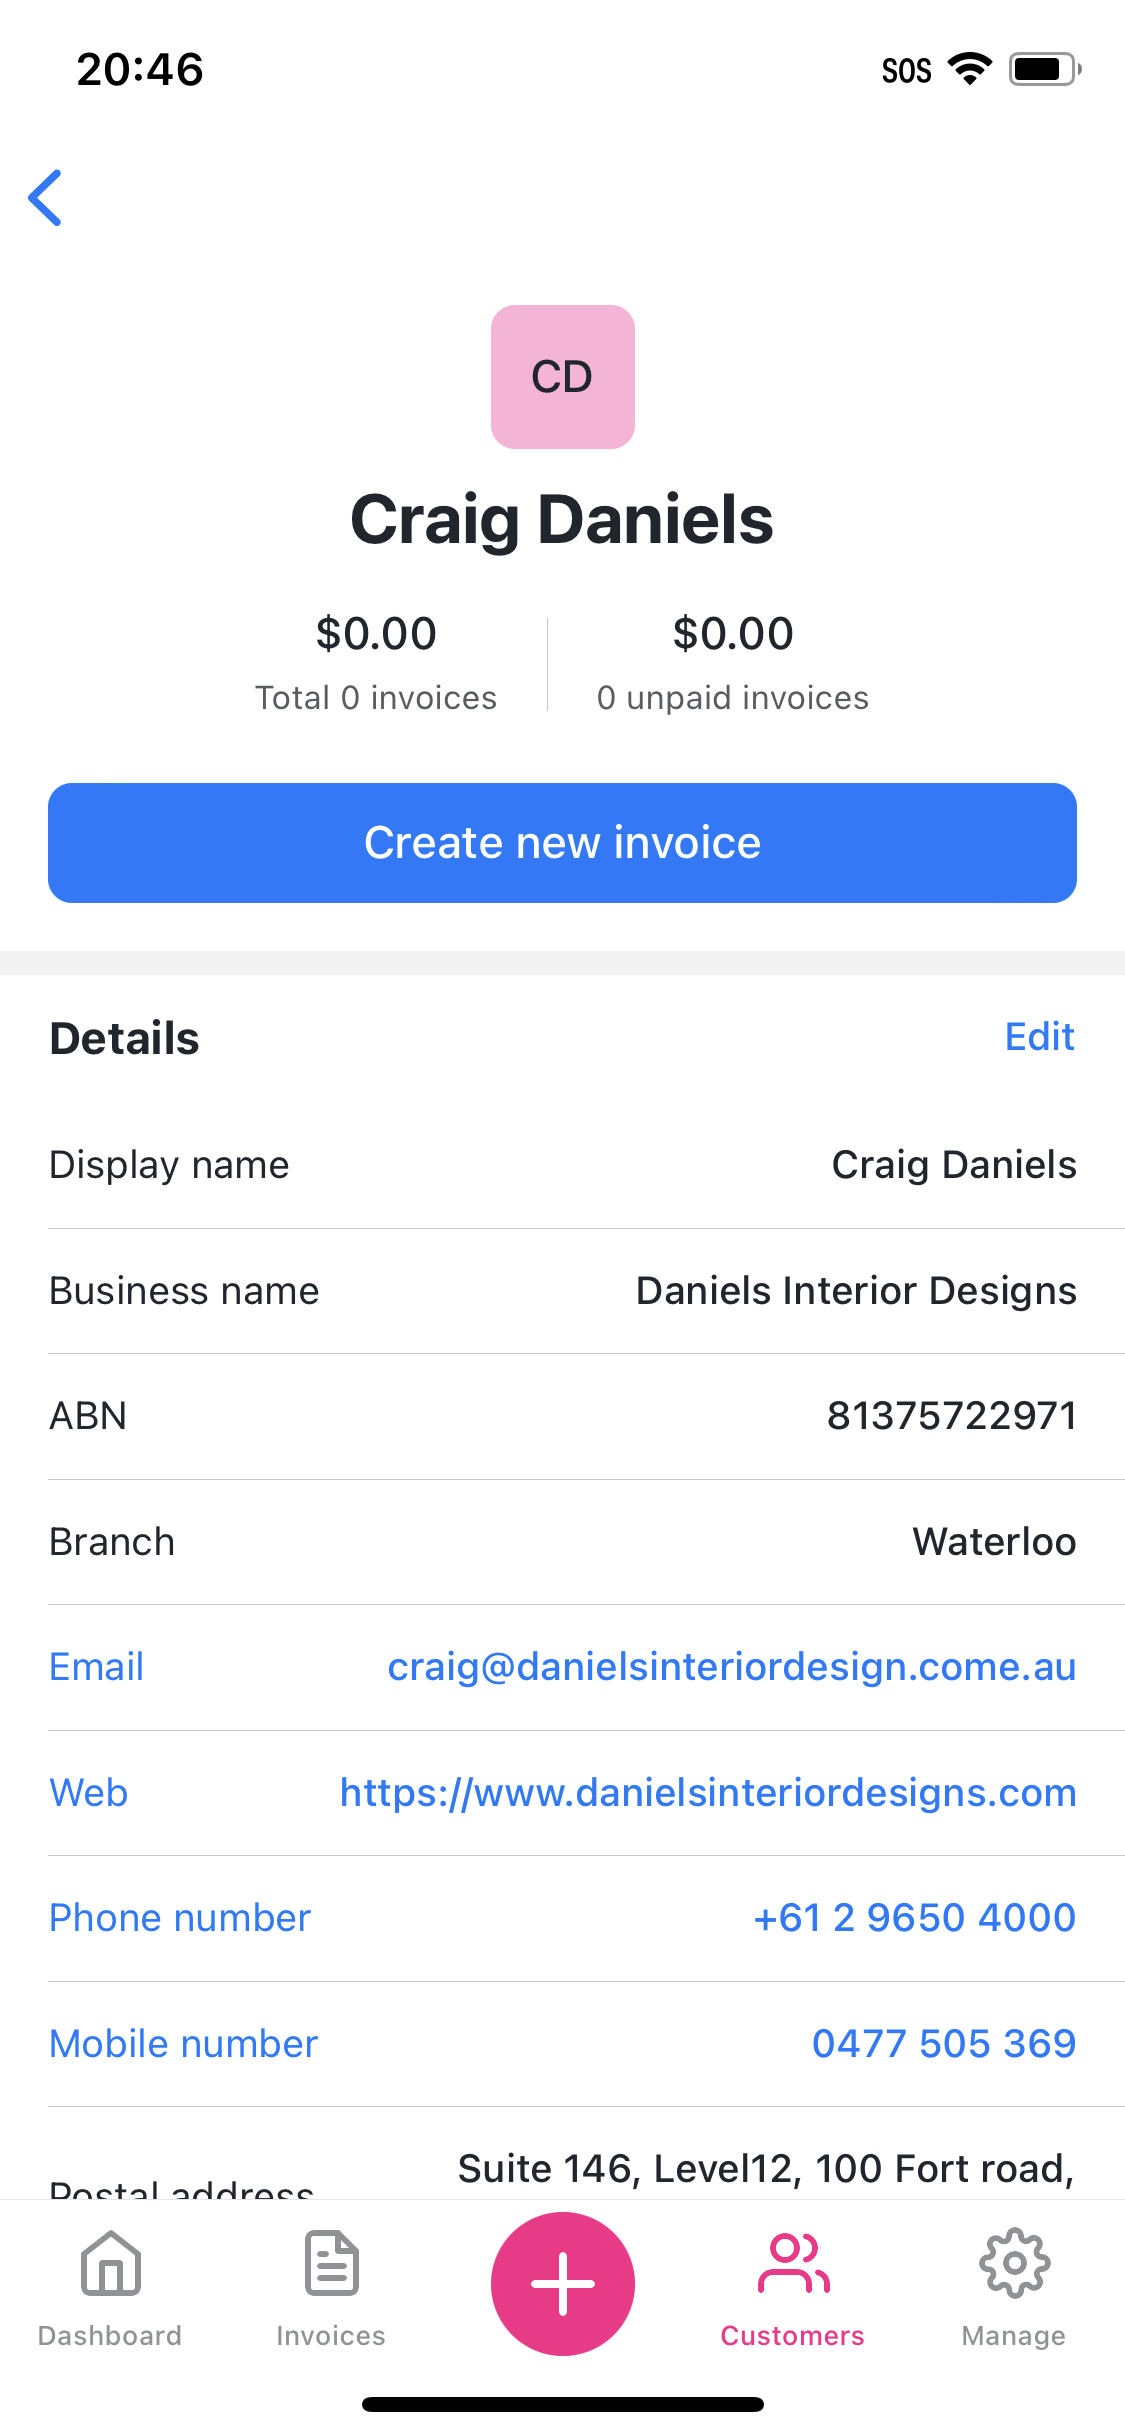
After you have enter the details for the customer, tap Done to save the customer. The newly customer will appear in the Customers list. You can tap on the customer to show more details. To modify the customer details, tap Edit.
Tap on the email address to start a new email to the customer using the default mail client on your mobile device. You can also tap on the contact number to start a call.
Creating a contact
Contact is a type of person, department or role who works for the Customer (business entity). Contact is predominately used when emailing invoices so you can include customer and their contacts as recipients when sending the invoice. You can add multiple contacts to a customer.
Go to the help article to learn more about contacts in Reckon One.
Tap on + icon on the footer navigator bar.
Select New customer or contact option from the menu.
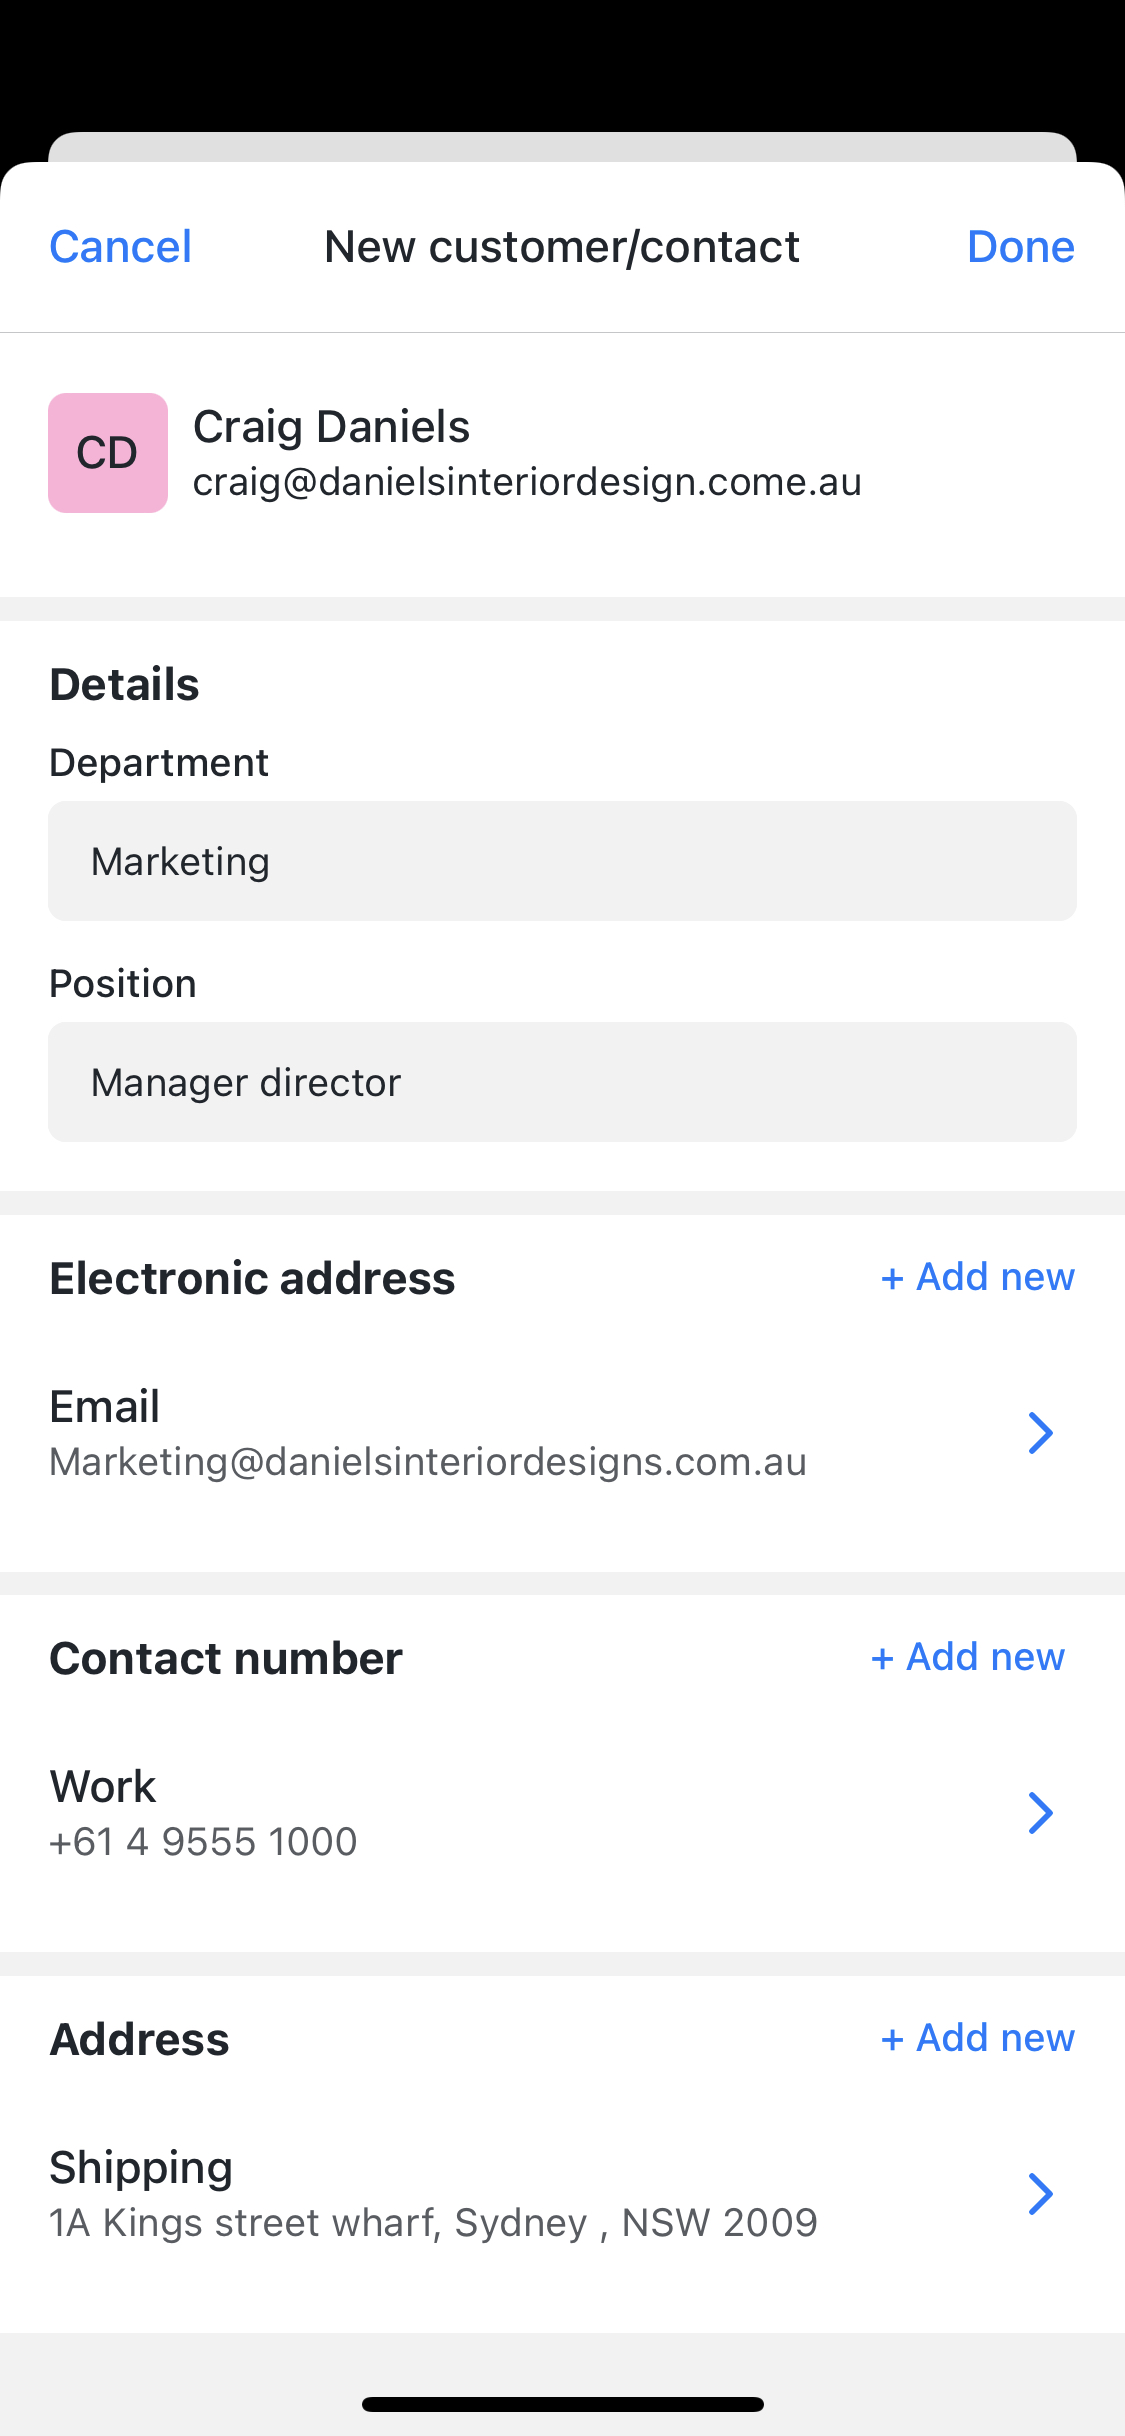
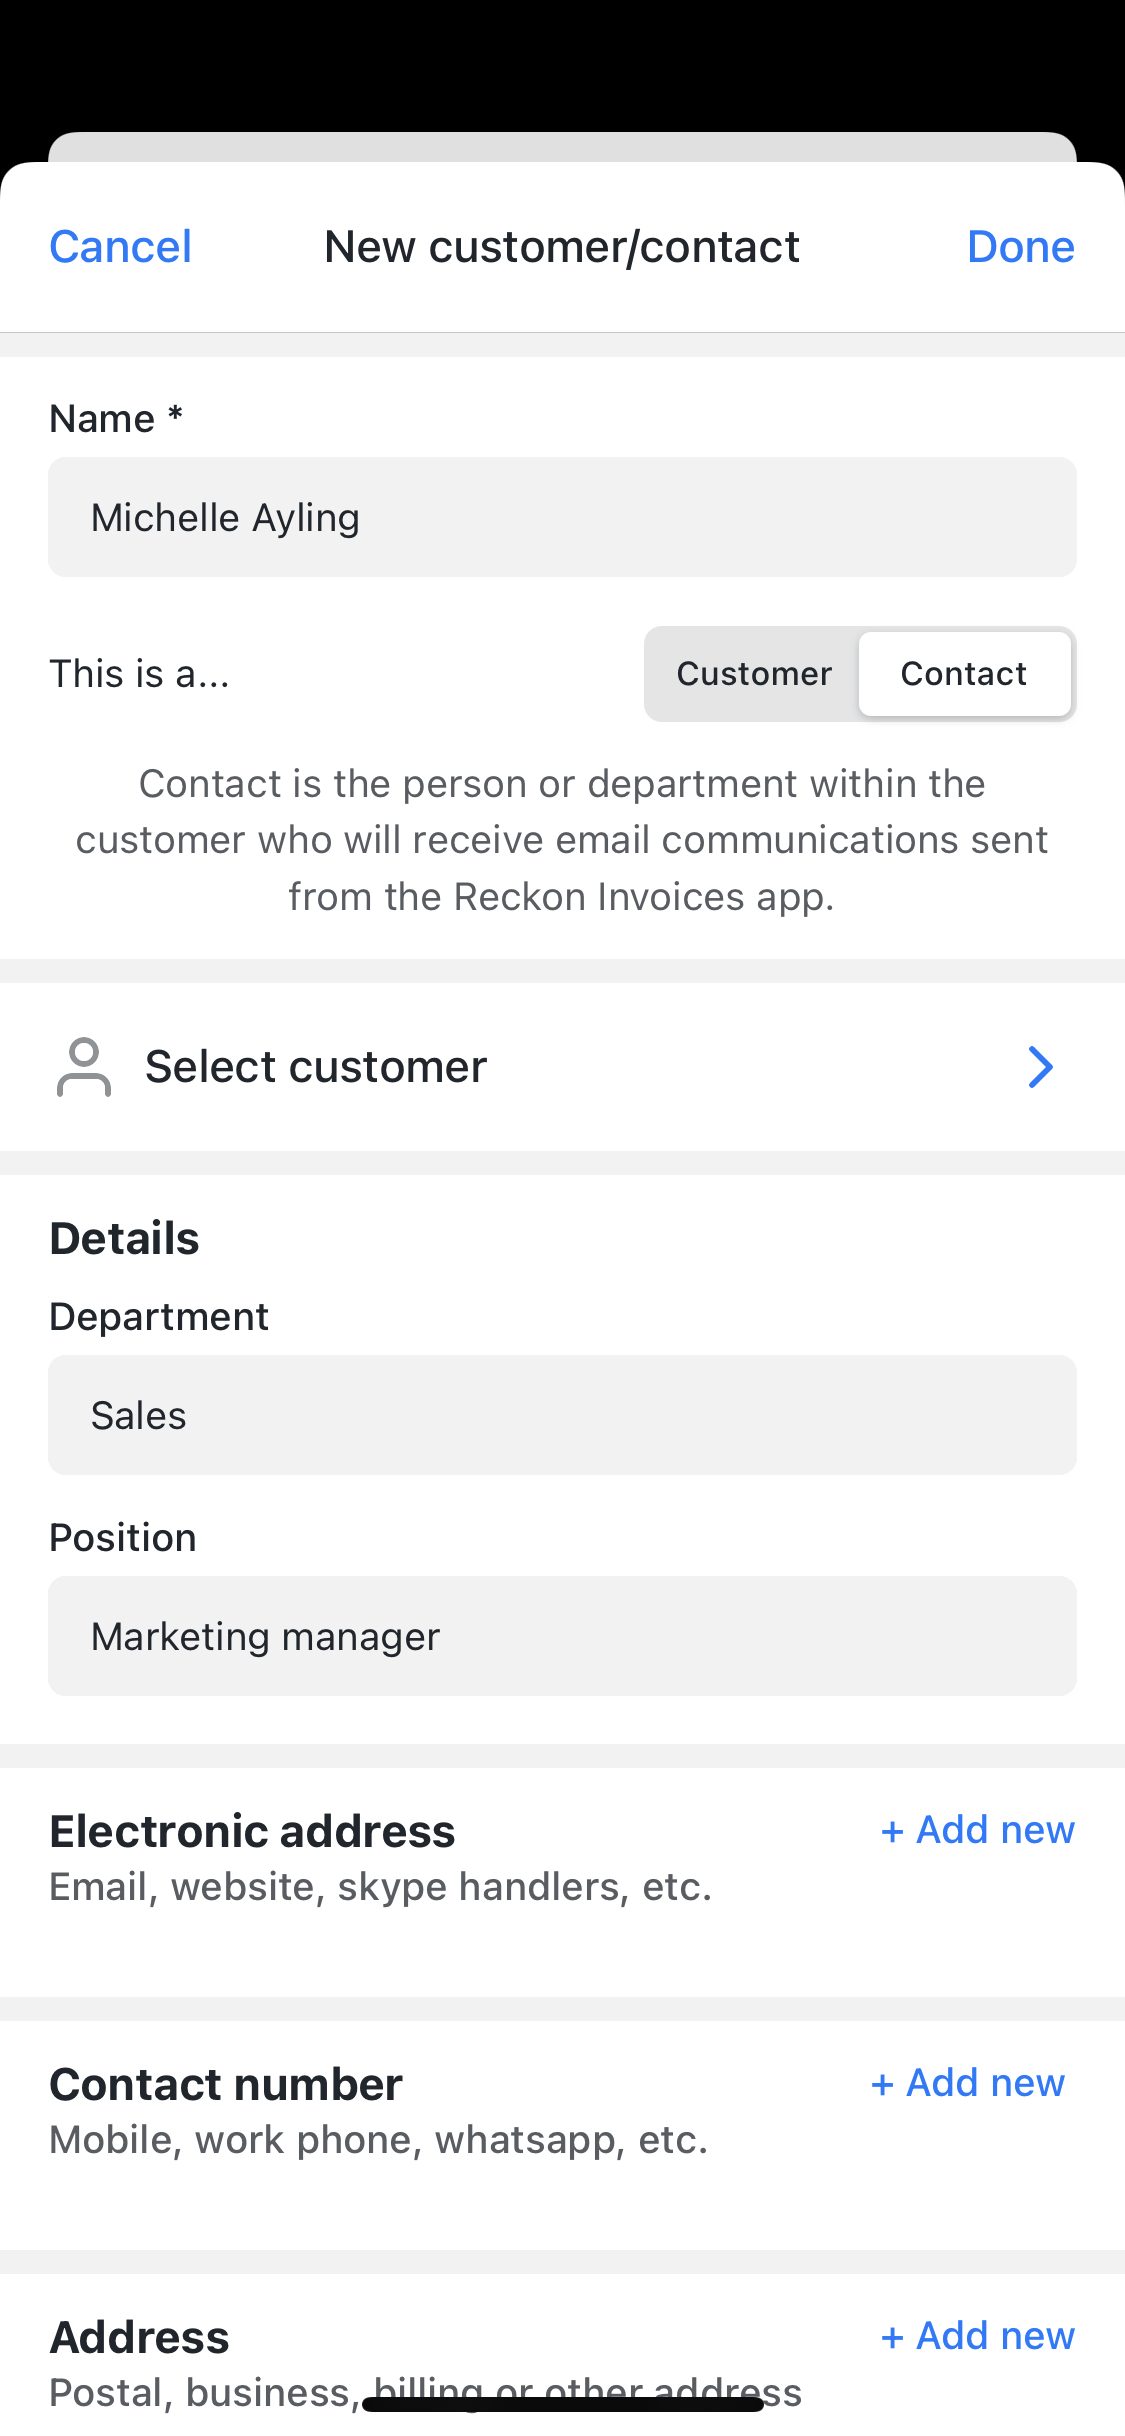
Tap Contact to toggle from customer to contact. The screen will update depending on this switch.
Enter a Name for the Contact. Enter the Department and Position if applicable.
Tap Select customer then select the customer that the contact will be linked to. Tap Done after you have selected the customer.
Contact not linked to a customer record cannot be include when sending invoice email.
Tap electronic address, contact number and address to include additional details related to the Contact. Tap Done to save the contact.
After saving, the contact will appear within the Contacts section of the customer.
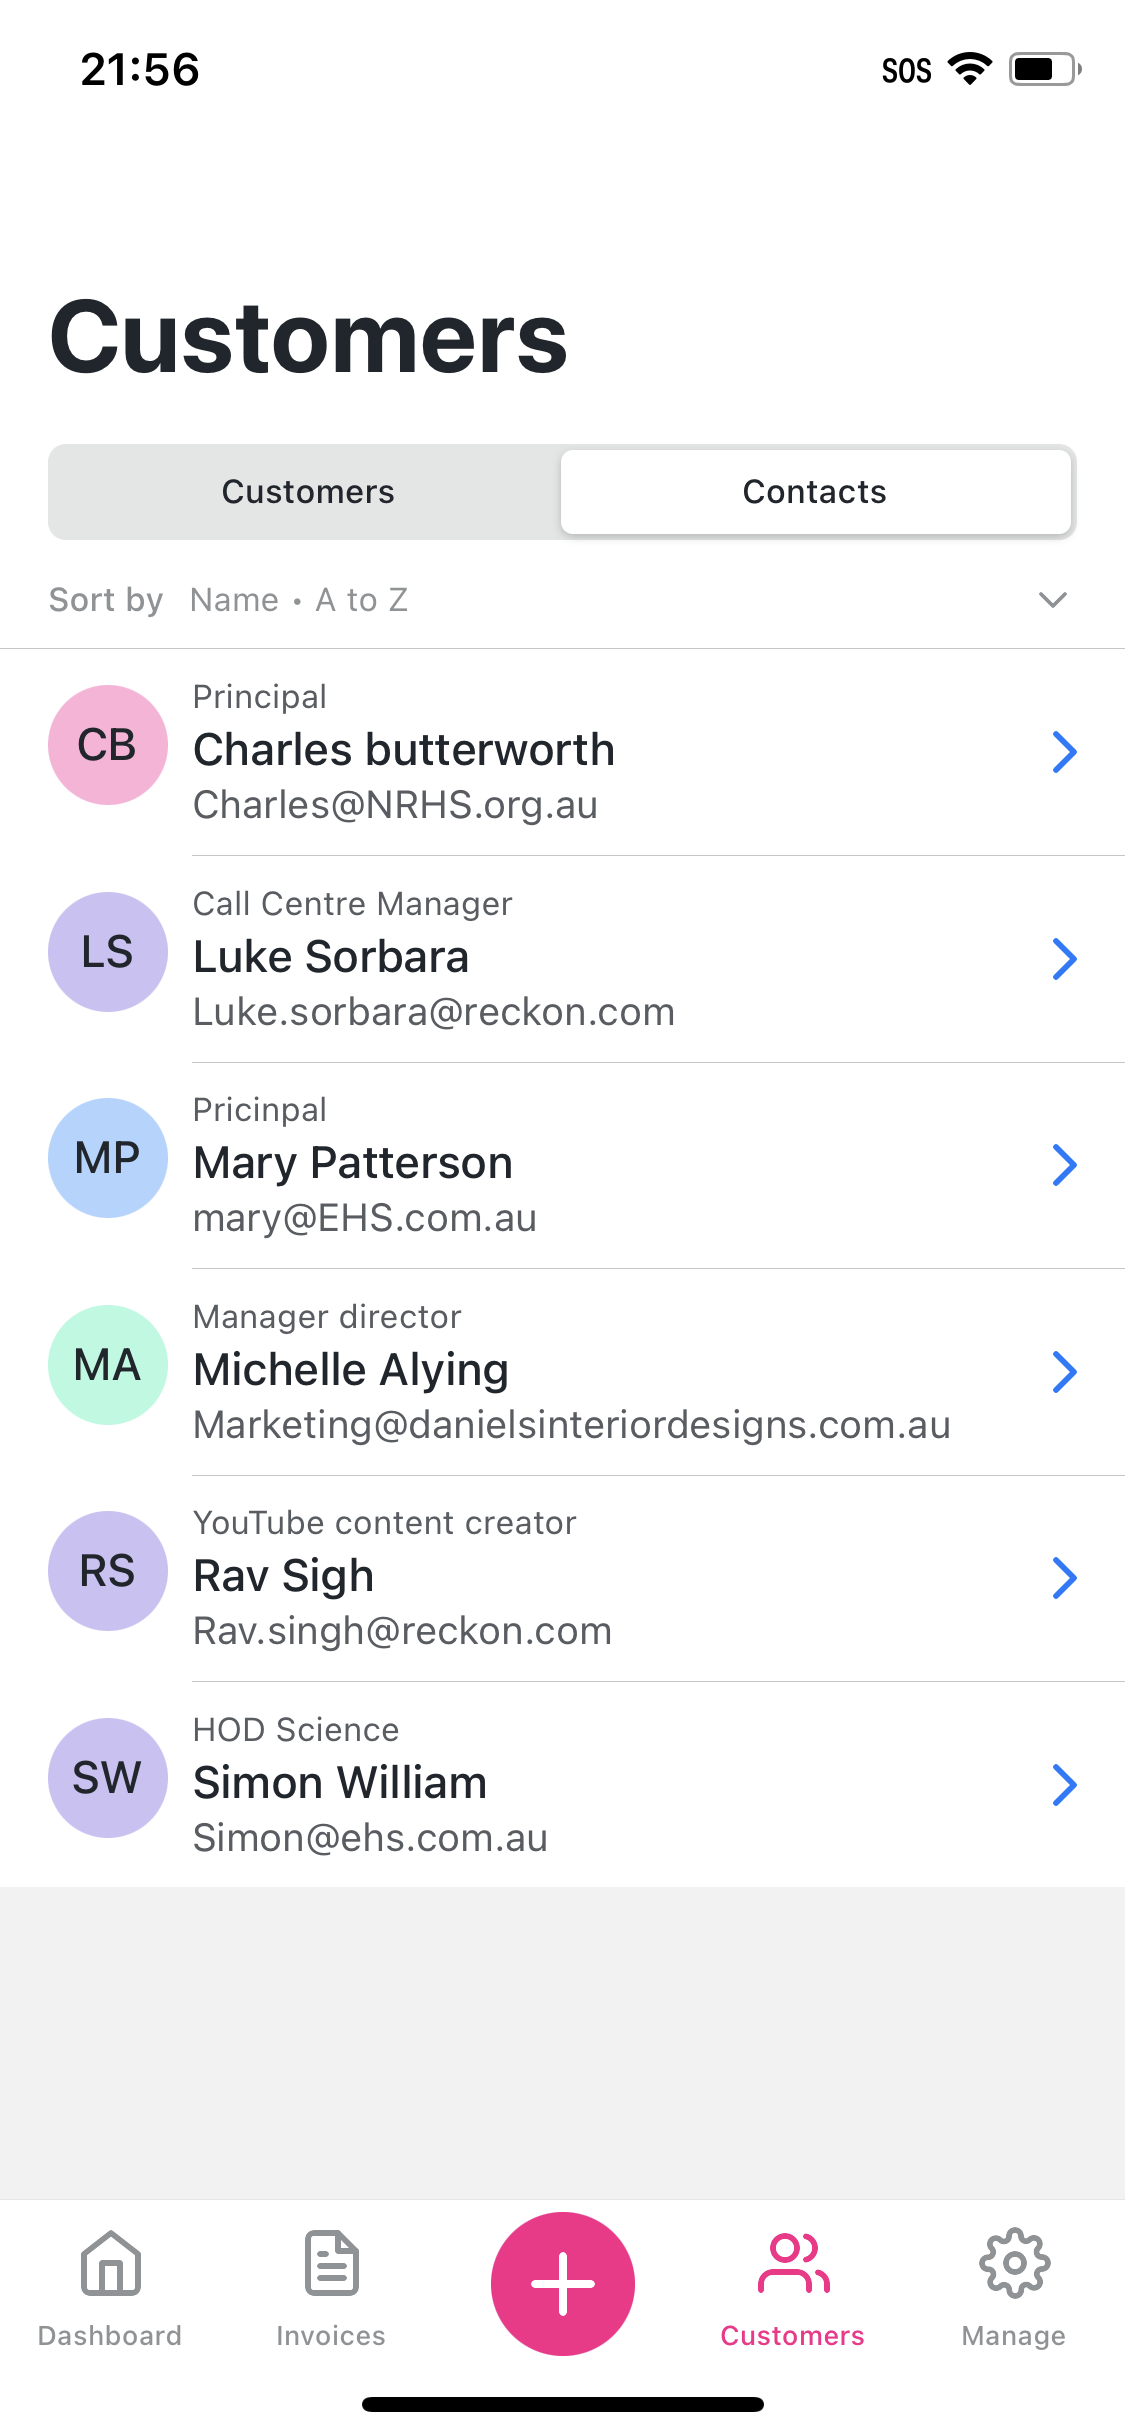
You can also view all contacts by going to the Customers list via the footer navigator then tap on the Contacts tab.

 You can add new electronic address type to suit your needs. Tap + Add new to create new type (eg. LinkedIn profile URL) while on New electronic address screen.
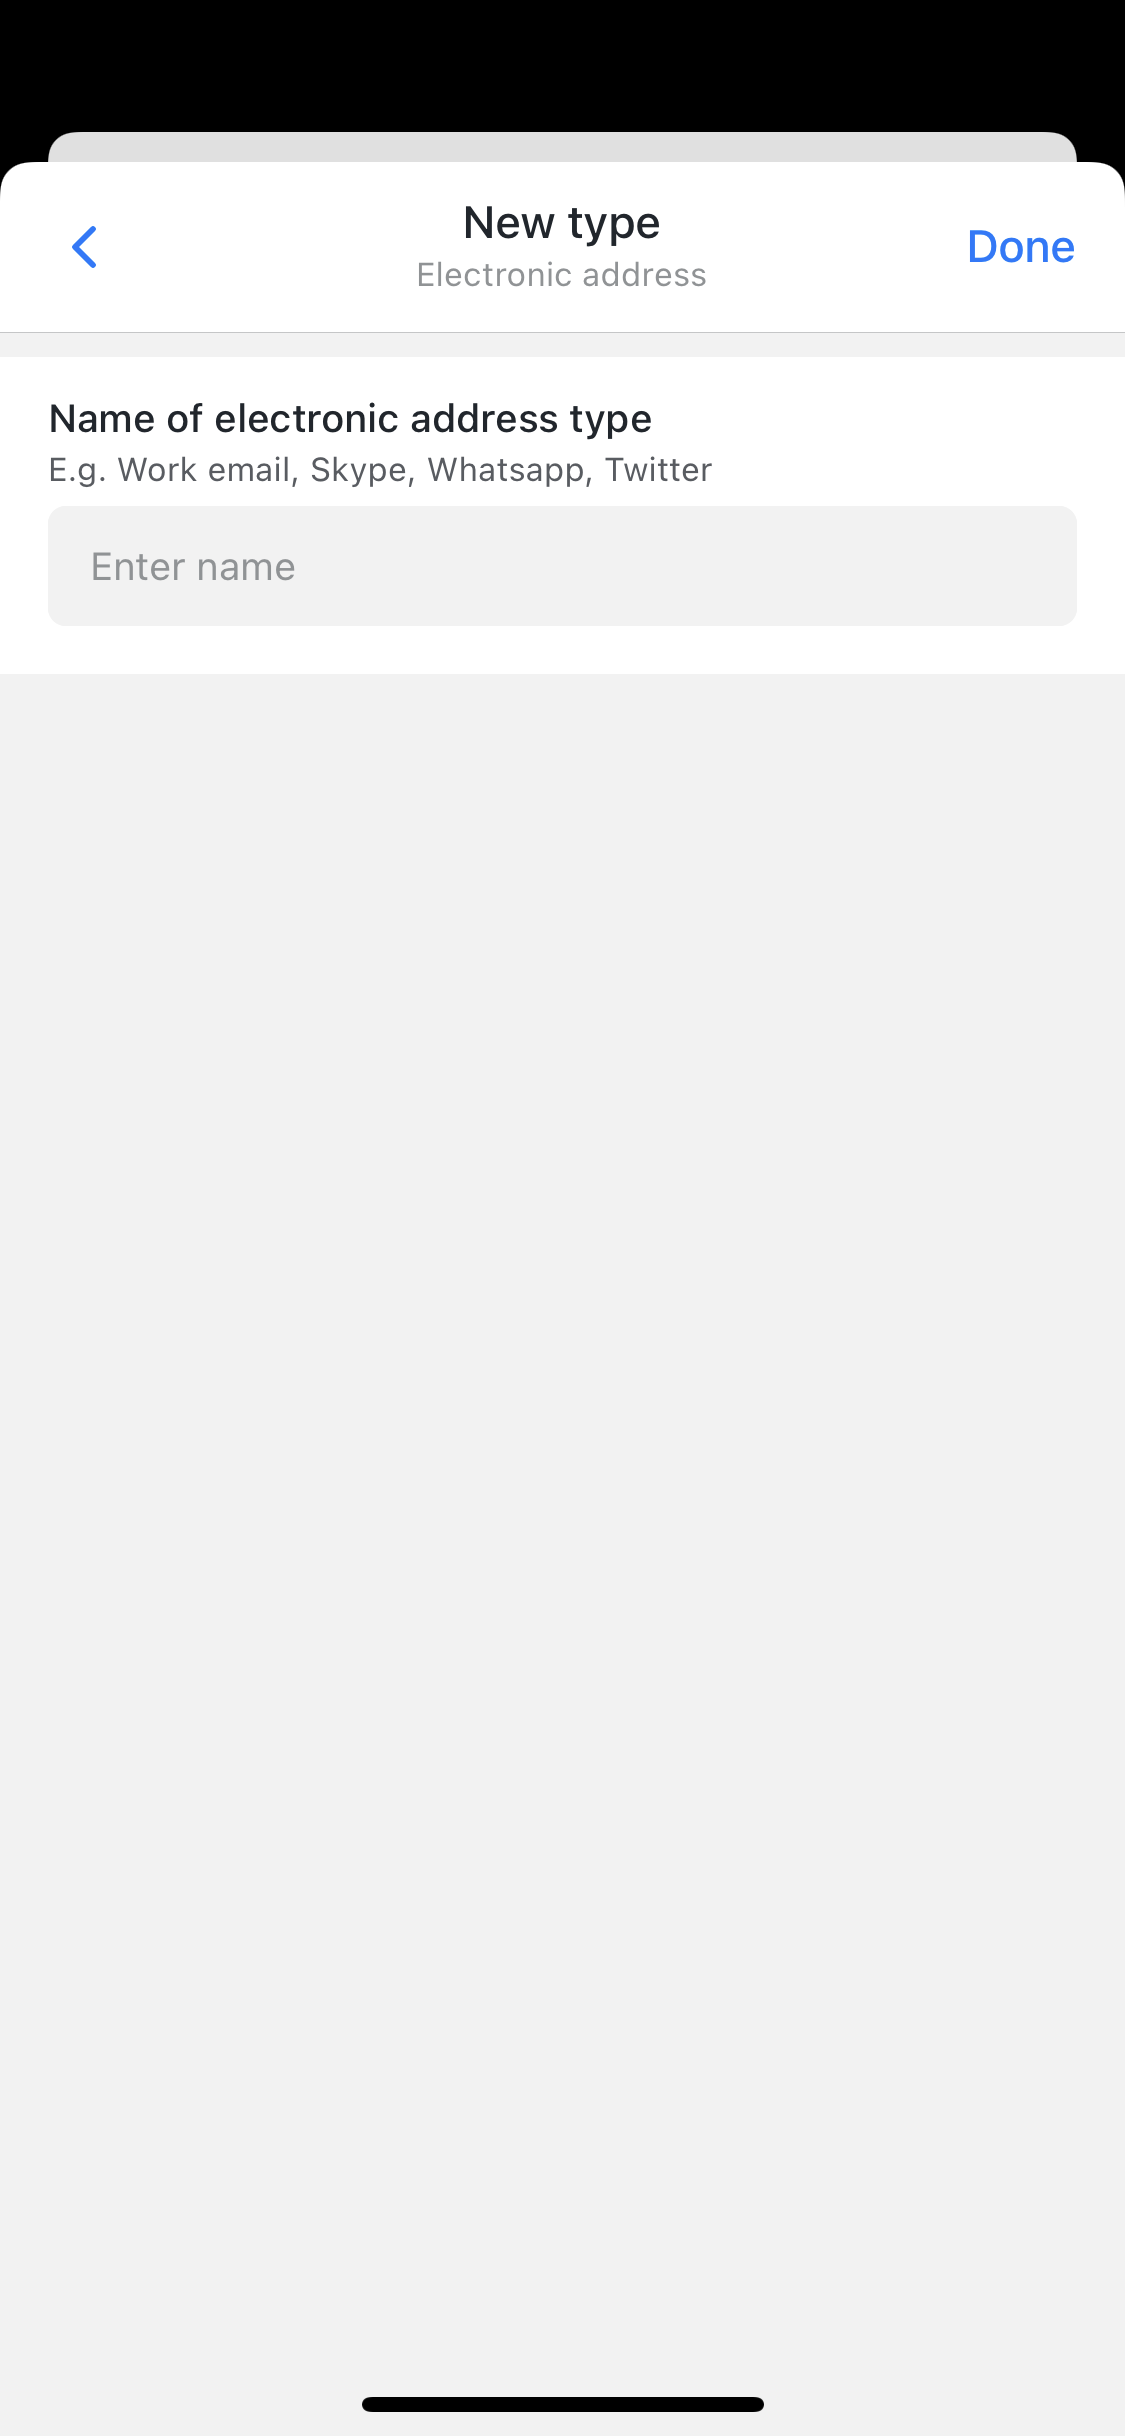
 Similar to electronic address, you can add more new contact number types to suit your business. Tap +Add new to create a new contact number type.
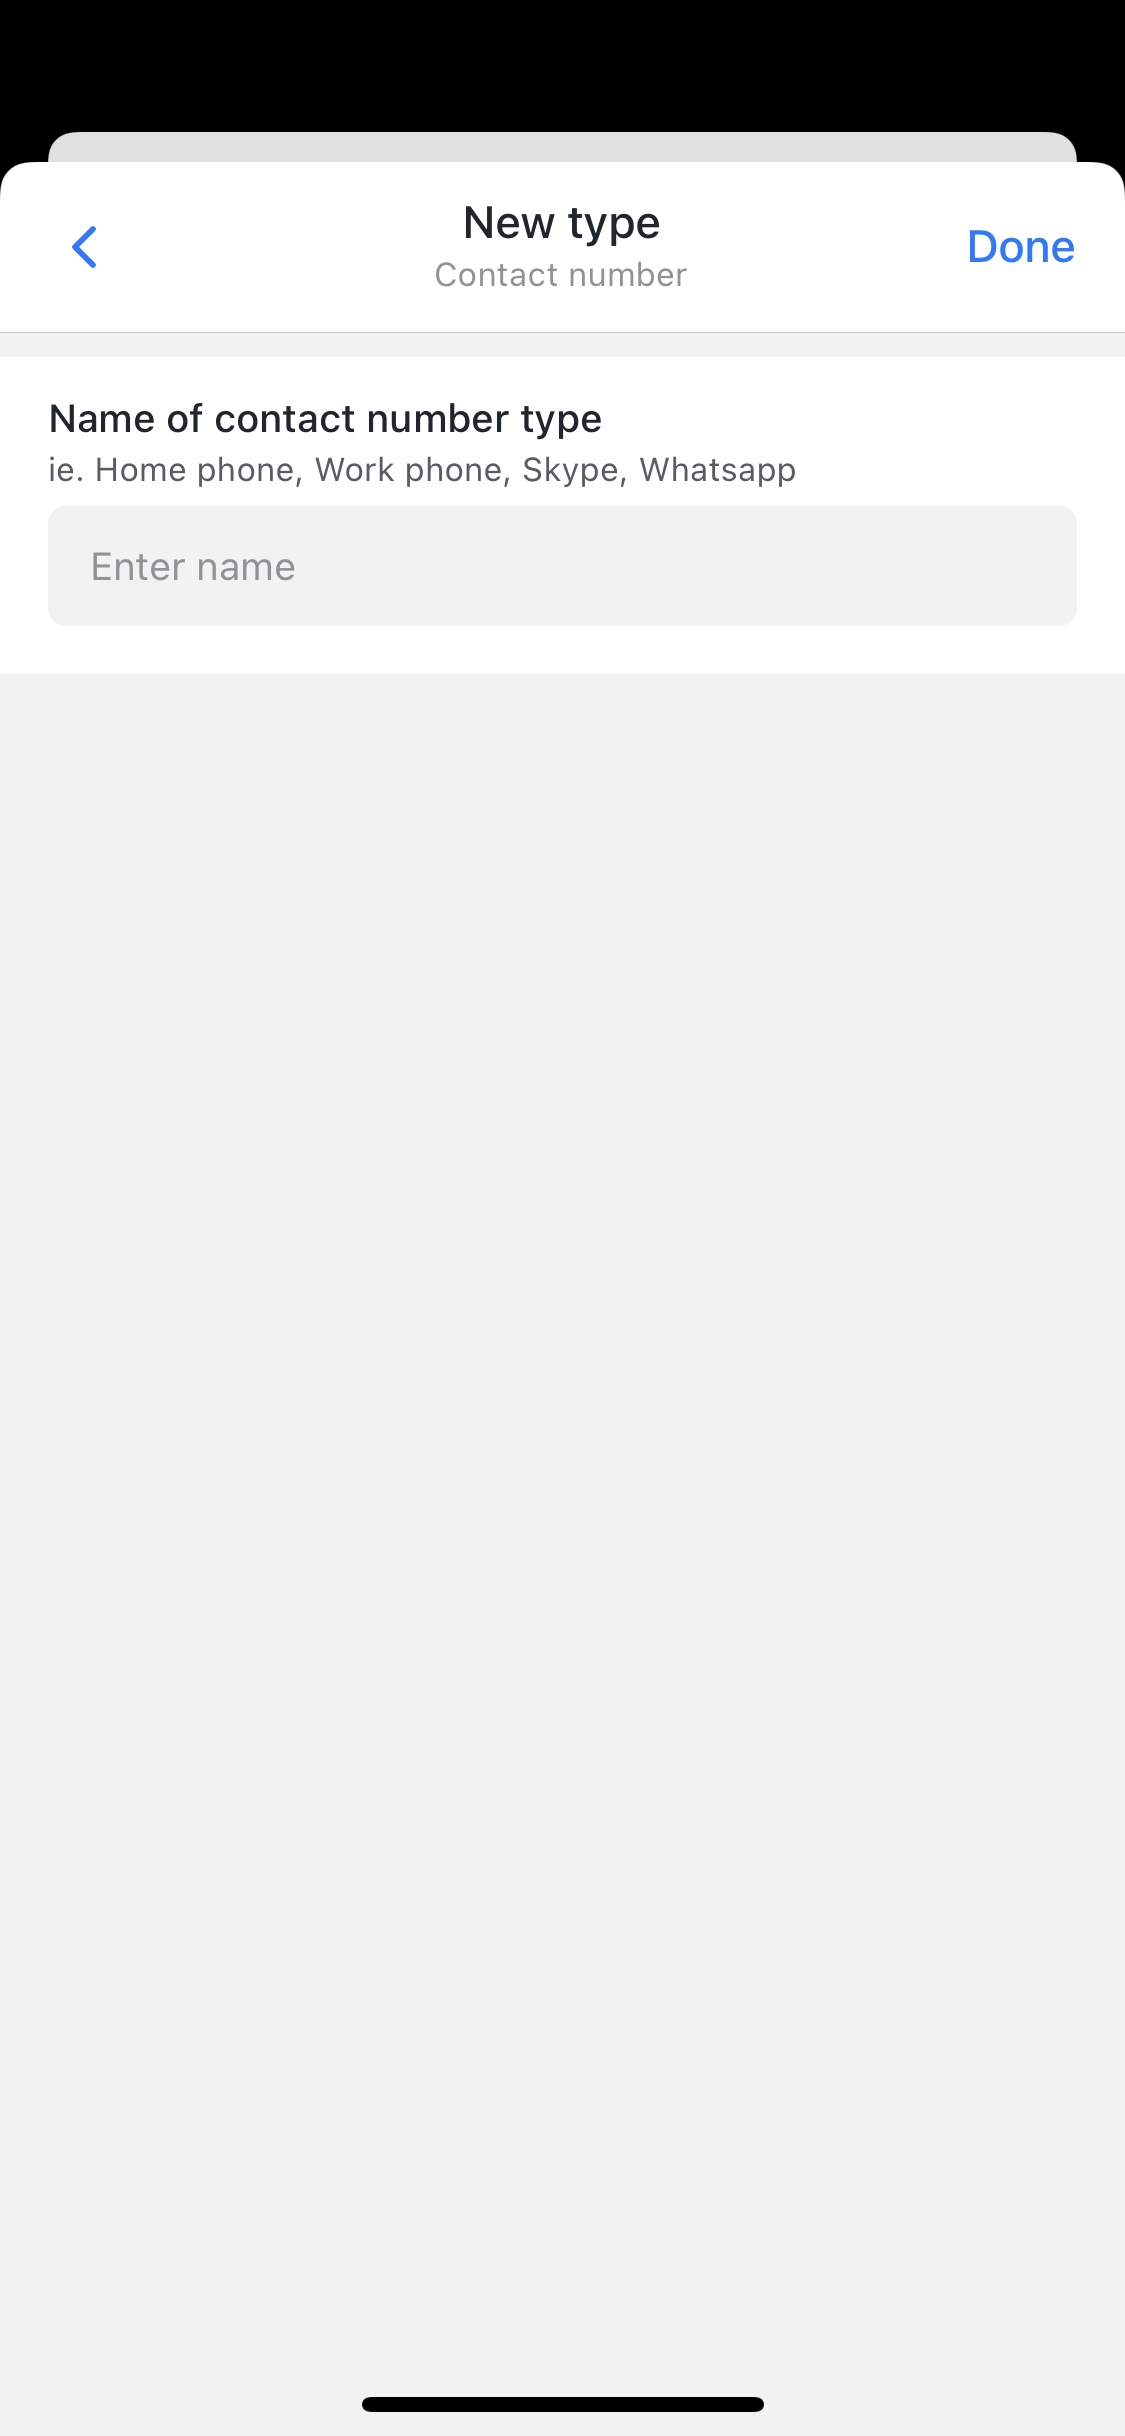
 Similar to electronic address & contact number, you can add more new address types to suit your business. Tap +Add new to create a new address type.
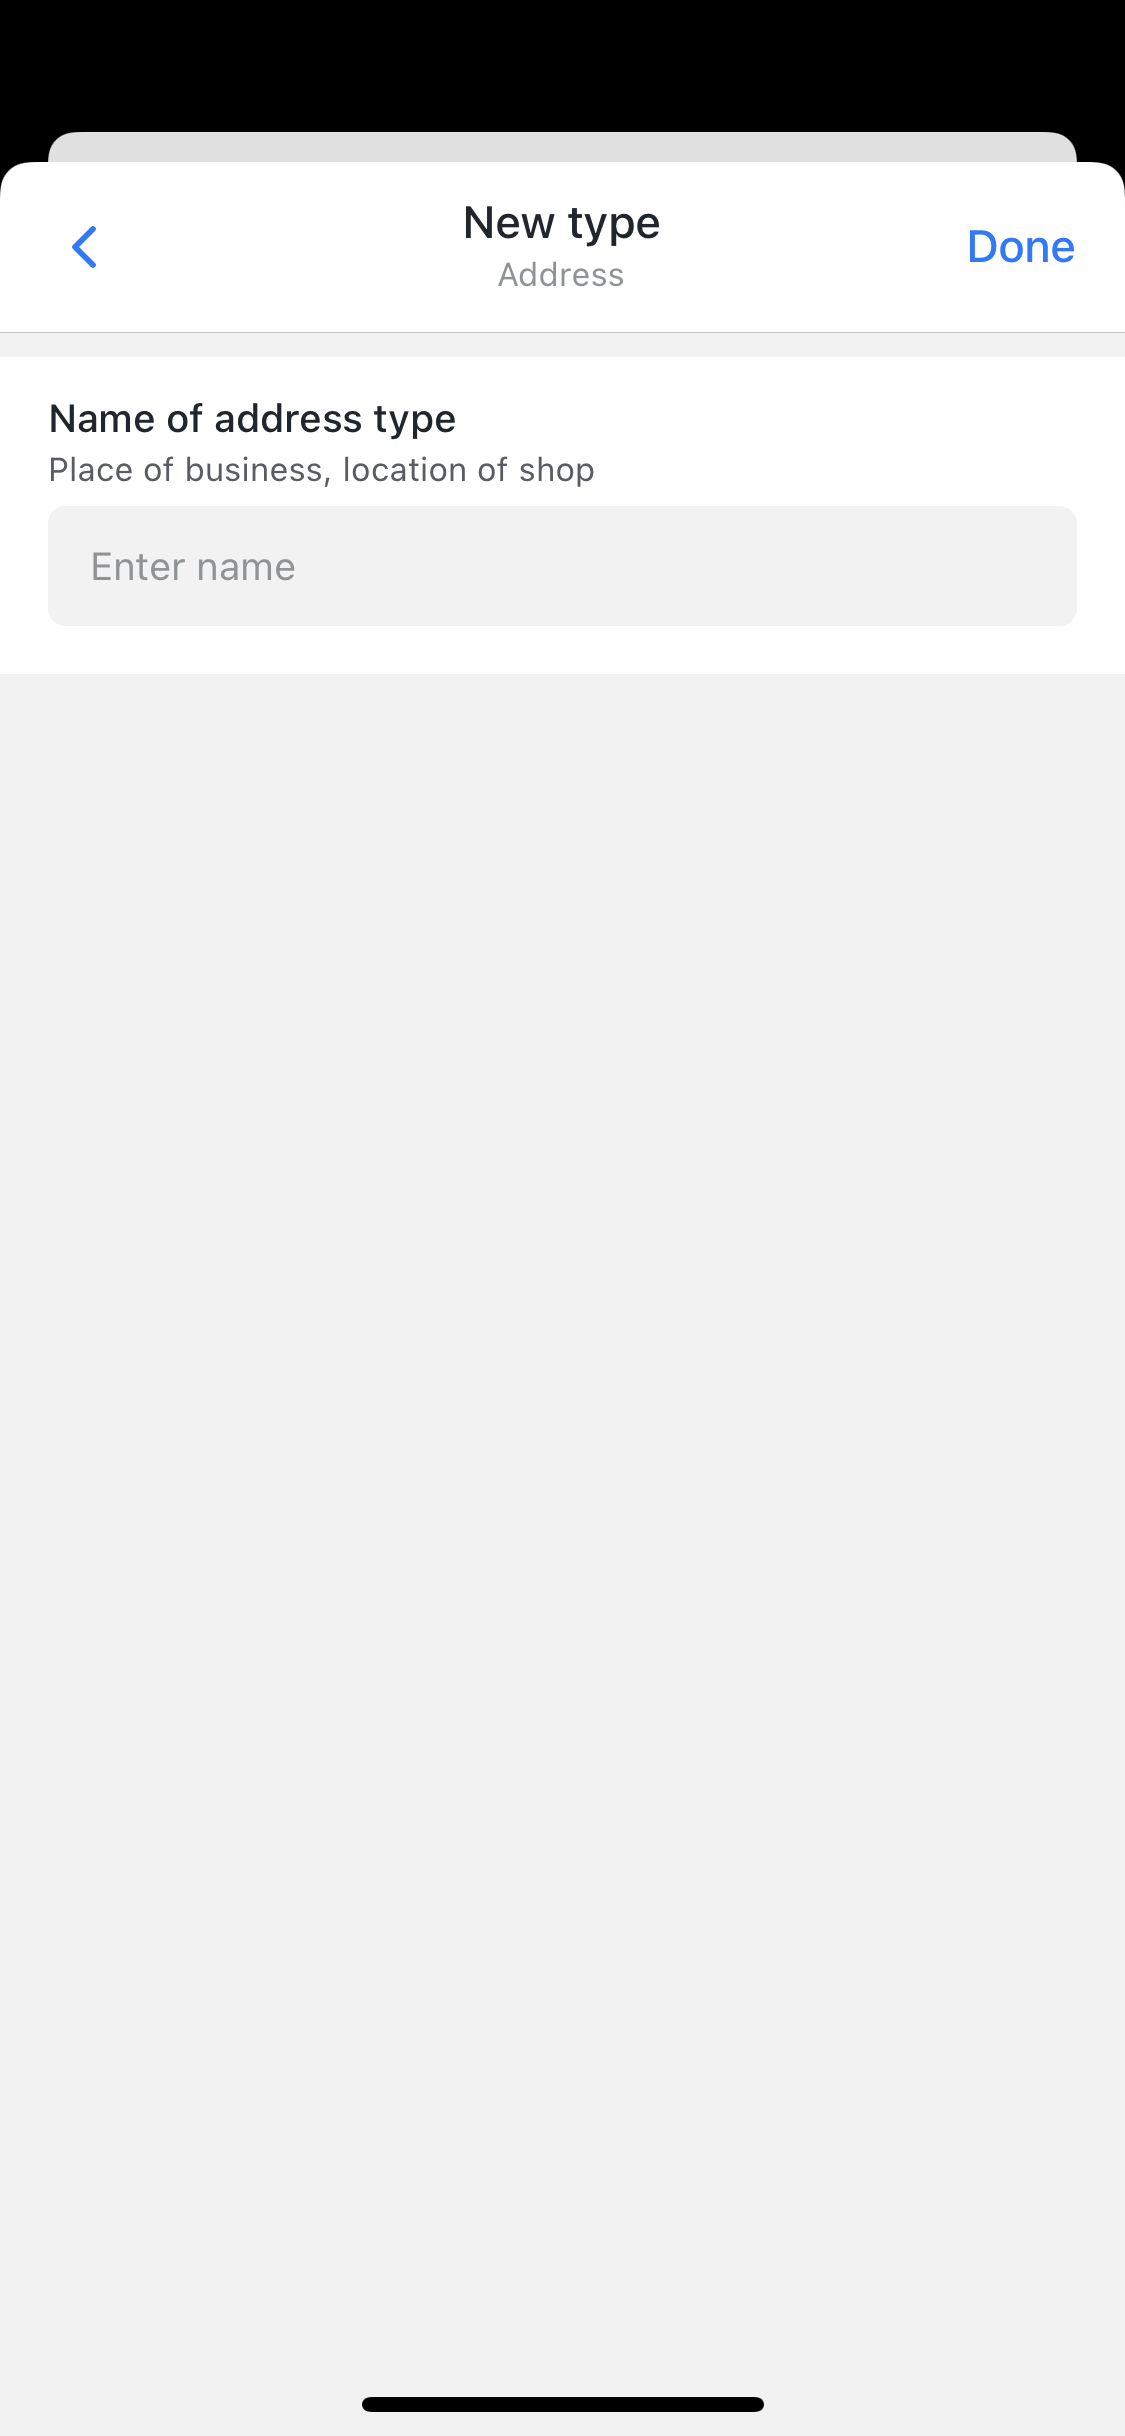


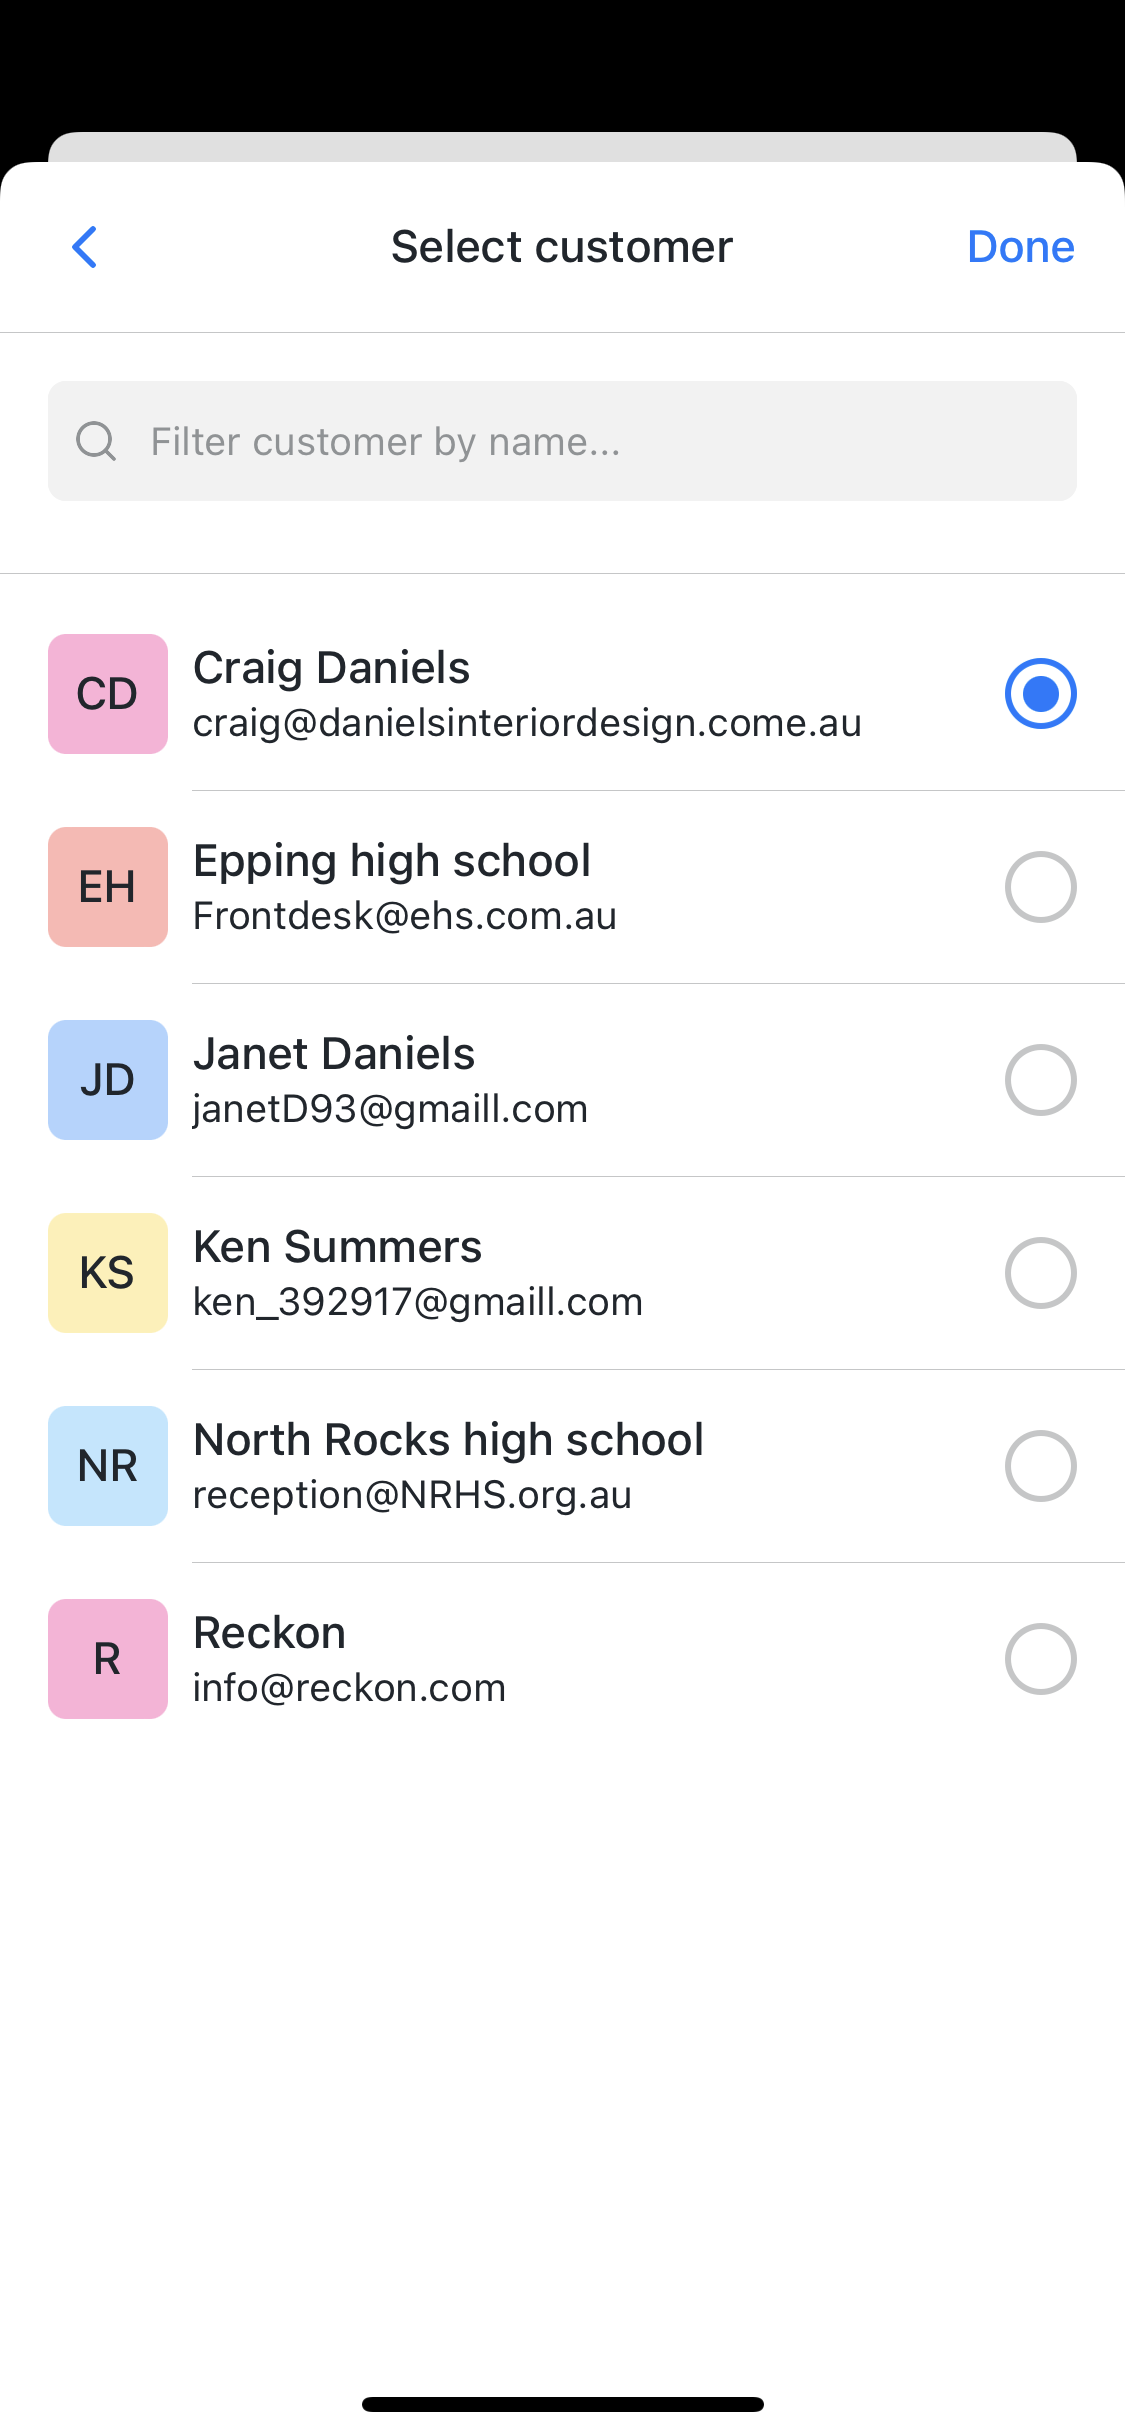 Contact not linked to a customer record cannot be include when sending invoice email.