Table of Contents
Adapting and saving Visualisations - Reckon Insights Creator
Adapting existing Visualisations
The easiest way to develop your own Visualisations is by copying, and then adapting, existing Visualisations.
Copying and moving Visualisations
Both Dashboards and individual Visualisation can be copied from their folders, by clicking on their ellipsis menu and selecting Copy.
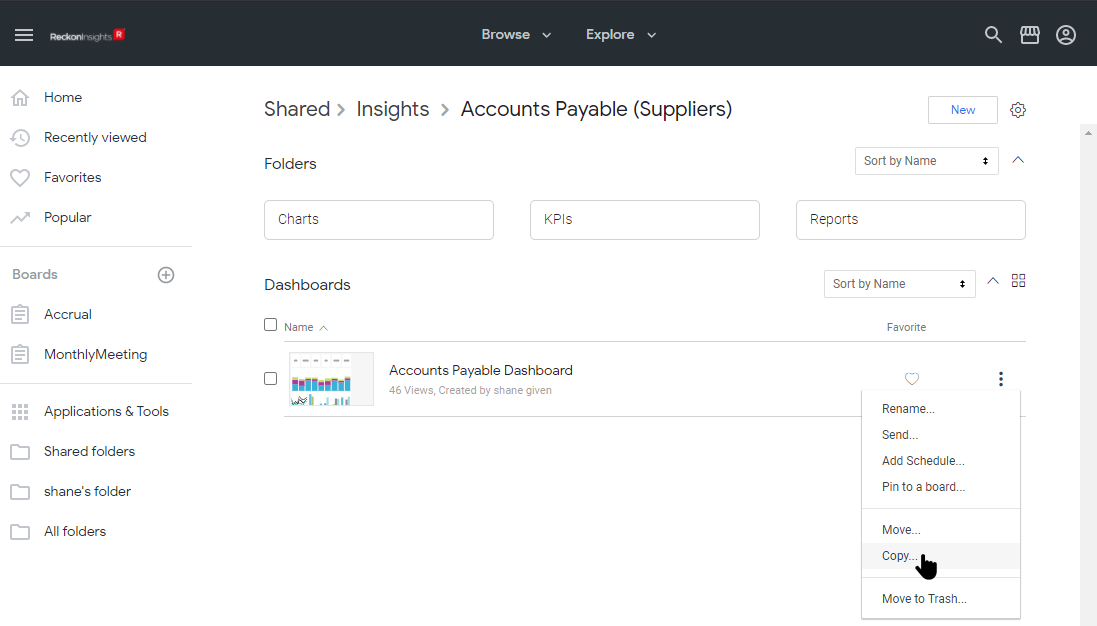

In both cases the Copy dialog opens, from which you can select the destination folder for the copy.
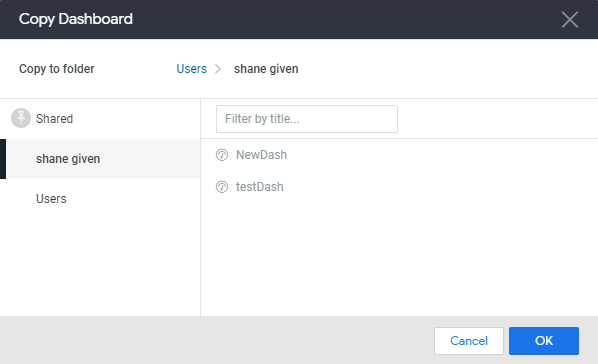
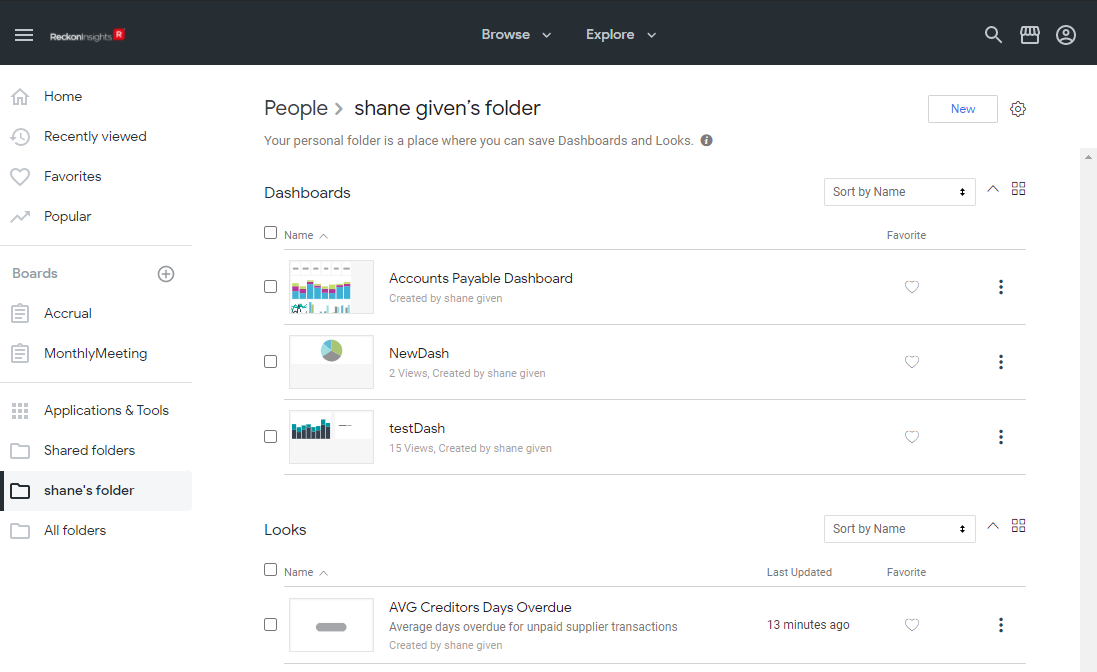
Your personal folder is the best place to save Visualisations and Dashboards you wish to adapt and customise, and your Company folder is is a good place for Visualisations and Dashboards you wish to share.
Editing Dashboards and Visualisations
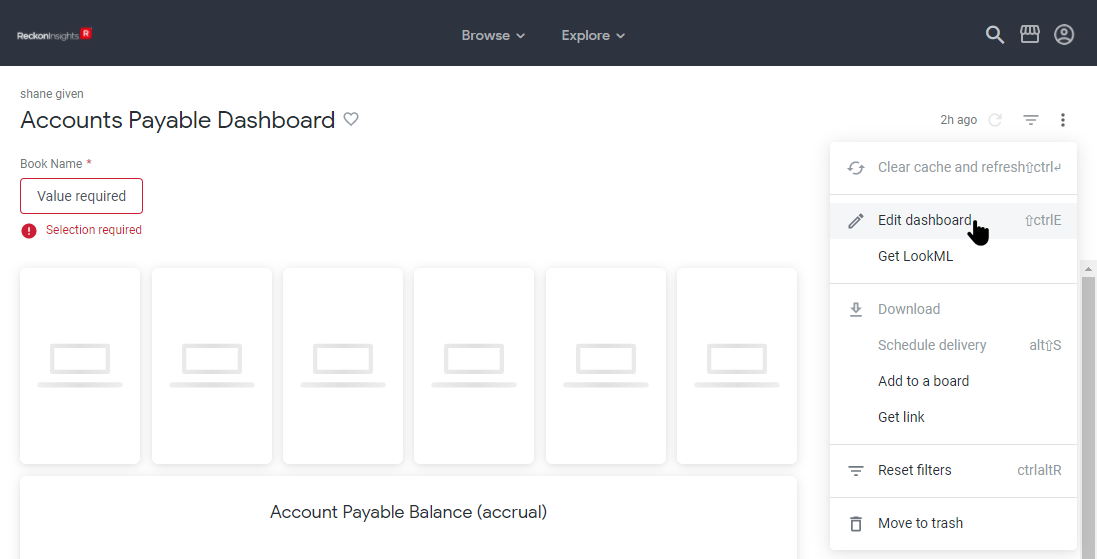
To edit a Dashboard, click on it to open it, and then click the ellipsis menu and select Edit dashboard. For more detail on editing Dashboards, see Working with Dashboards.
To edit an individual Visualisation, click on it to open it and then click the Edit button. For more detail on editing individual Visualisations, see Working with Explores.

Adding default filter values
Dashboards
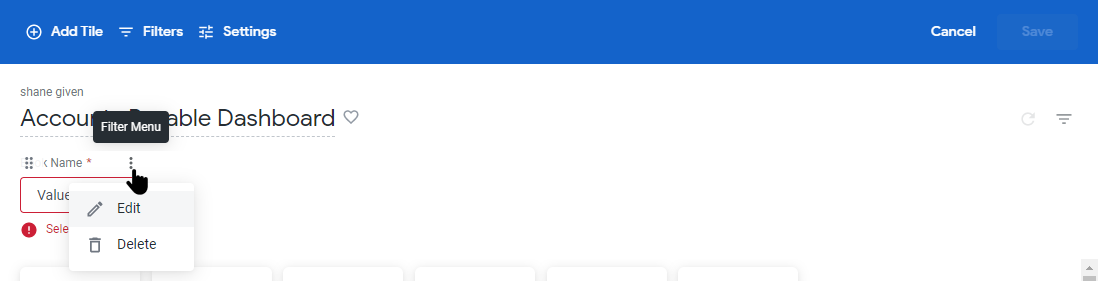
Once editing a Dashboard, you can add a default value to a filter (e.g. Book Name) on the Dashboard by clicking the filters ellipsis menu button, and selecting Edit.
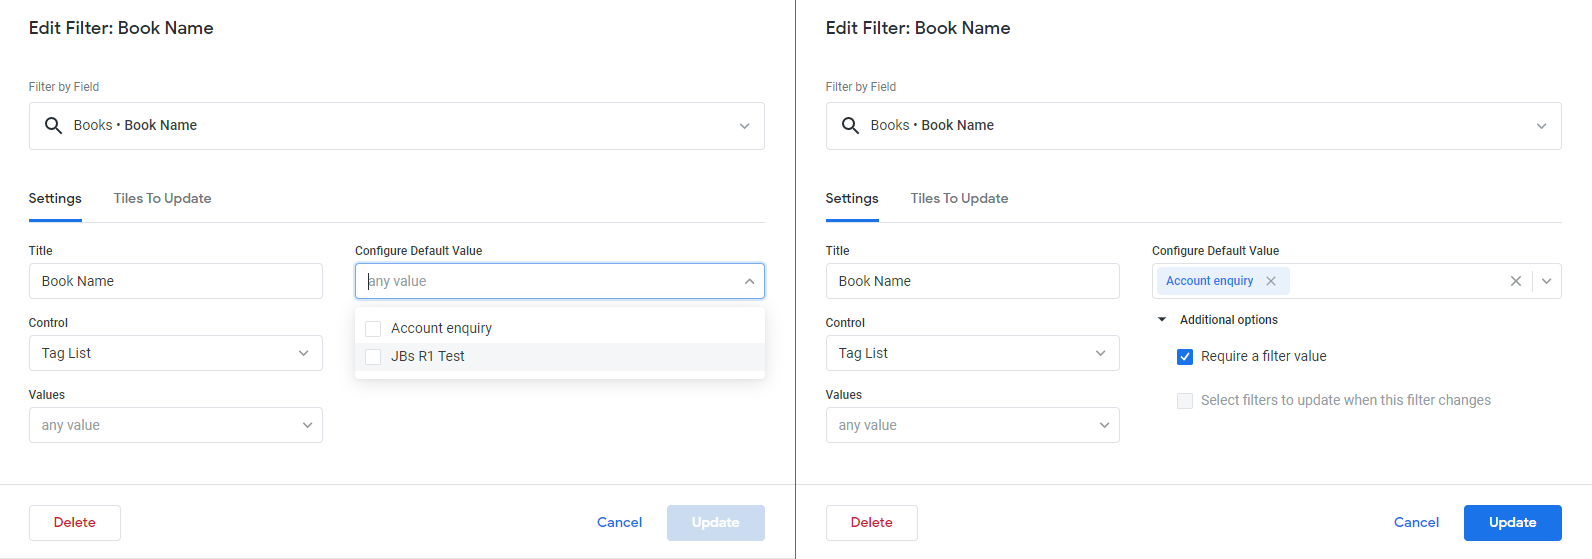
The Edit Filter dialog opens. If there is a value already in the Configure Default Value text-box, clicking the X beside the value will remove it. Clicking in the text-box will show the drop-down list of values, and typing in the text-box will filter the list to show matching values. Select the desired default value(s) and click Update.
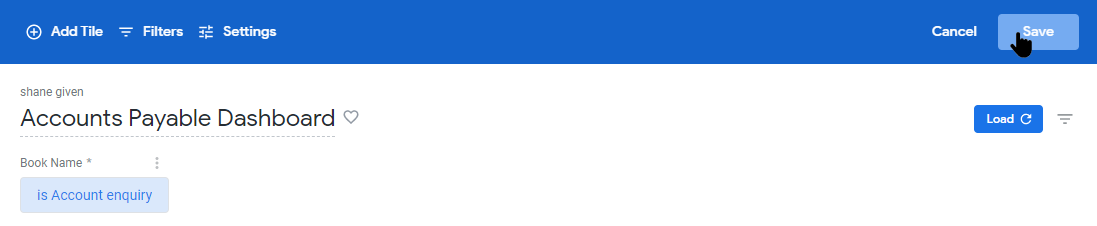
Repeat for all filters that you wish to have a default value. When done adding default values, click Save to save the changes to the Dashboard.
For more detail on Filtering on Dashboards, see Working with Dashboards - Adding filters.
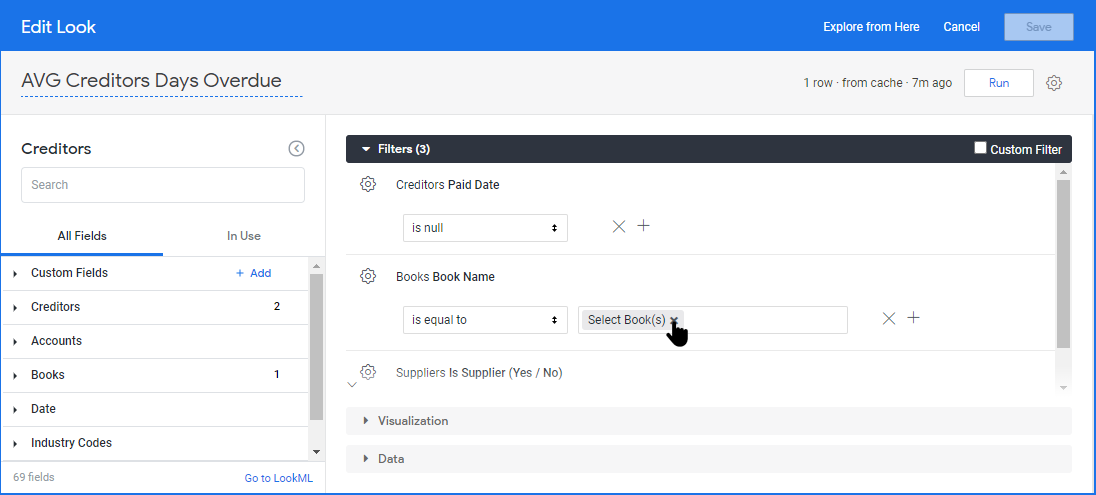
Individual Visualisations
Once editing an individual Visualisation, expand the Filters section by clicking the triangle to the left.
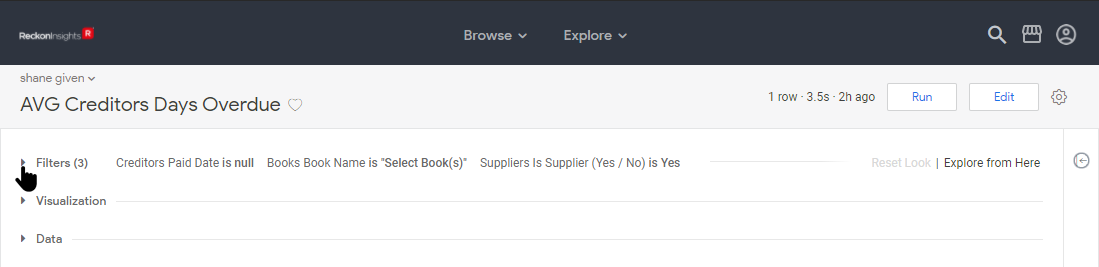
To add a default value to a filter (e.g. Book Name) on the Visualisation, click the X by Select Book(s) to remove the prompt. If there is another value already in the filters text-box, clicking the X beside the value will remove it.
Click in the text-box again to show the drop-down list of values, and select the desired value. Again, typing in the text-box will filter the list to show matching values.
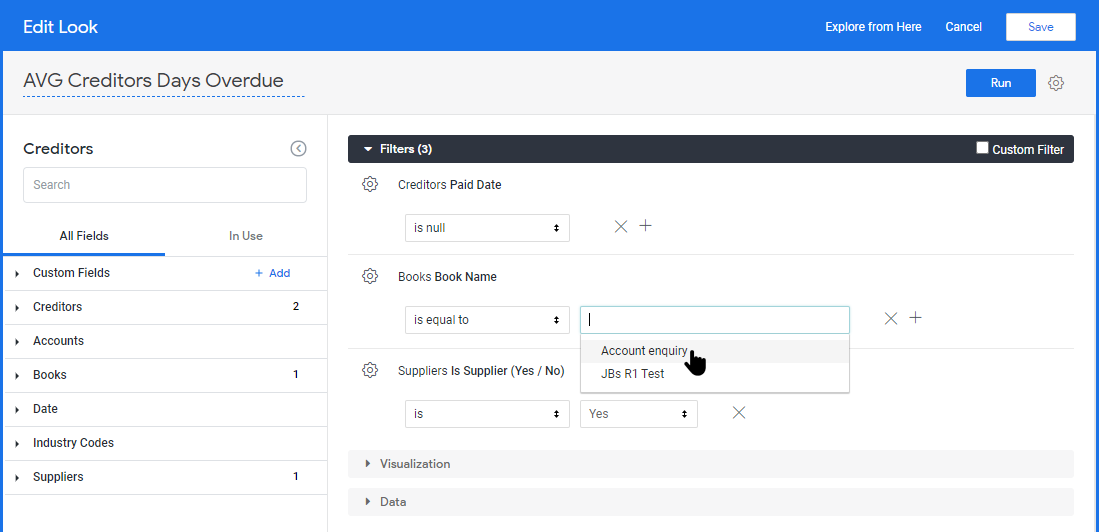
Repeat for all filters that you wish to have a default value. When done adding default values, click Save to save the changes to the Visualisation.

Back to Table of Contents - Creator