Table of Contents
How to use RA Timer with Reckon Accounts Hosted
Legacy KB ID: 4375
Question
Where can I get Reckon Accounts Timer (formerly QuickBooks Pro Timer) for Reckon Accounts Hosted and how do I install it?
Answer
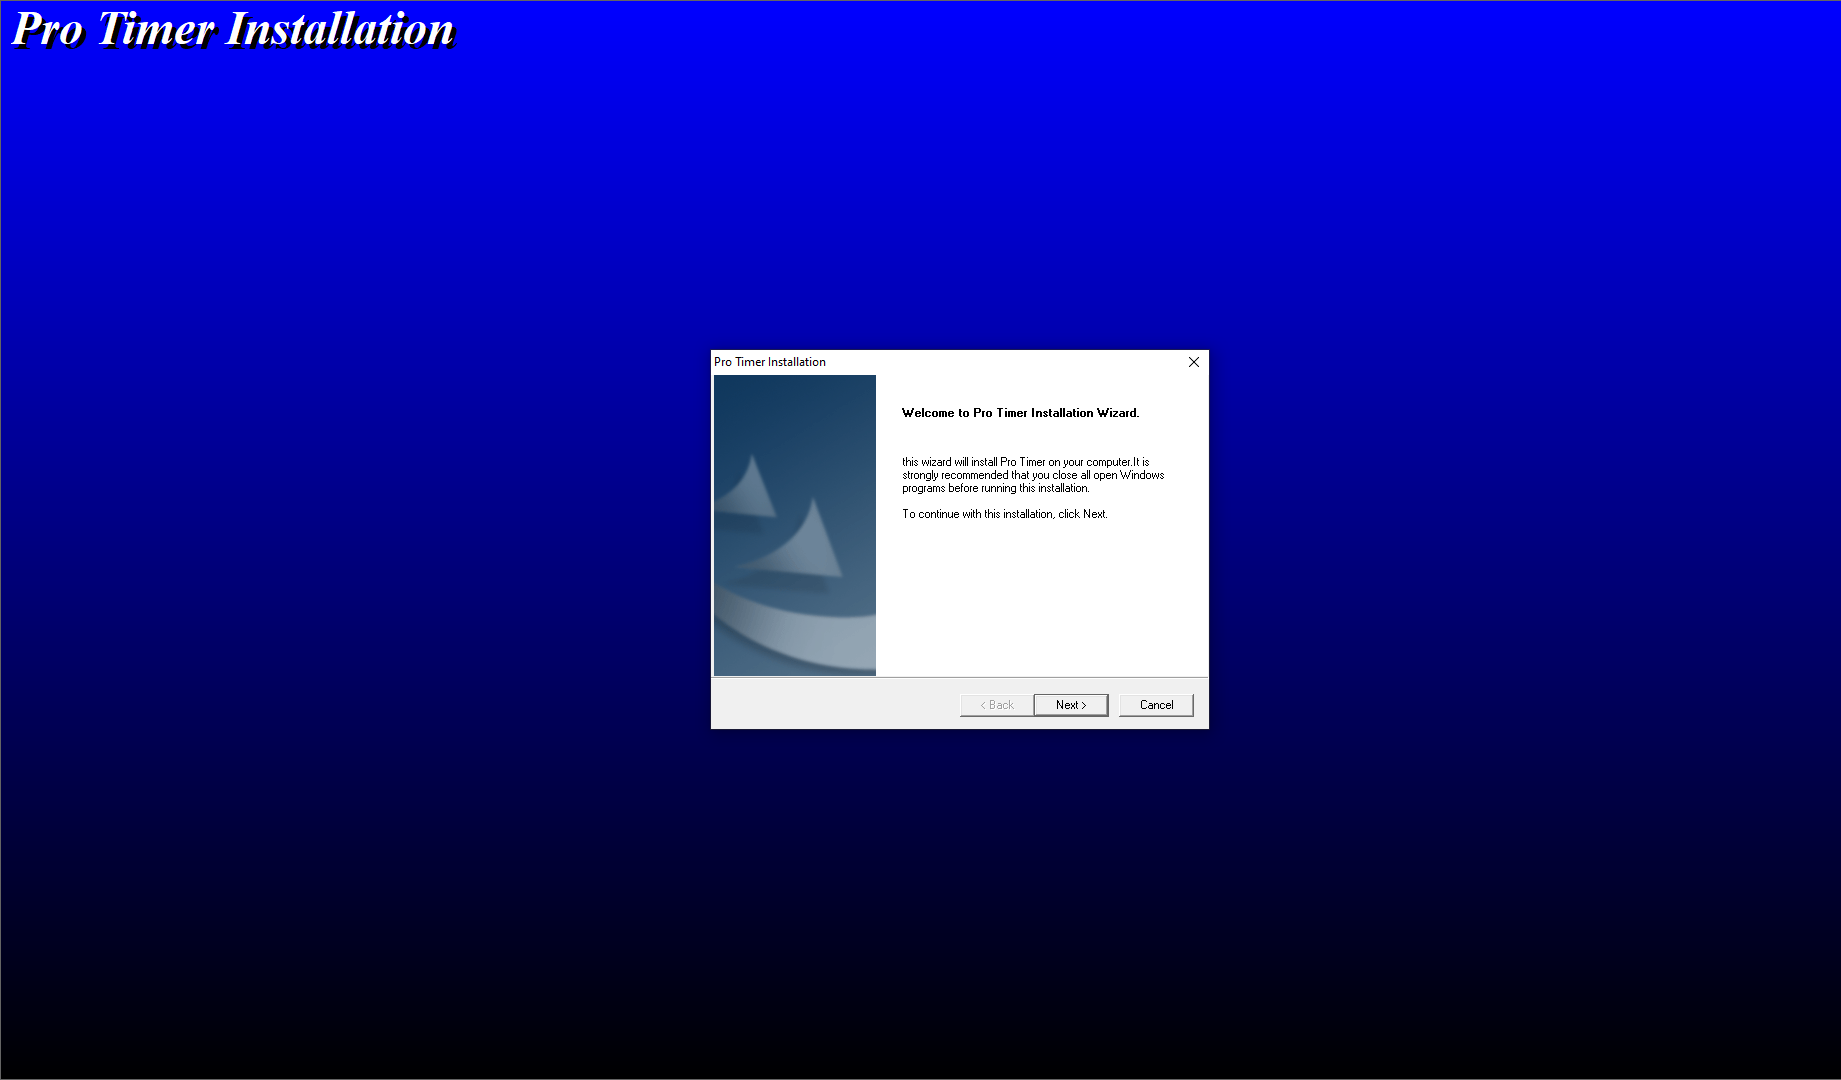
Download and Install Pro Timer in your computer
- Download and unzip the Reckon Accounts Pro Timer
- Run the setup.exe and follow the installation wizard prompts
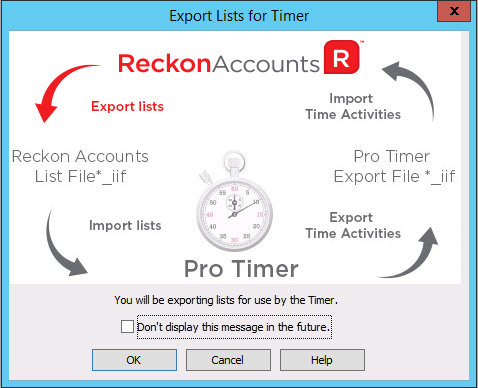
Export and Download the Lists
This contains the Item List, Class, Customer List, Supplier List, Employee List, and Other Name List which will be used for setting the Timer details. The file is an IIF File type.
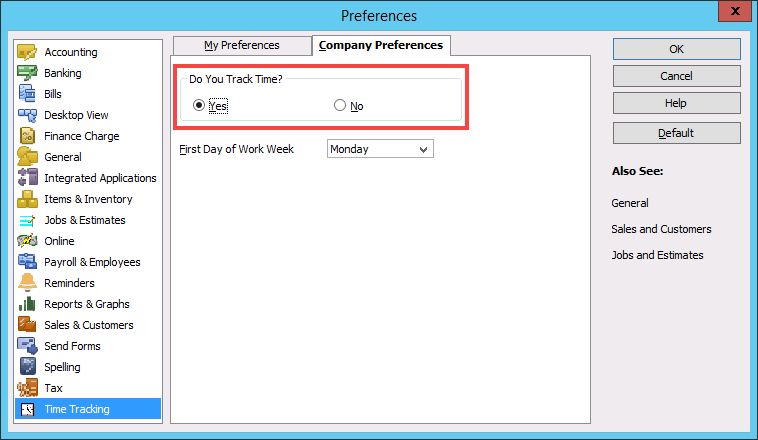
- In Reckon Accounts Hosted, go to Edit > Preferences > Time Tracking > Company Preferences
- Select Yes on 'Do You Track Time?'
- Then, go to File > Timer and select Export Lists for Timer
- Click OK
- In the Export window, select your My Live (Q:) as the save location
- Enter the filename then click Save
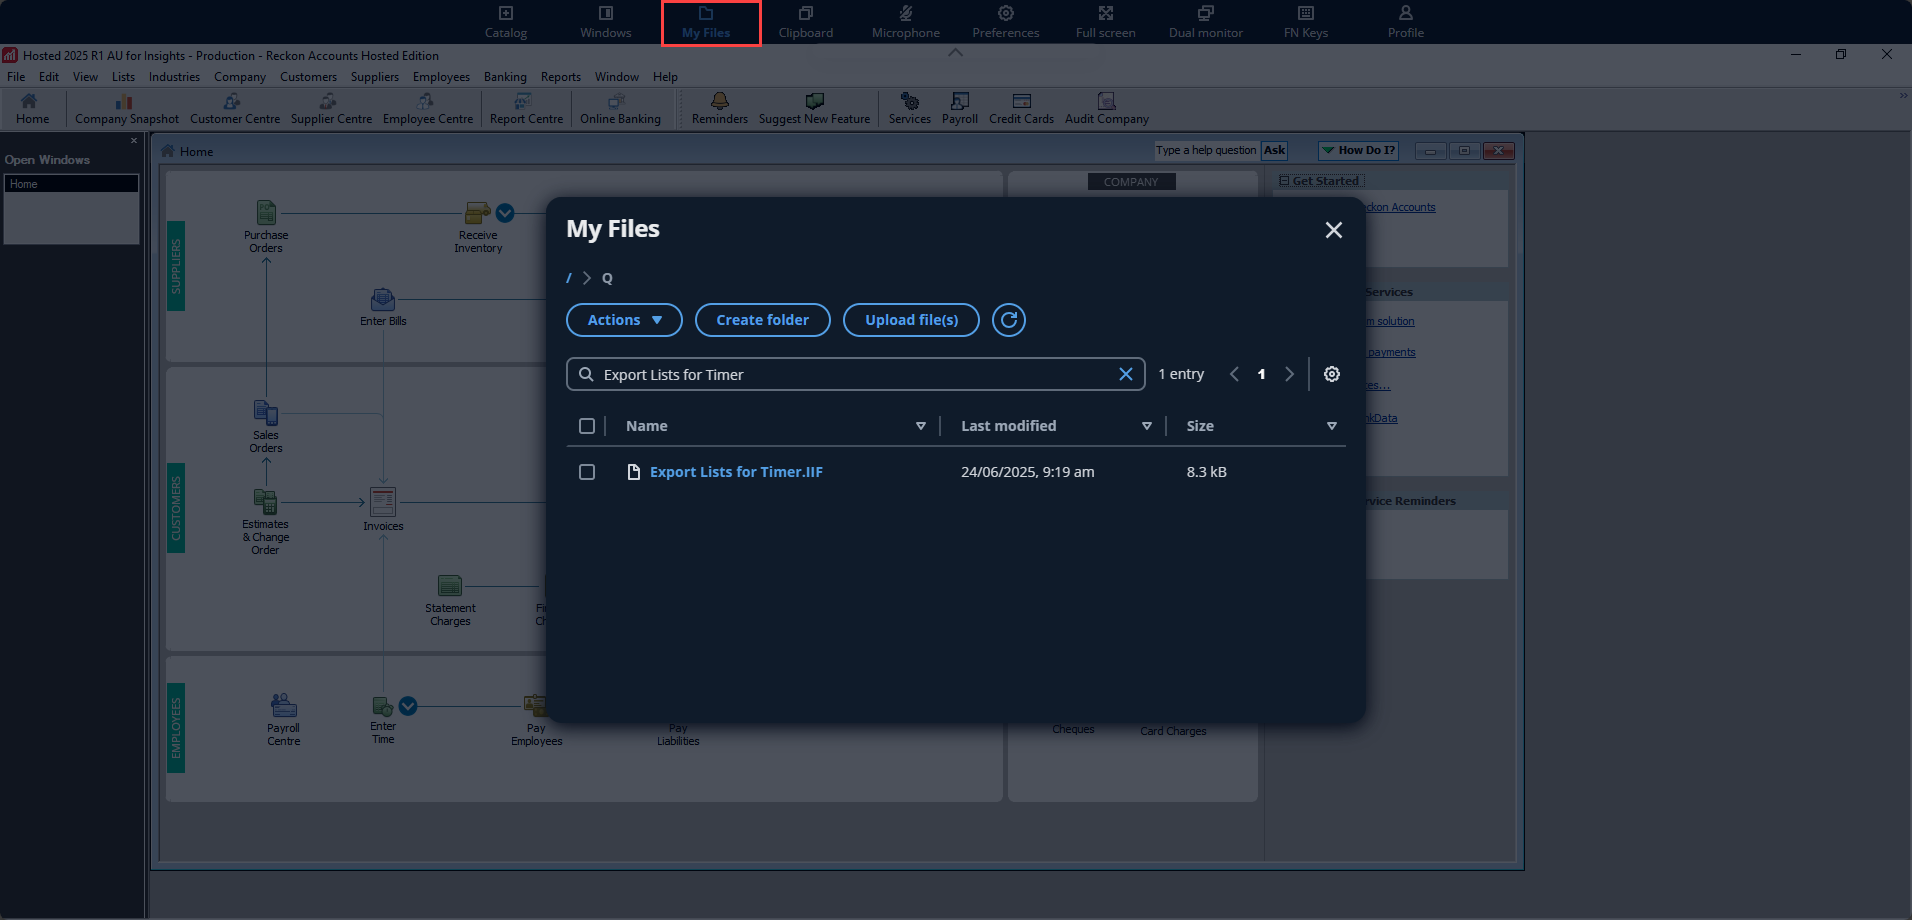
- Click on My Files from the toolbar and select the Q folder
- Search or navigate to the location of your exported Timer file
- Click on the filename to download, or
- Place a tick on the file and select Actions > Download
Launch and Import Lists to RA Pro Timer
- Launch RA Pro Timer
- This will open the Pro Timer Sample File
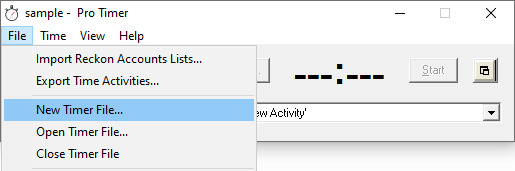
- Click OK on the dialogue then select File > New Timer File
- Enter a File name then click on Save
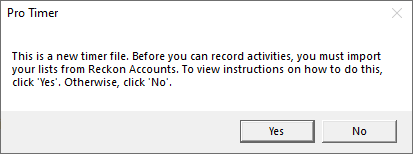
- A dialogue will appear that would launch the Pro Timer Help if Yes is selected
- Then, go to File > Import Reckon Accounts Lists
- Click on Continue
- Navigate to the downloaded Export Lists from Hosted and select it
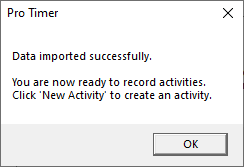
- Once completed, click OK
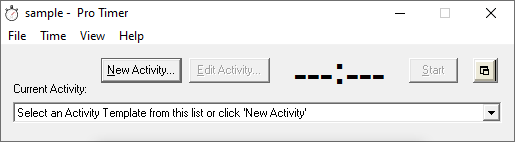
Using RA Pro Timer
- Click on New Activity
- Enter or select the details for the relevant fields
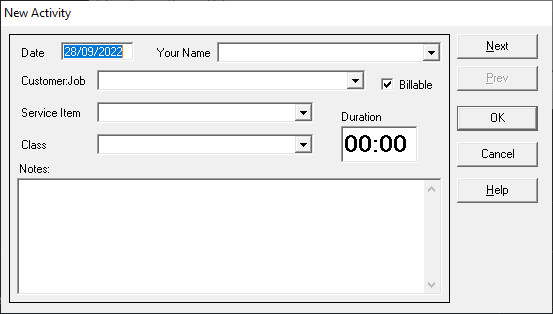
- Enter the Time and any Notes
- Click Next or OK to complete
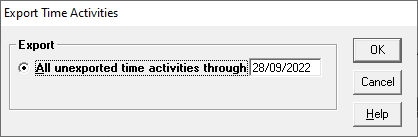
Export Time Activities recorded
This will export the time activities entered in Pro Timer as an IIF File type.
- Go to File > Export Timer Activities
- Click on Continue
- Enter the relevant date then click OK
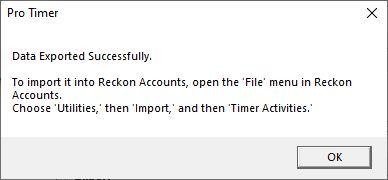
- Select where to save the file, enter a name, then click Save
- Once successfully exported, the following dialogue will appear - click OK
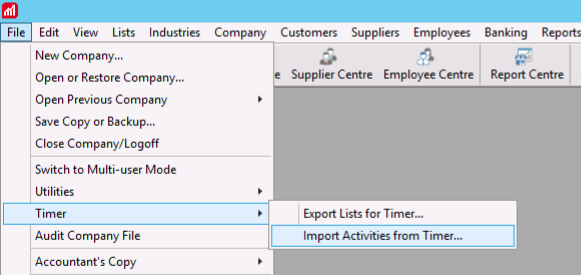
Import Time Activities to Reckon Accounts Hosted
- In Reckon Accounts Hosted, click on My Files > Q folder and select the location where you want to upload your exported Timer file
- To upload your file:
- Drag and drop the file(s) into the Drop zone of the My Files tool, or
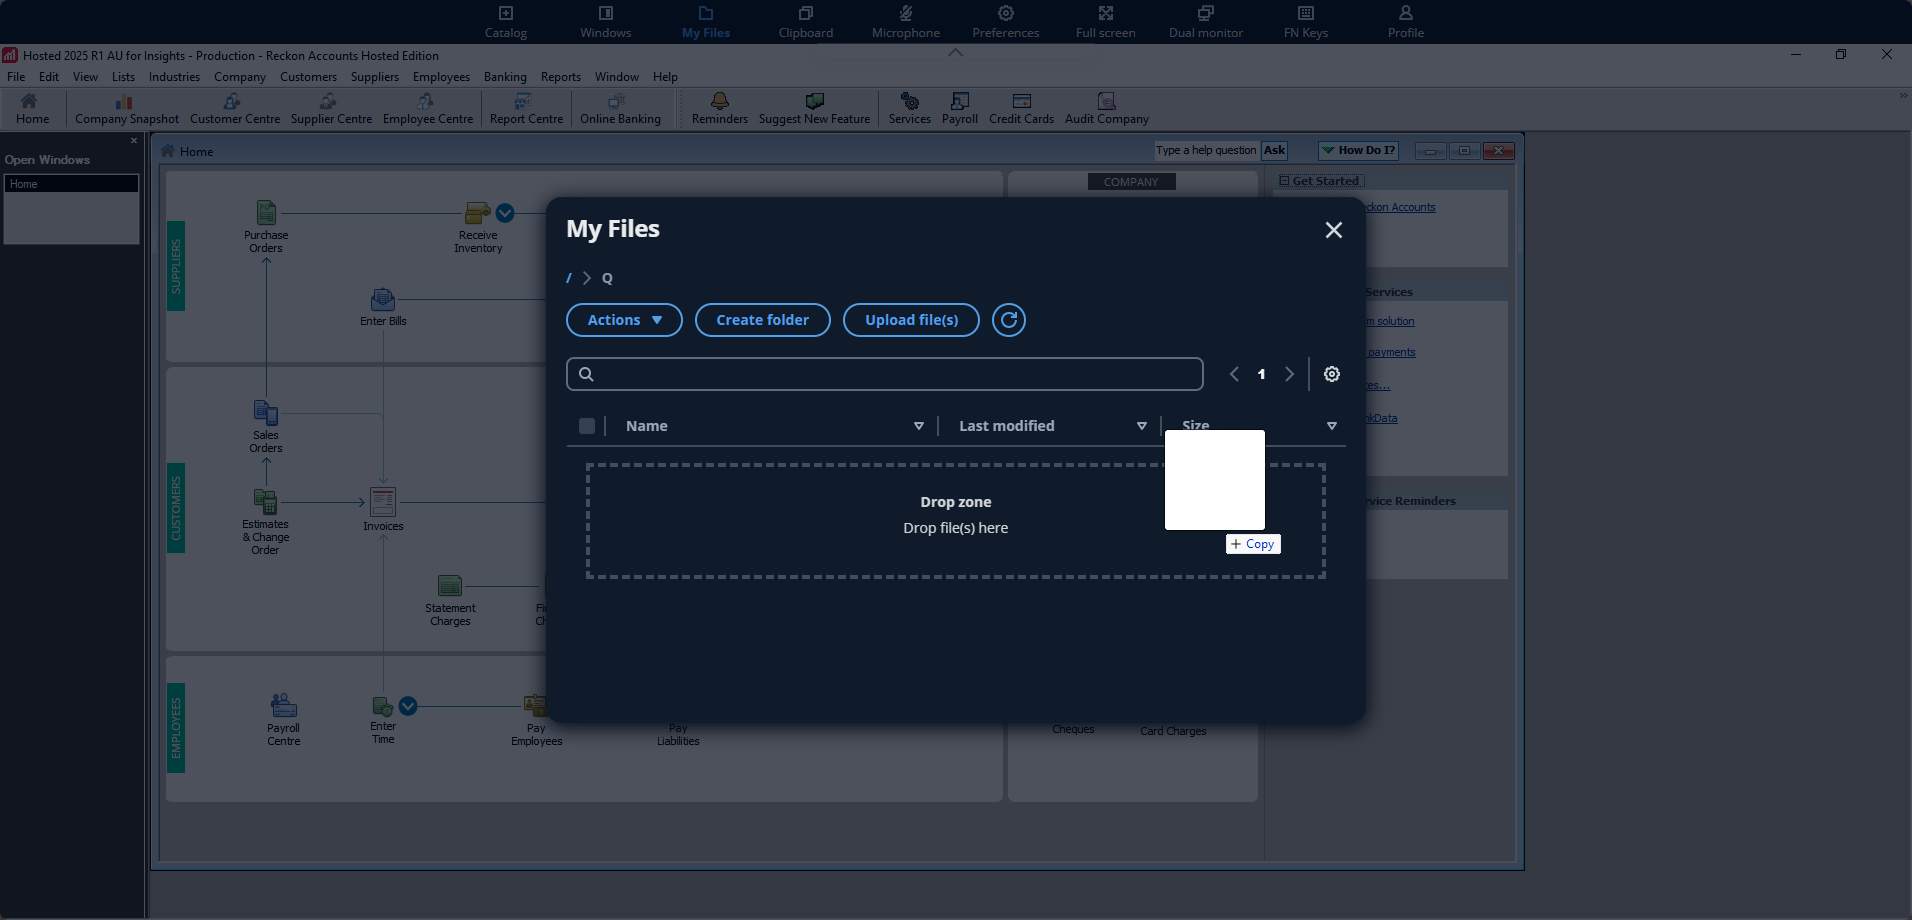
- Click Upload file(s), navigate to the file(s) using your local File Explorer, select them, then click Open to begin uploading.
- Drag and drop the file(s) into the Drop zone of the My Files tool, or
- Then in your Company File, go to File > Timer > Import Activities from Timer
- Click OK and navigate to My Live (Q:) > Upload folder and select the uploaded time activity file
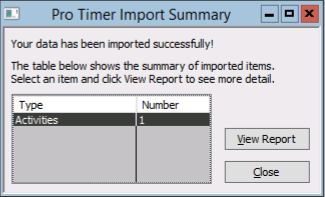
- Your time activity has now been imported into your Reckon Accounts Company file
Need more help?
Ask the Reckon Community at: https://community.reckon.com/reckon.