Table of Contents
General Settings
Book settings
- Open Reckon One >
 > Settings > General (section) > Book settings
 - Complete the required fields and information for your book. A red asterisk * denotes a mandatory field.
If custom fields have been created, they will appear here. If you wish, enter information against custom fields, or select Create custom field to add a new one. - Click on Save to update settings, and follow the breadcrumbs at the top of the screen to return to the Settings overview.
Report settings
Open Reckon One > > Settings > General (section) > Report settings
Complete the required fields and information for the book. Click on Save to update settings and follow the breadcrumbs at the top of the screen to return to the Settings overview.
Cash reporting of adjustment notes
Reckon One has two options for reporting supplier and customer adjustment notes (aka credit notes) when a business has elected to report on a cash basis. A business can chose to either treat adjustment notes as cash whereby adjustment notes will appear in all cash-based reports, or not treat them as cash whereby they will not appear in cash-based reports.
Cash and non-cash (accrual) reporting differences
If your business reports on a cash basis, a transaction is not recognised in your cash ledger until cash is received. In other words, if you create an invoice for a customer and date it the 30th of June, but do not receive payment until the 7th of July, you are not required to pay GST or tax on that amount until the 7th of July (or the reporting period that the 7th of July falls within). However, if you report on an accrual basis, GST and tax is due for the date the invoice was dated, being 30 June in the previous example.
Although adjustment notes are not cash, their treatment can vary when reporting on a cash basis. From the 3rd of July 2023 Reckon One will allow the business to decide which option to use, and will default to Include in cash-based reports for all new books created on or after this date.
Below are examples of the effects on a cash ledger based on your treatment of adjustment notes.
Cash basis reporting where an adjustment note IS NOT considered cash
Transaction | Payment | Effect on sales account cash ledger |
Type: Invoice Date: 30-June-2023 Amount: $100 | Type: EFTPOS Date: 7-July-2023 Amount: $100 | $100 posted to increase sales on 7-July-2023 |
Type: Invoice Date: 30-June-2023 Amount: $100 | Type: Adjustment note Date: 7-July-2023 Amount: $100 | Cash ledger does not report the invoice or the adjustment note |
Cash basis reporting where an adjustment note is IS considered cash
Transaction | Payment | Effect on sales account cash ledger |
Type: Invoice Date: 30-June-2023 Amount: $100 | Type: EFTPOS Date: 7-July-2023 Amount: $100 | $100 posted to increase sales on 7-July-2023 |
Type: Invoice Date: 30-June-2023 Amount: $100 | Type: Adjustment note Date: 7-July-2023 Amount: $100 | $100 posted to increase sales on 7-July-2023 -$100 posted to decrease sales on 7-July-2023 Net effect = $0 (zero) |
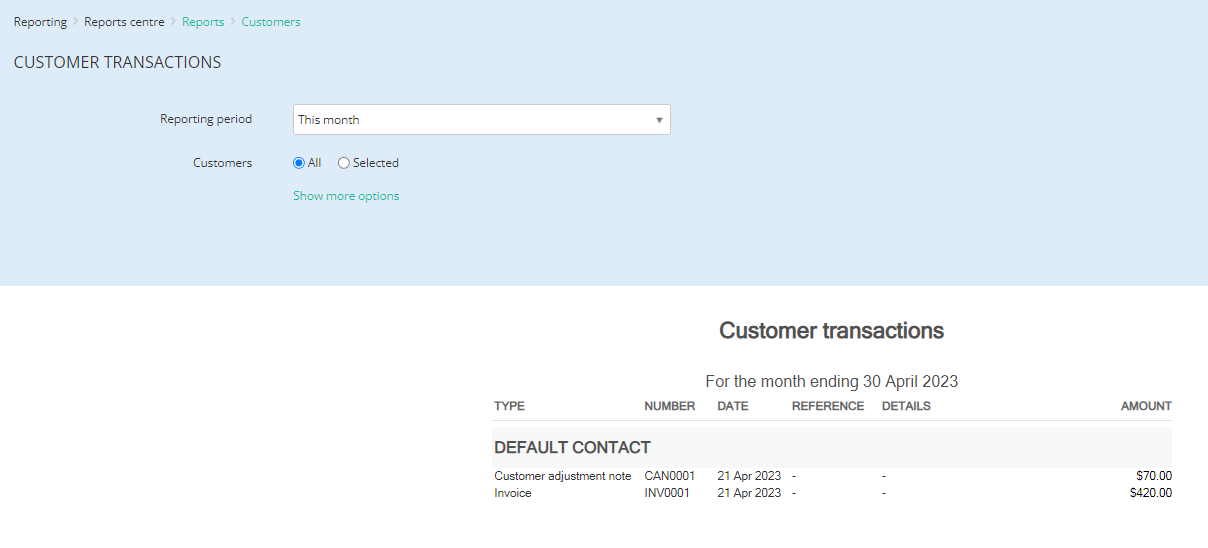
Regardless of which method the business chooses to use, you can report on adjustment notes created with transactional reports such as Aged debtors and Customer transactions available via the Reports Centre.
Email settings
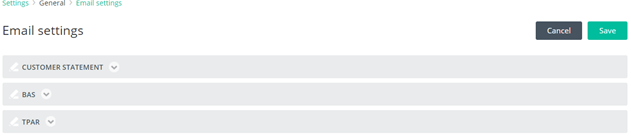
Open Reckon One > > Settings > General (section) > Email settings
Complete the required fields and information for the book. Click on Save to return to the Settings overview.
Managing roles
You can create unlimited roles in your book. A user can have more than one role applied to them. Roles are hierarchal, meaning that the role with the higher level permissions will override other lower level roles / permissions.
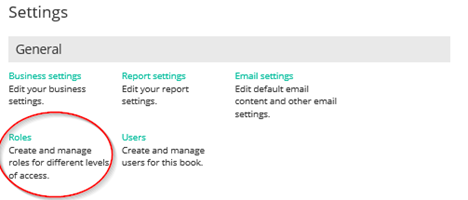
Open Reckon One > > Settings > General (section) > Roles
Administrator: The administrator role is a global role to all areas and permissions in Reckon One.
Limited: The Limited role is a global read only role in Reckon One.
Payroll Administrator: These users will have full access to Payroll functionality
Superuser: The Superuser role is the same as the Administrator role in Reckon One except has limited permissions relating to users and roles.
Support: These users can be enabled to allow application support to be performed.
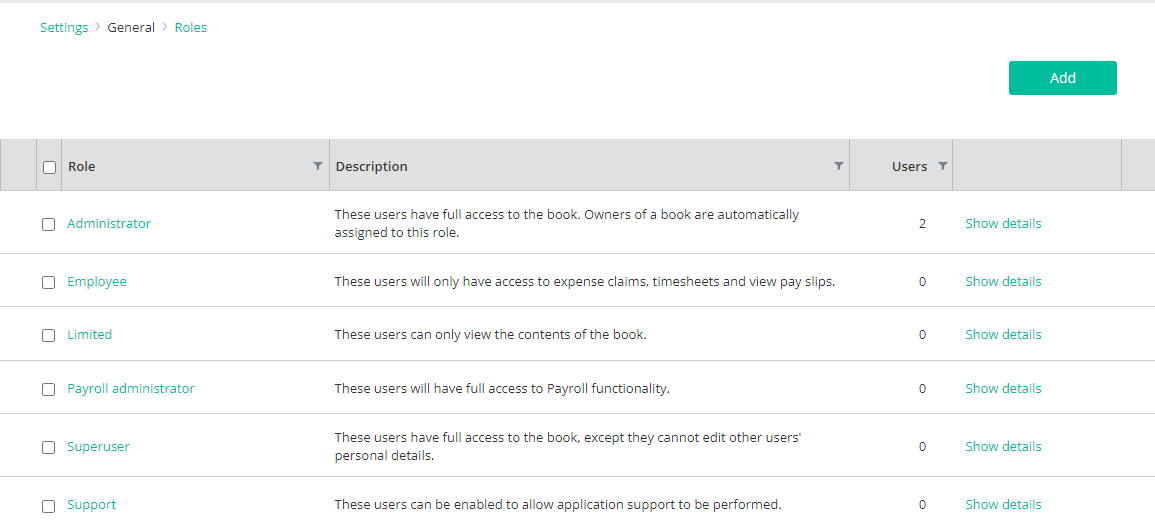
When a book is created you are automatically designated as an Administrator role. From the Roles overview, the Users column shows how many users are applied to each role. To copy a role, select an existing role and then click on Duplicate to further customise it.
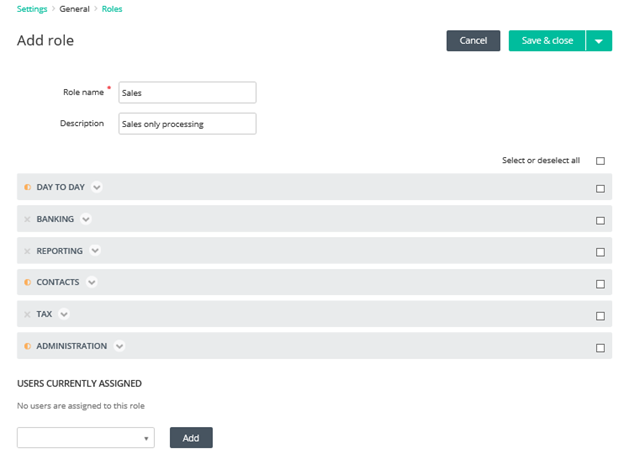
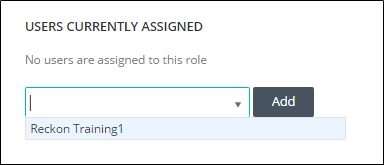
You can create new roles by clicking on Add. Click on each relevant area for the role and select functions to give access or deselect to remove access. Once completed, click on Save & close.


Managing users
From the Reckon One Administration drop down menu  , click on Settings. In the General settings area, click on Users.
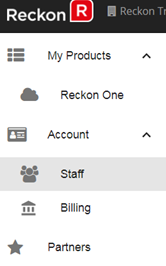
Alternatively, you can go back to the Reckon Portal, click Account > Staff
When a book is first created, you will be the only user and by default be assigned an Administrator role. You can add other people within the business to the Portal so they can access your books. You can choose which books they have access to via a bulk selection. Note: You wouldn’t use this to add third parties e.g. bookkeeper or accountant.
Staff (formally users) are now added via the Portal Dashboard and can be also be added to multiple books. They must have created a profile on the Portal before they can be added to a book.
To add a new user click Add staff.
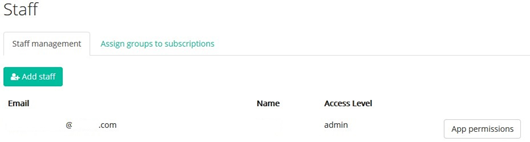
Complete the email address (or username if known) of the staff member, and select Role using the drop down > select Admin or User.
The Roles at this level are whether they are Admin or a User in the Portal.
Click Next.
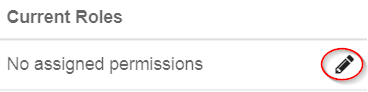
It will prompt you to the User Permissions screen with a list of Application Permissions for the user. This screen is used to assign a role for the user. To assign a role, click next on the Edit pencil symbol on the same line item for the selected book.
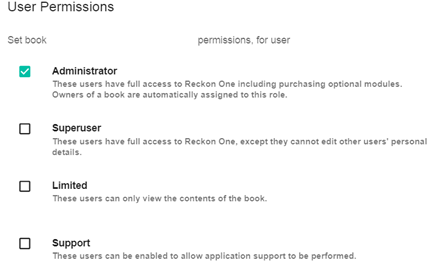
It will prompt you to the User Permissions screen, where you can select the assigned role for that user. Select the tick box next to the role you wish to assign to the user. Then Save.
Once saved the staff member will have access to the book in Reckon One so be sure the correct role and permissions has been granted.
Remove a user
To remove the user’s access to the book, go to the Customer Portal > Account > Staff

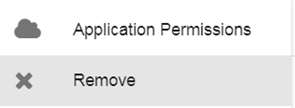
Click on  on the same row as the user, then Remove.
This will remove access to the book but they will still exist as an active staff member within Reckon Portal.
Need more help?
Ask the Reckon Community at: https://community.reckon.com/categories/reckonone
Or Log a Support Ticket: https://www.reckon.com/au/support/