Processing a Pay Run
On this page
Scheduled and unscheduled pay runs
Printing and emailing a pay slip
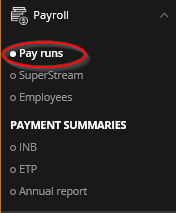
From the vertical navigation menu, expand Payroll menu and click on Pay runs.
The Pay Runs overview can be filtered for All, Unpaid or Paid Pay Runs to be displayed by clicking on the relevant tab.
The Pay Runs overview can be customised using the Show/hide columns filter to select what columns to be displayed (or not) on the screen.
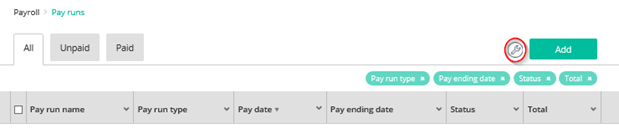
To create a new Pay Run click on Add.
Scheduled / Unscheduled pay runs
Select to run either an unscheduled pay run or a scheduled pay run.
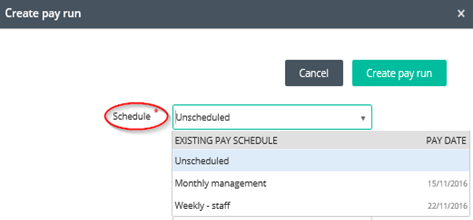
Enter the dates for an unscheduled pay run or edit the payment dates for scheduled pay runs if required.
Click on Create pay run.

From the Pay Runs overview, click on the Pay run to view the details.
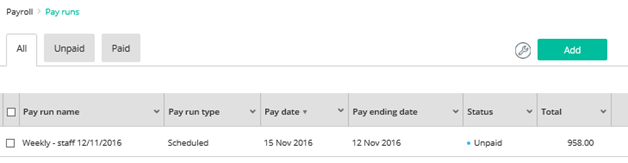
This screen will give you a breakdown and overview of the pay run per employee.
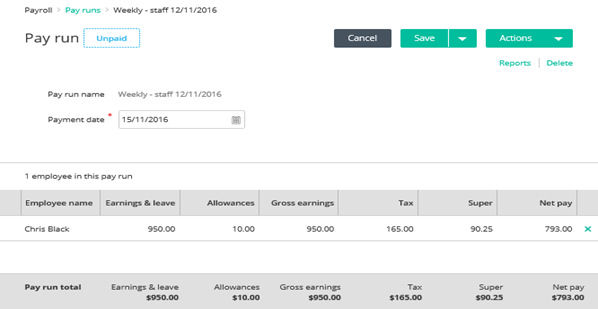
Click on the Employee to drill into the pay run and make any changes, for example enter leave taken.
You can change the pay start and end date for an employee if it differs from the date of the pay run (e.g. if you are paying weekly and fortnightly employees in the same pay run).
Scroll through the Pay Items and to click on Add new row and make selections from relevant drop down lists and entry fields.
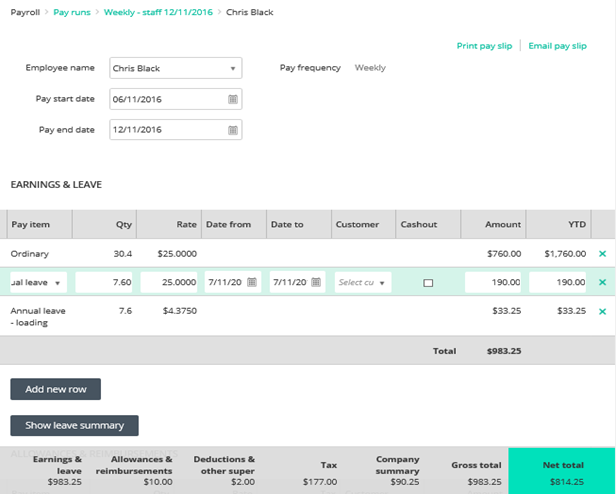
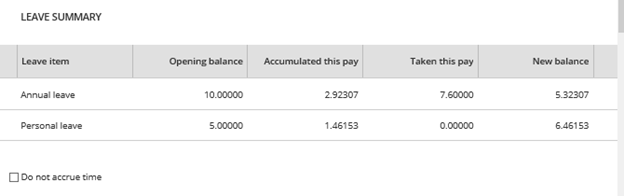
To see available leave balances and the leave to be accumulated in this pay run click the show leave summary button.
You can edit the value to be accumulated in this pay.
You can add employees that aren’t already in the pay run by clicking the Add new row button.
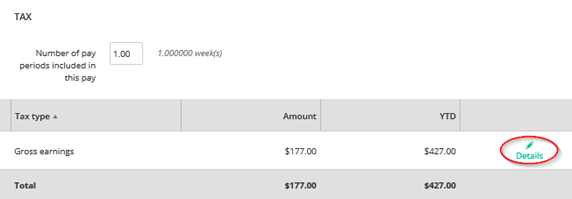
You can update the number of pay periods to tax the pay over for this employee if you are paying more than one pay period. You will have a line for tax on ordinary pay called Gross earnings (tax on leave paid on termination will be included in this line). If you have lump sum or other termination pay items there will additional lines.
You can click on Details to override the gross earnings calculation if necessary or in the case of lump sum or termination; you can enter the tax value and the information for Payment Summaries.
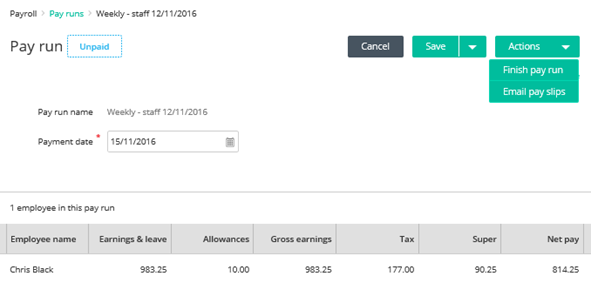
Once all changes have been completed, click on the Pay run to return to the previous page.

From the Actions drop down list, click on Finish pay run.
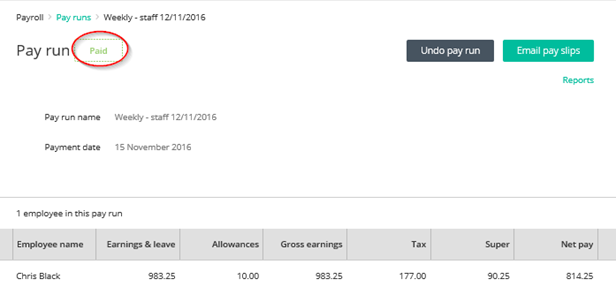
The journal will be posted and the status of the pay run will change to Paid.
You must complete the pay run and have a status of Paid before another scheduled pay run can be processed for the next time period for a pay run of the same schedule.
Although the status now says paid, the payments still need to be created through Make Payments in the Money Out section of the Day to day menu.
Once the individual payments are made you can create an ABA file using Bank Payments in the Banking menu.
Print / Email Pay Slips
Batch emailing is available in Reckon One, to allow you to email payslips to all employees in one go!
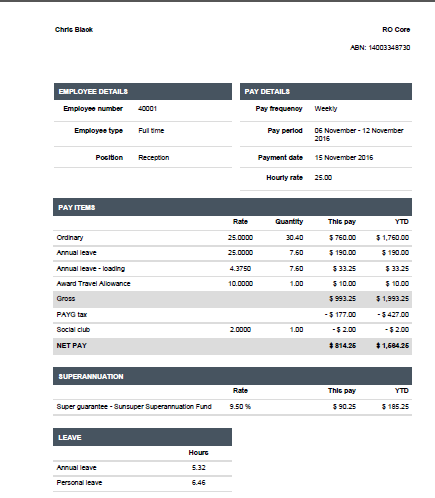
At the top of the page click on either Print Pay slip or Email Pay slip to view/ email the individual pay slip.
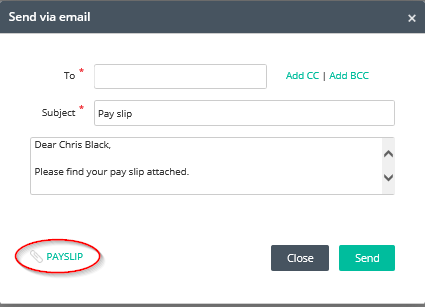
When you click on Email pay slips, the email pay screen will appear displaying the email template setup from Email Settings. You can make changes to the subject and email body from here. When complete, click on Send.
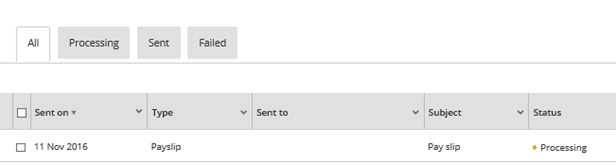
After clicking on Send, the page will redirect back to the pay run list. You will notice that the pay run being emailed shows a status of Processing. This will remain as processing whilst the emails are sent. While in this state, you will not be able to edit or open the pay run.
You can view what has been emailed from your Reckon One via the Email History icon.

You can click the email to open and even review the email and attachments, or even re-send it.
Editing a Pay Run
To Edit or Delete a Pay run, click on the Pay run from the Pay run overview.

Click Undo pay run

A confirmation message will appear. Since Reckon One will no longer post a reverse journal, the dialog box will instead prompt for a Payment Date (see screenshot below as an example).
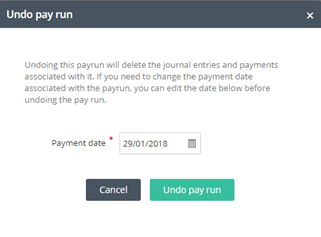
This allows you to set a new Payment Date for the payrun without having to delete the original transaction and starting again.
Click Undo pay run. You can now make changes as required to the pay run. When complete, click Finish pay run.
