Table of Contents
JobKeeper Items - Payroll App
How to add JobKeeper Allowance pay items to the Reckon Payroll App
In order to process JobKeeper payment, 4 allowance pay items needs to be added to your company file. This document will guide you to how setup the pay items in the Reckon Payroll app.
This includes ensuring the allowance name is in ALL CAPS, as no spaces, and that correct fortnight number is entered as two digits i.e. "09" not "9".
JOBKEEPER-START-FNXX/JK-ST-FNXX
This payroll item is used to indicate the first JobKeeper fortnightly period for which the subsidy is payable. "XX” refers to the fortnightly period from which the payment first started.
Click here to find out about the Fortnight numbers (FN).
Steps
- Navigate to Settings, then tap on Manage allowance items.
- Tap the blue + in the top-right hand corner to create a new allowance item.
- For the Allowance item name, type Type the name as JOBKEEPER-START-FNXX (or JK-ST-FNXX) with the XX with the number assigned to the JobKeeper reporting Fortnight numbers (FN) your pay date falls in.
For example, a payment beginning in the 1st reporting period will use JOBKEEPER-START-FN01 or JK-ST-FN01. - Set the Allowance type to Other.
- Optionally, you may set a Default Base Rate of $0.00 as a convenience. You can always change it when using the allowance on a Pay run.
- Set the Tax applicable toggle on, and set the Show as allowance toggle on too.
- Tap Save in the top-right hand corner of the screen.

JK-TIERX
This allowance item is used to determine which JobKeeper tier the employee falls into. "X" refers to the tier number, so for example if an employee is Tier 1 the item will be named JK-TIER1, or for Tier 2 employees, JK-TIER2.
Steps
- Navigate to Settings, then tap on Manage allowance items.
- Tap the blue + in the top-right hand corner to create a new allowance item.
- For the Allowance item name, type Type the name as JK-TIER1 .
- Set the Allowance type to Other.
- Optionally, you may set a Default Base Rate of $0.00 as a convenience.
- Set the Tax applicable toggle on, and set the Show as allowance toggle on too.
- Tap Save in the top-right hand corner of the screen.
JOBKEEPER-TOPUP
This payroll item is used to indicate the Gross amount of any JobKeeper top up. Under JobKeeper 1.0 an employee must be paid at least $1500 gross per fortnight so if the regular wage is below that, you must pay a top up amount. (For example if you have paid an employee $900 under regular wages in a fortnight, you need to pay a $600 top up amount to reach the minimum $1500).
Under JobKeeper 2.0 the maximum payment amount differs depending on the employee's eligible tier, and the quarter.
Steps
- Navigate to Settings, then tap on Manage allowance items.
- Tap the blue + in the top-right hand corner to create a new allowance item.
- For the Allowance item name, type Type the name as JOBKEEPER-TOPUP .
- Set the Allowance type to Other.
- Optionally, you may set a Default Base Rate of $1,500.00 as a convenience. You can always change it when using the allowance on a Pay run.
- Set the Tax applicable toggle on, and set the Show as allowance toggle on too.
- Tap Save in the top-right hand corner of the screen.

JOBKEEPER-FINISH-FNXX
This allowance is used to indicate any exit of eligibility or termination of the employee. "XX” refers to the final fortnightly period to which the payment applies.
Click here to find out about the Fortnight numbers.
This can occur due to Workers' Compensation absence, cessation of employment, change of citizenship, visa, personal circumstances and for other reasons which can make an employee no longer eligible to receive the JobKeeper Payment.
Steps
- Navigate to Settings, then tap on Manage allowance items.
- Tap the blue + in the top-right hand corner to create a new allowance item.
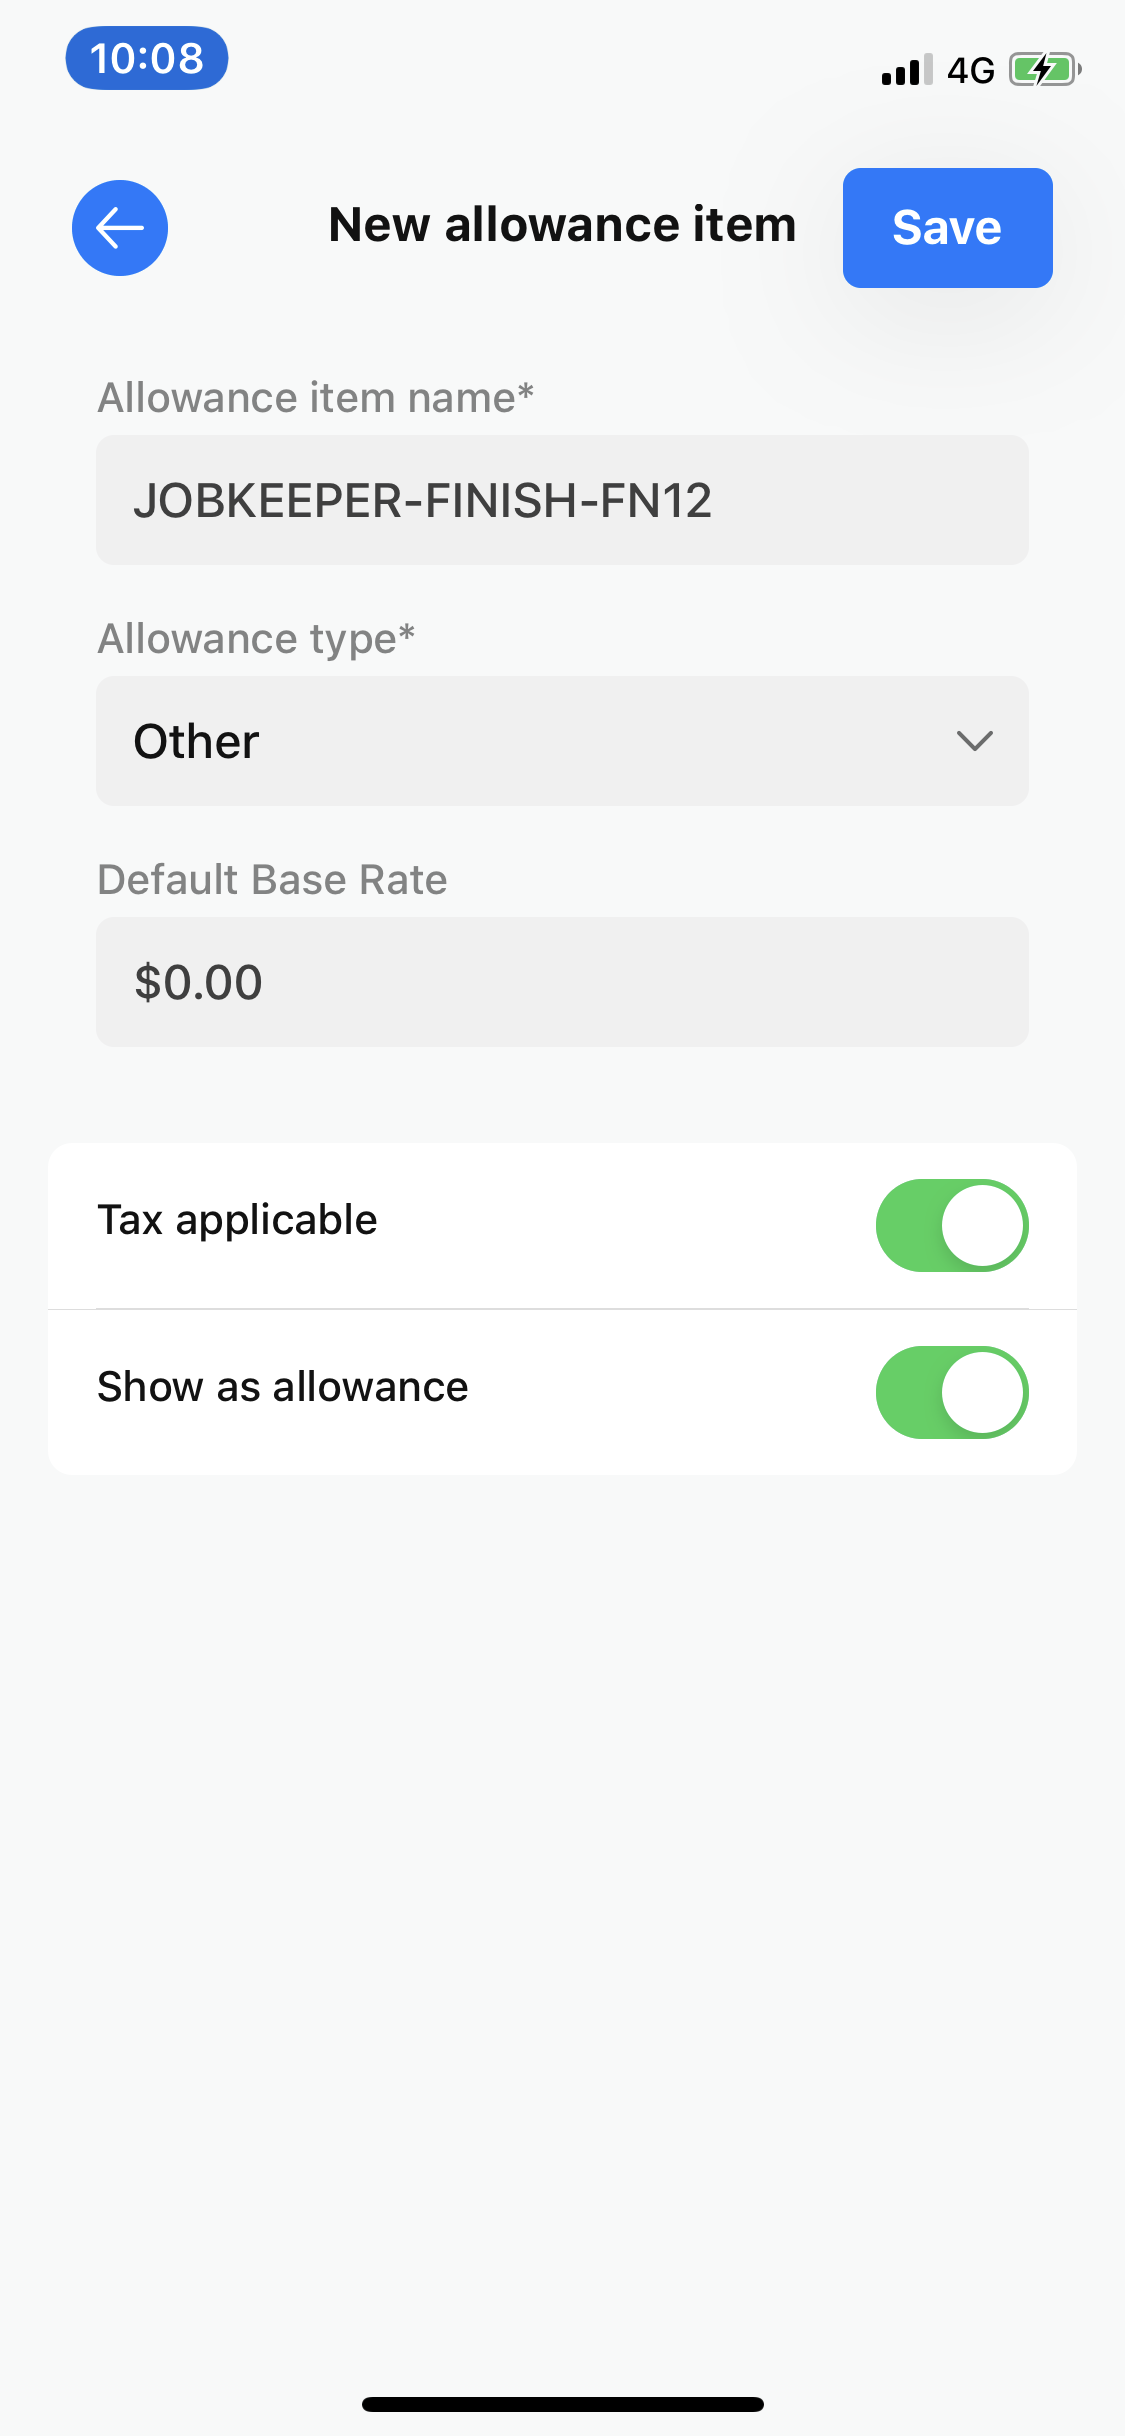
- For the Allowance item name, type Type the name as JOBKEEPER-FINISH-FNXX replacing the XX with the number assigned to the JobKeeper reporting Fortnight numbers (FN) your pay date falls in.
For example, a payment ending in the 12th reporting period will use JOBKEEPER-FINISH-FN12 . - Set the Allowance type to Other.
- Optionally, you may set a Default Base Rate of $0.00 as a convenience. You can always change it when using the allowance on a Pay run.
- Set the Tax applicable toggle on, and set the Show as allowance toggle on too.
- Tap Save in the top-right hand corner of the screen.
Please refer to how to process JobKeeper payments in a pay run after you have created the above allowance items.