Table of Contents
Data migration checklist for Reckon One payroll
Check your payroll data after migration to Reckon One from Reckon Accounts Hosted or Desktop.
This is for books with payroll only plans.
Step 1: Check an employee
- In the Payroll menu, select Employees.
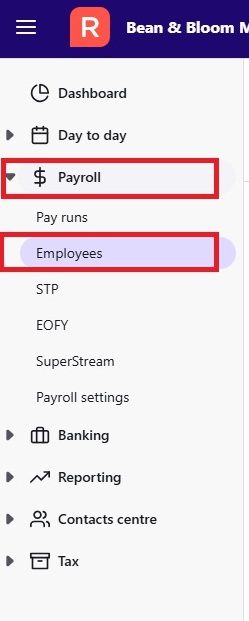
- Scan the list to check that all your employees have been migrated.
- If you have a large number of employees, you may have multiple pages to click through.
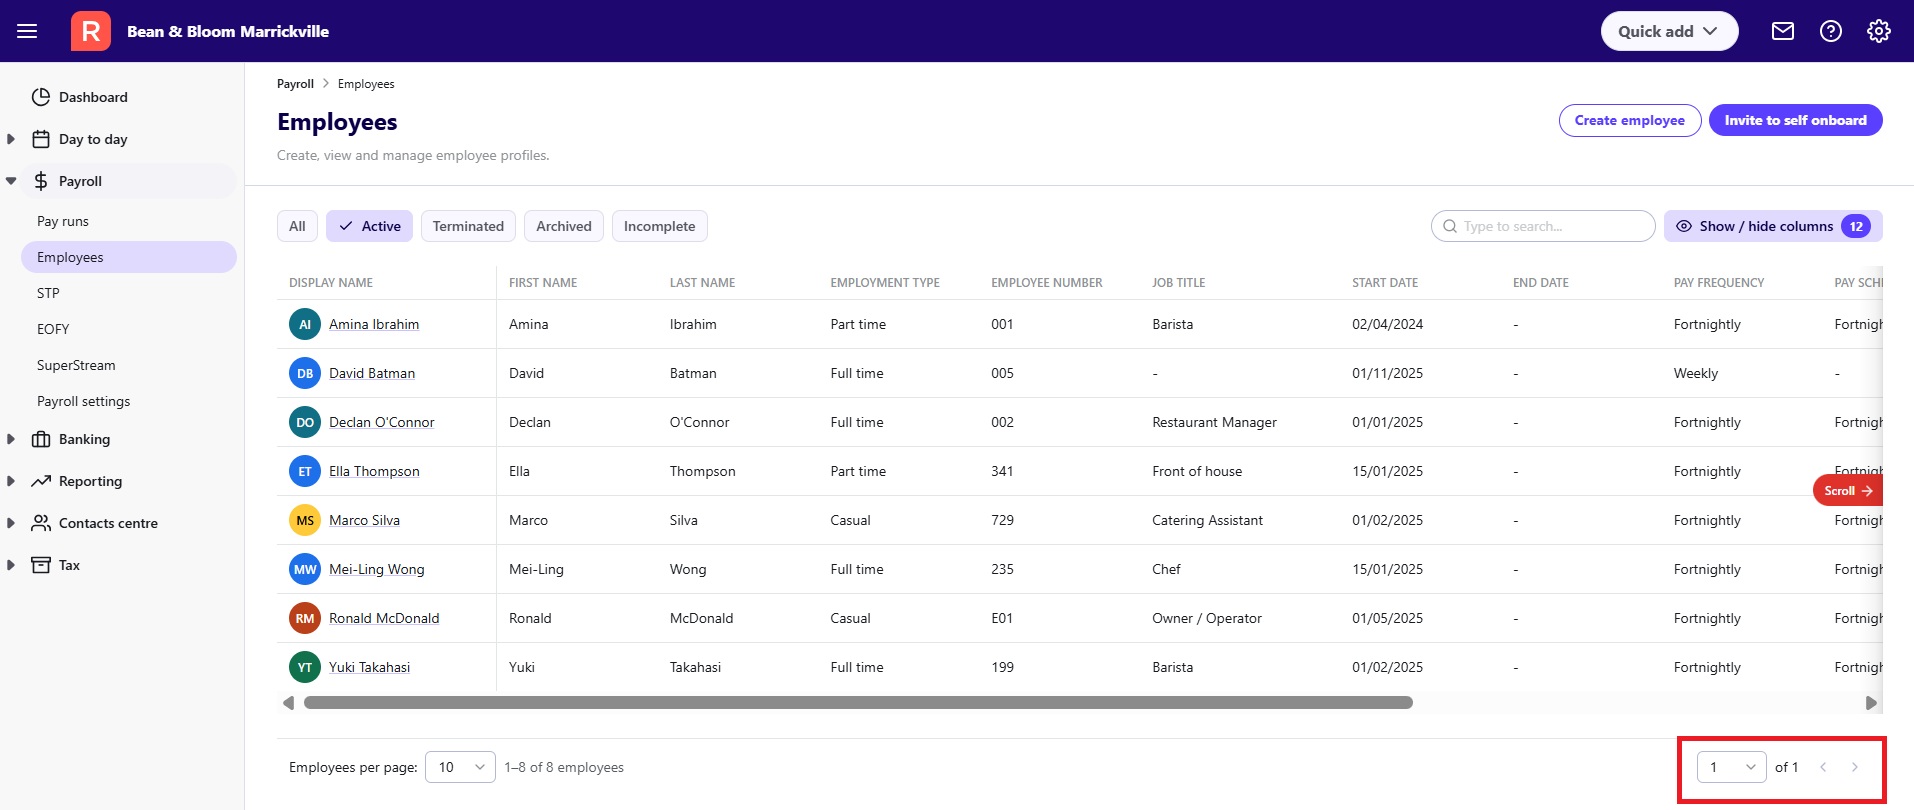
- You may want to increase the number of employees that show on one page.
- If you have a large number of employees, you may have multiple pages to click through.
- Check one employee's details (choose an employee who has the most pay items). To check an employee's details, click on an employee's name, then click Edit details.

- You'll now be taken through a 5 step process to checking and editing employee details. Each of the 5 steps is listed at the top. Move through each step, by checking all the information and making any necessary edits, then clicking Save and continue to move to the next step.
- In Employee details, check all the details to make sure they are correct and current, then click Save and continue at the bottom. After you click Save and continue, any required fields that are empty will be highlighted in red. Complete these fields to continue.
In the Standard hours worked per week, we recommend you always enter the number of hours a full-time employee would work. Actual work hours can be set later in Pay setup. This means that if you have a part time employee, for example, and they work variable hours, the correct amount of leave will be automatically accrued.
- In Leave entitlements, check that all leave entitlements are listed and set up correctly. You may need to adjust leave balances. Reckon One is, by default, set up for a 38 hour week, so it shows 152 hours for the annual entitlement for annual leave. If your workplace is something else, you'll need to adjust the number (e.g. for a 35 hour week enter 40, for a 40 hour week enter 160). Similar adjustments may be necessary for personal leave and long service leave. Once finished, click Save and continue at the bottom.
The names of leave may be different to what you're used to. You can change leave names in the next step (Initial YTDs).
- In Initial YTDs, check your year to date (YTD) balances against those in your old software. The YTD amounts listed here are for each of your pay runs, up until the last pay run you completed in Reckon Accounts before you uploaded your file for migration.
You may also need to make some adjustments to leave items that were migrated. Reckon One uses Annual leave, Personal leave, and Long service leave, and automatically calculates leave loading on each of these leave types (eliminating the need for a separate leave loading item). If you've been using items like Holiday hourly, Holiday salary, or Personal salary in Reckon Accounts, you'll need to change the item name to the relevant Reckon One leave type (Holiday hourly and Holiday salary will be Annual leave items in Reckon One, while Personal salary will be a Personal leave item).
If you had a leave loading item as a separate earnings item in Reckon Accounts, you'll also need to adjust your leave item balances so that they include leave loading. This will ensure that leave paid and leave loading are properly presented on payslips.
For example, if you have a Holiday hourly item from Reckon Accounts and a separate leave loading item, you will need to make the Holiday hourly item an Annual leave item, edit the amounts to include leave loading, then delete your leave loading item from Reckon Accounts.
To make the Holiday hourly item an Annual leave item:- Next to Earnings & leave, click on your Holiday hourly item.
- In the Earning or leave item name dropdown menu, under Leave, select Annual leave.
To edit the amounts to include leave loading:- In Gross amount (YTD), adjust the amount so that it includes the amount of leave loading already paid (e.g. if your Gross amount was $10,000 and your leave loading was $1750, change the Gross amount to the combined figure of $11,750).
- In Leave loading (YTD), enter the amount of leave loading already paid (in this example, $1750).
- Click Done.
To delete your leave loading item (after you've adjusted all leave items and balances):- Click on your leave loading item, then click on the rubbish bin icon in the top right.
- In Other details, check current leave balances (they should match balances in Reckon Accounts) and bank details, and make sure the superannuation fund is correct.
- In Pay setup, you can assign to the employee pay items that are typically used in their pay runs (such as ordinary earnings, allowances, etc), and set the hours worked for earnings items. In the pay run, you can then select to use the items assigned in the pay setup, to streamline pay run processing. Pay setup is also where you can change the employee's pay rate and/or period.
- Click Finish.
If you found any mismatched or missing data for this employee, it may indicate that there are similar issues with other employee records. Go through this process for some other employee records to confirm that the data has migrated correctly.
Step 2: Check EOFY reports
Compare your EOFY reports from Reckon Accounts and Reckon One:
- Run an EOFY report in Reckon Accounts.
- Run the same report in Reckon One:
- In the Payroll menu, select EOFY.
- Make sure the current financial year is selected.
- Click Start finalisation.
- Ensure all employees are ticked and click Continue to finalisation.
- Do not submit the finalisation to the ATO. Simply review the data, and when finished, click Discard.
Step 3: Check book settings and branch number
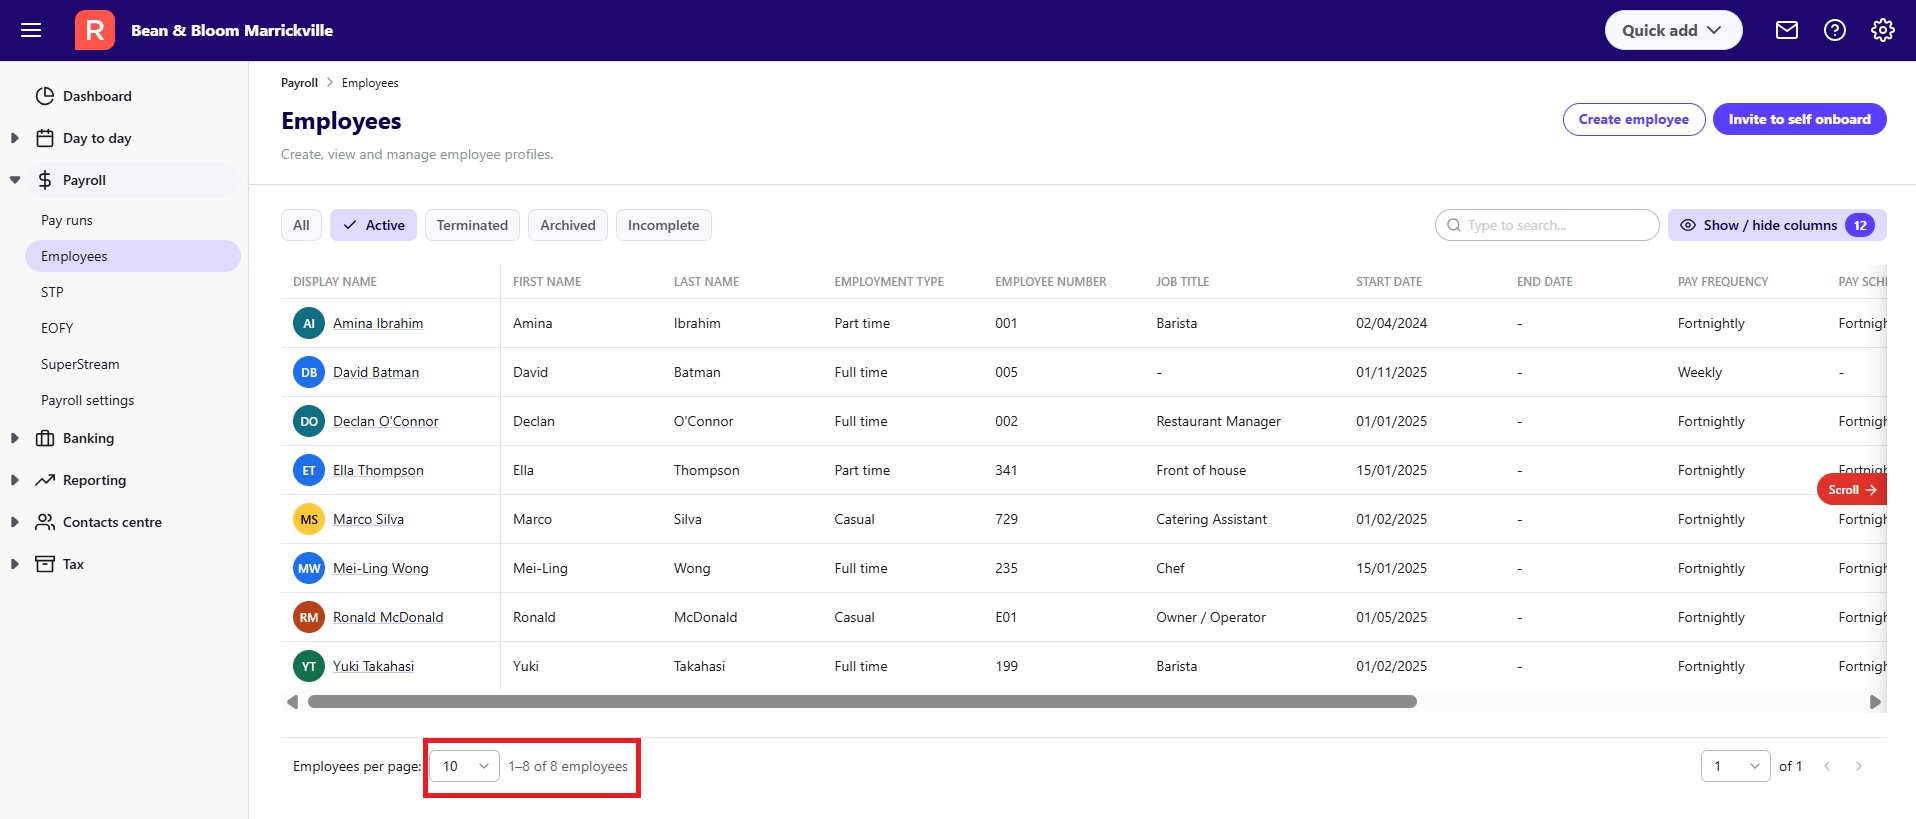
- Click on the Administration menu (the cogwheel icon in the top right of Reckon One), then select Settings.
- In the General section, select Book settings.
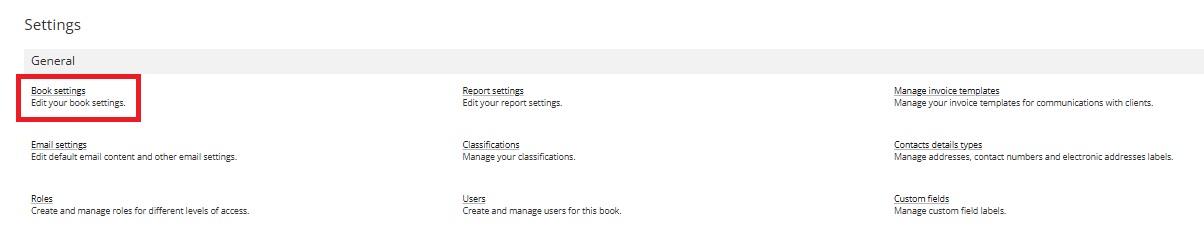
- Check your details, especially ensuring the Reply to email address is correct (this is the email that replies to invoices, payslips and reports will be sent to, including notifications of bounced back emails).
- Ensure your Branch number is correct for single touch payroll. If it's not, enter the correct branch number.
- Click Save.
Step 4: Check company details
- In the Payroll menu, select Payroll settings, then Company details.
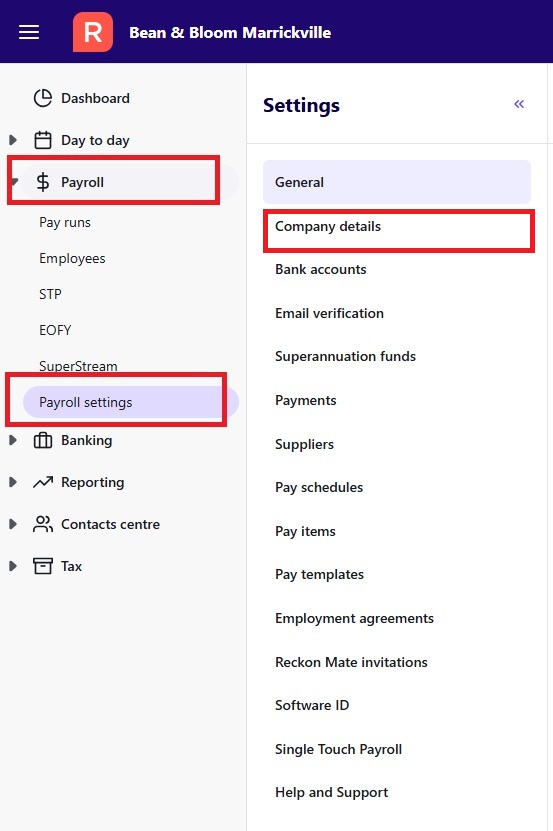
- Check that your details are correct (they should be the same as what you saw in step 1).
Step 5: Check bank accounts
- In the Payroll menu, select Payroll settings, then Bank accounts.
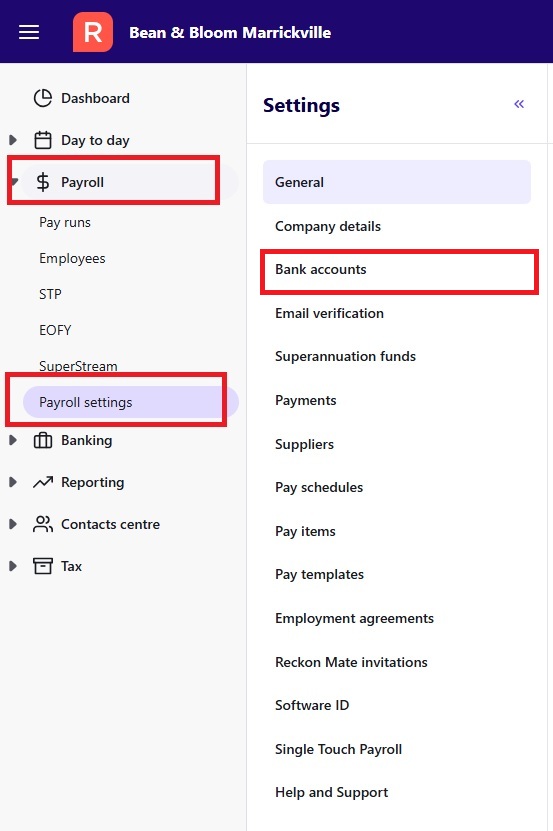
- Check that your current bank accounts are listed here, with correct details.
Step 6: Check super funds
- In the Payroll menu, select Payroll settings, then Superannuation funds.
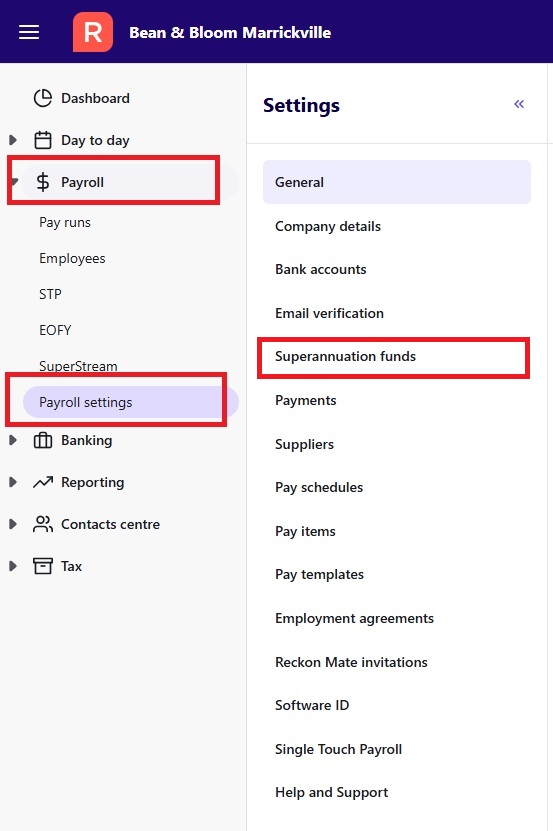
- Check that all your employee super funds have been migrated.
- Check that the fund products are correct by clicking on the pencil icon next to each super fund and checking the fund products listed.
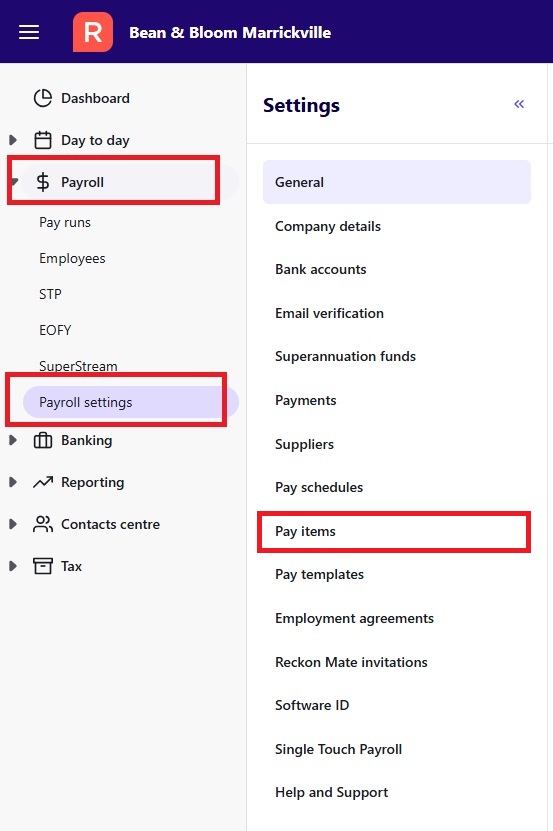
Step 7: Review pay items
- In the Payroll menu, select Payroll settings, then Pay items.
- Click through each tab to see the Earnings, Allowances, Deductions, Reimbursement, Superannuation, Leave, and Company Contribution pay items. In these tabs, you'll see a combination of the Reckon One default pay items (those that come with the book), and your own custom items that have been migrated.
- Check that each pay item has been assigned to the correct ledger account (shown in the Account column).
- Check the configuration of pay items by clicking on the pencil icon next to the item and reviewing the set up, in particular make sure that:
- if the item accrues leave, the Include in time worked leave accruals field is ticked.
- if the item attracts super guarantee payments, the Include super guarantee checkbox under Superannuation preferences is ticked. If other super items are used, tick to include those items as well.
If you have issues or queries
If you found any issues with your data, book in a session with one of our team. We'll help you work out what's happened.